
Gardening Adventures Blog

Getting Started With Planting
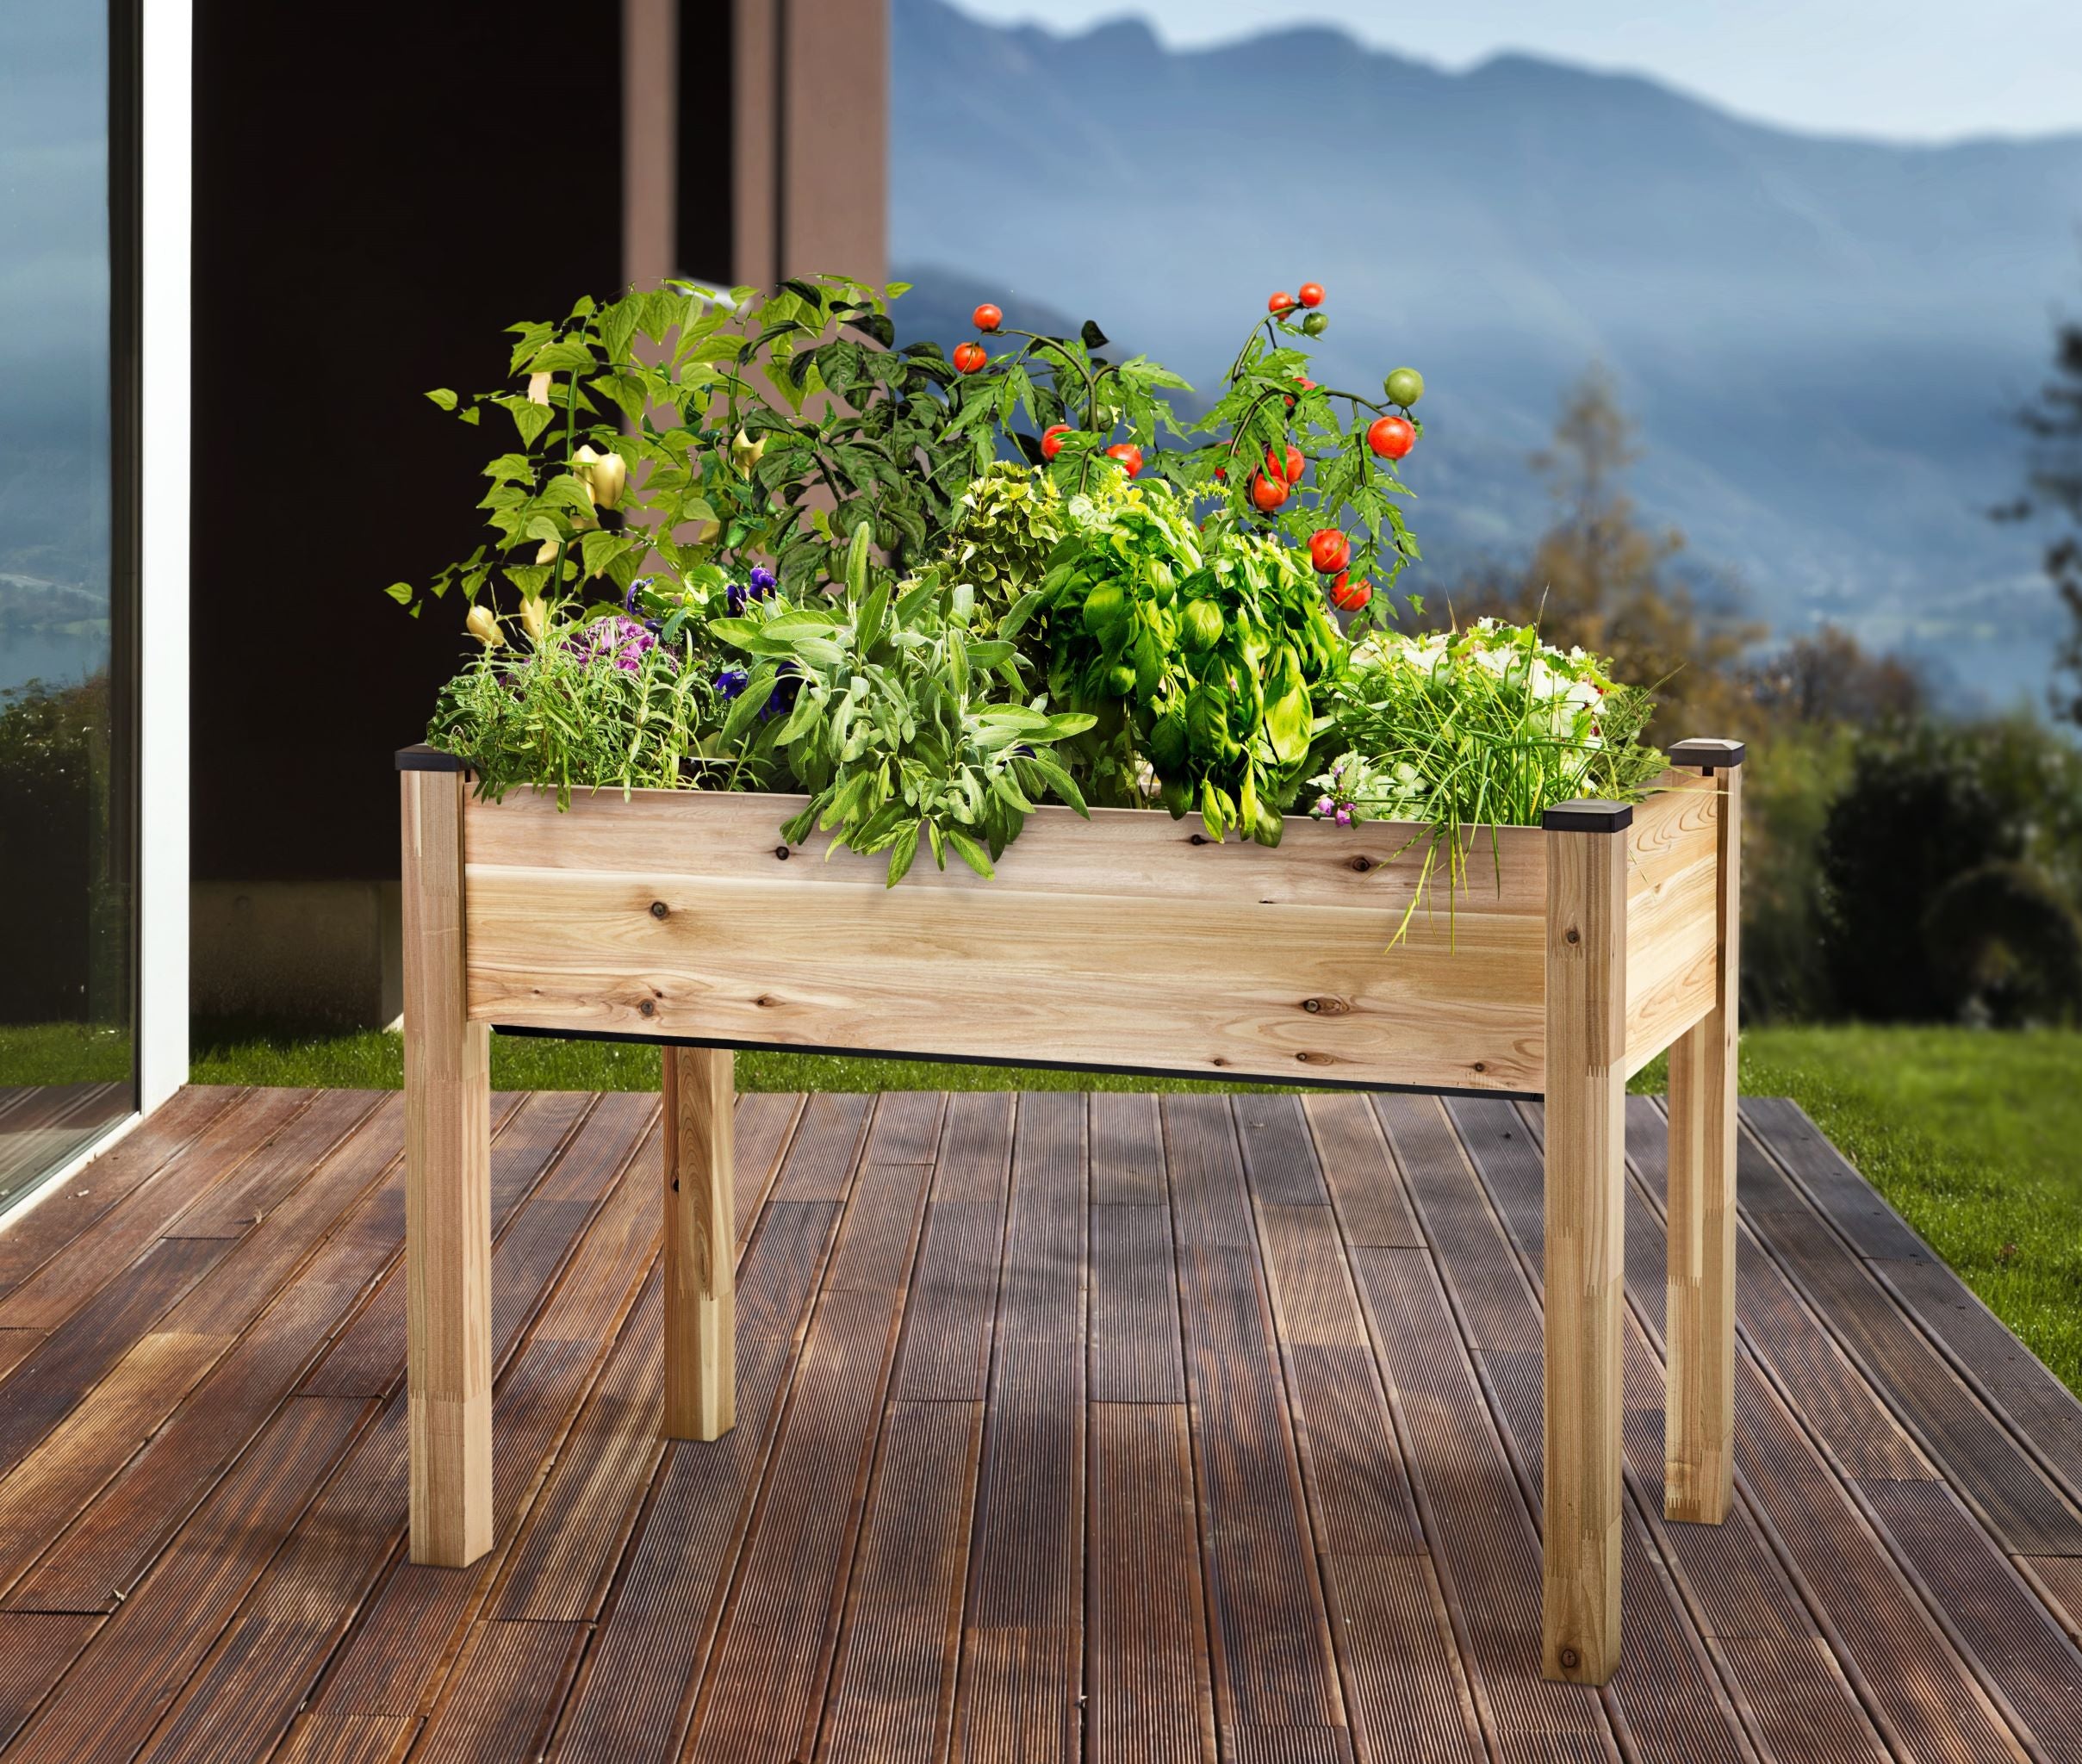
Now that you have your new CedarCraft planter, and you’ve prepared the perfect soil to keep your plants growing healthy and strong, it’s time to start planting! This is one of the most exciting parts of gardening because it’s the beginning of life for your plants that will soon reward you with a bounty of fruits, vegetables, herbs, and blooms. With spring making its way to your yard, here’s what you need to know to start adding those seeds and sprouts to your soil! For The Beginner Gardener Your interest has been piqued and you’re starting your gardening adventure for the first time. There’s so much to learn! You may be feeling a little lost in the beginning. There’s no need to hesitate – jump right in with your new green thumbs! Gardening can be a life-long learning process that often takes hands-on experience, but there are a variety of resources to help a budding gardener bloom. Start with a trip to your local nursery. Your nursery gardeners love to talk about their passion and pass on their wealth of knowledge. They want to help foster that love of gardening in others. They are more than happy to answer all of your questions, point you in the right direction for information, and help you know what will grow best in your hardiness zone. For your first few seasons you’ll want to start with transplants instead of starting your garden from seeds. Garden centers, nurseries, and horticulturist organizations will host spring plant sales. They’ve done all of the seed-to-sprout work for you and will tell you all that you need to know to keep them growing. Some nurseries offer gardening classes to help you learn more about soil, how to transplant sprouts, and what to do when challenges arise. Check your local garden center website to see what might fit your needs. Other new gardeners may want additional help. Some nurseries offer custom annual container gardens. You can drop off your CedarCraft planter and the landscape designers will create colorful, low-maintenance annual flower combinations that can bloom all summer long. If you’ve thought about gardening for the first time but have hesitated to start because you’re unsure of what to do, don’t let time and the opportunity to garden pass you by. There are a variety of resources and people to help you out!
Learn more
Winter Gardening Checklist
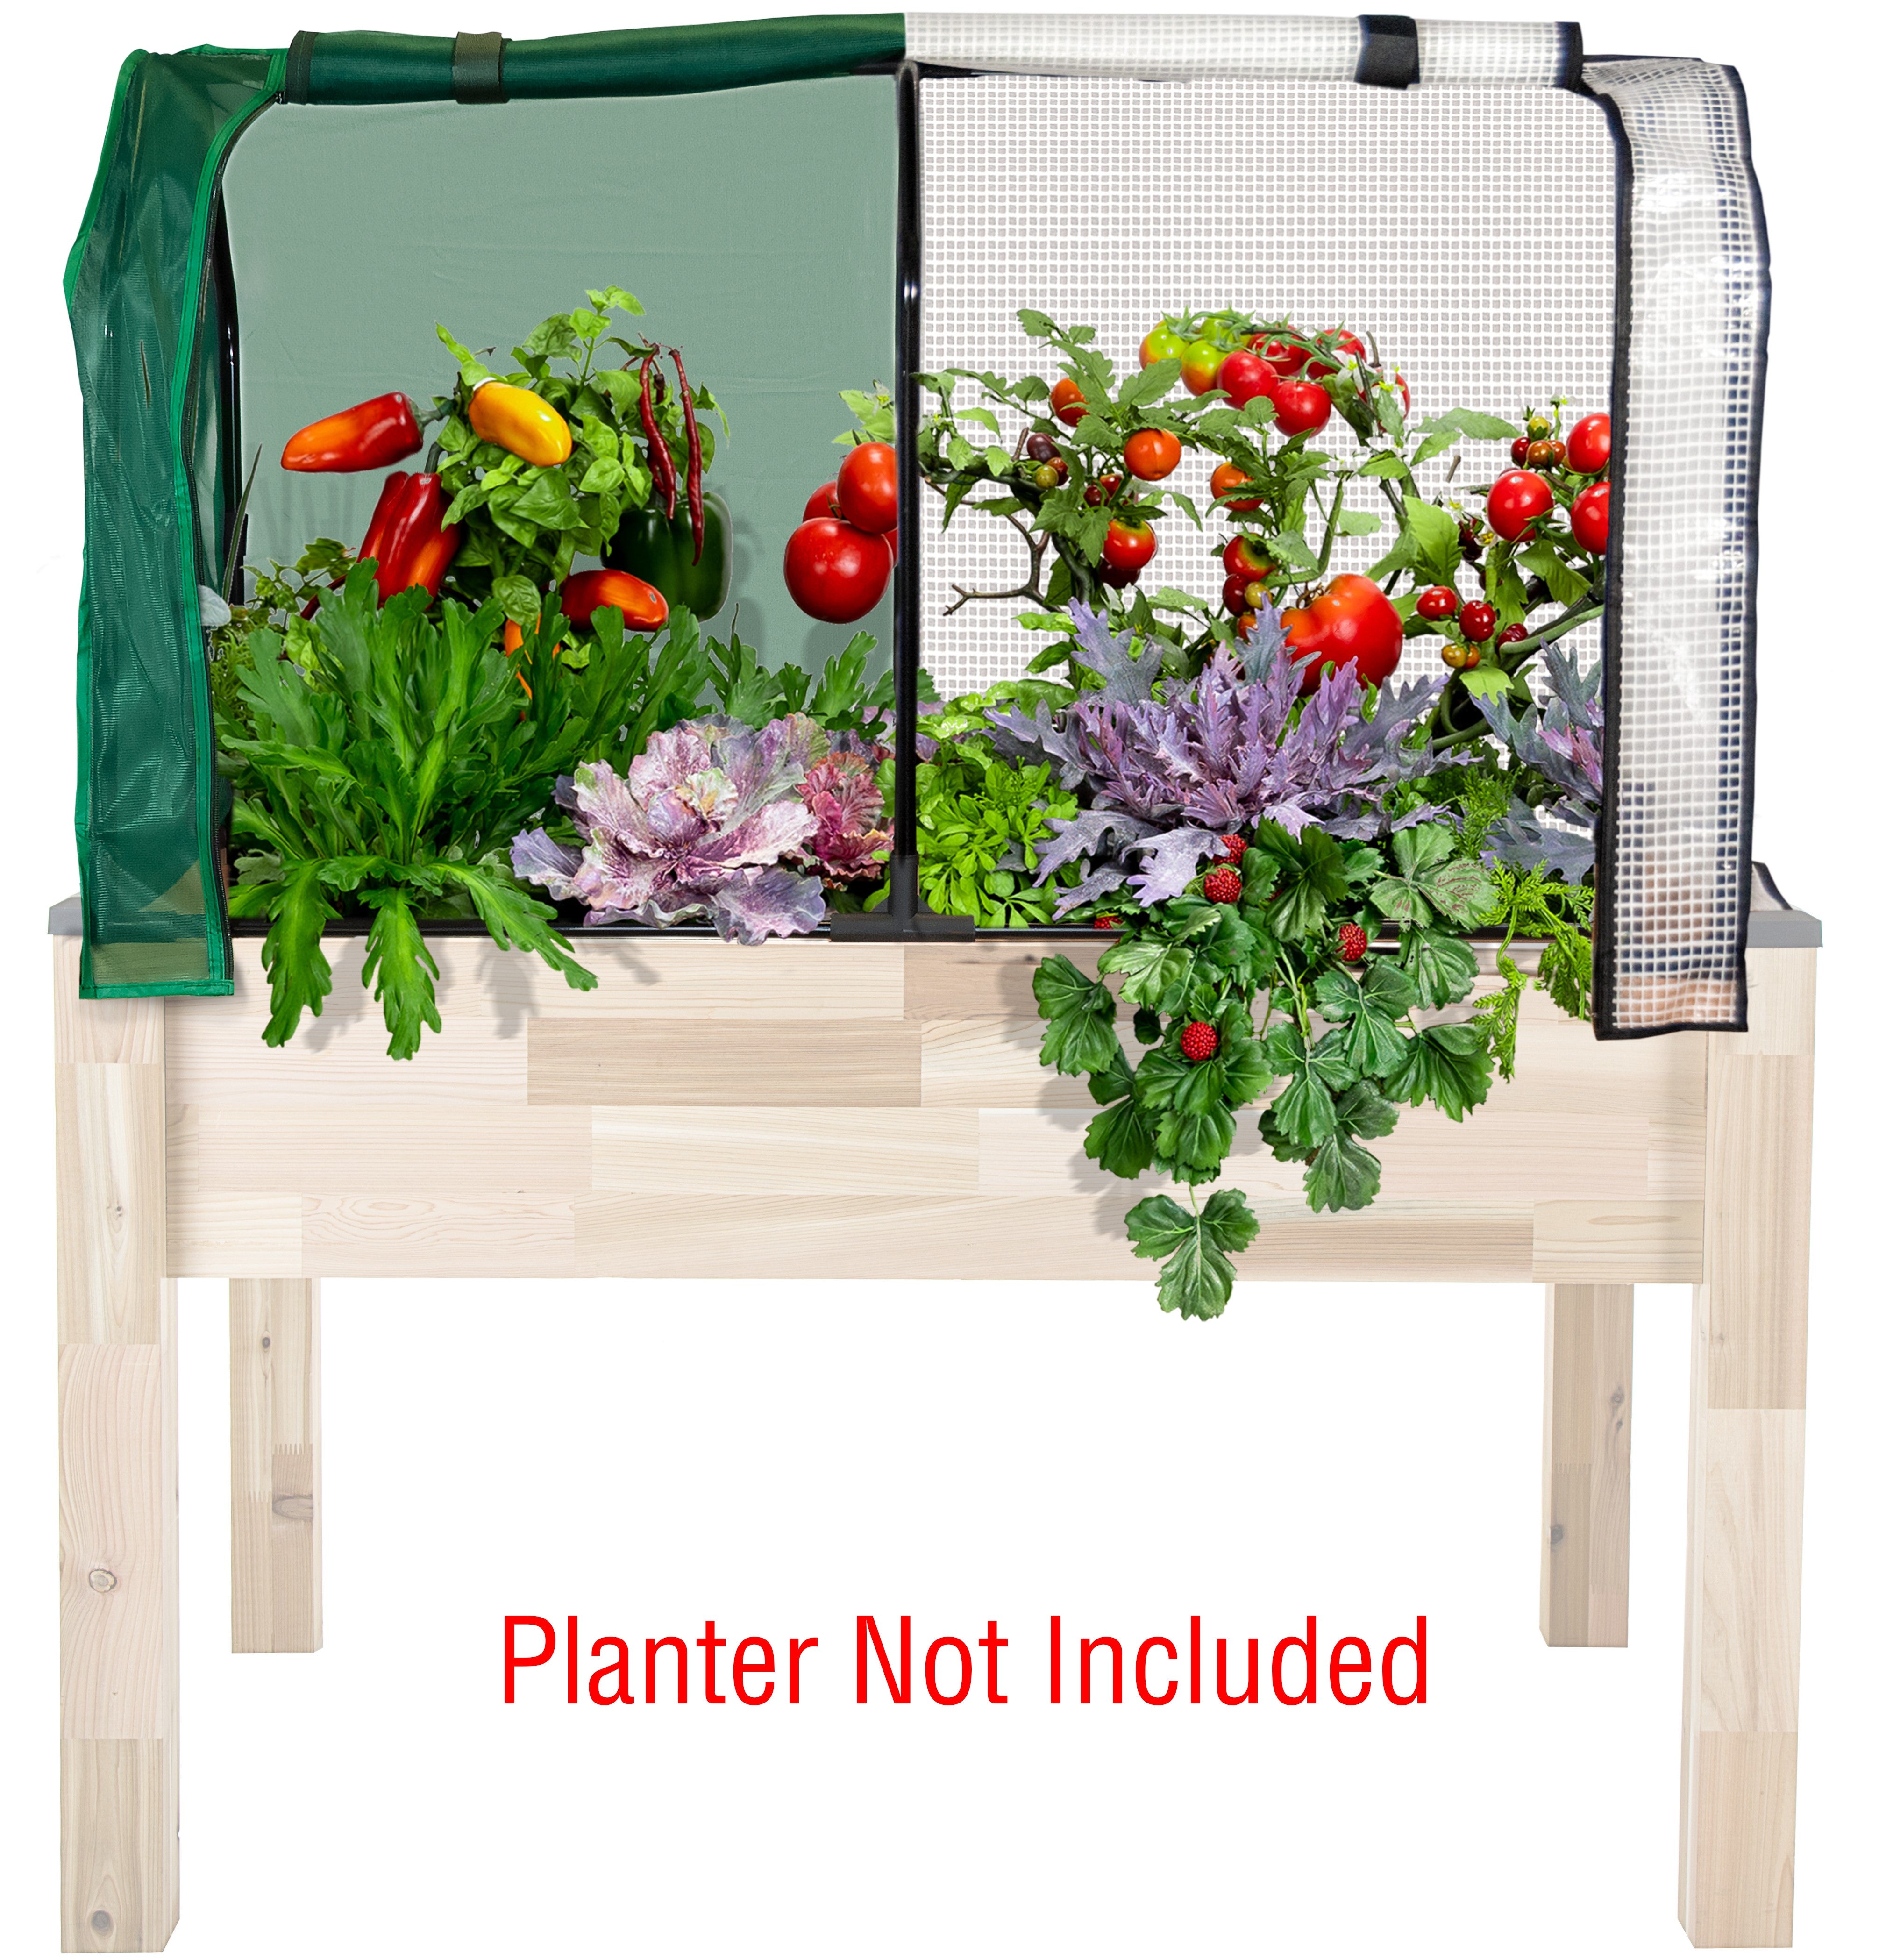
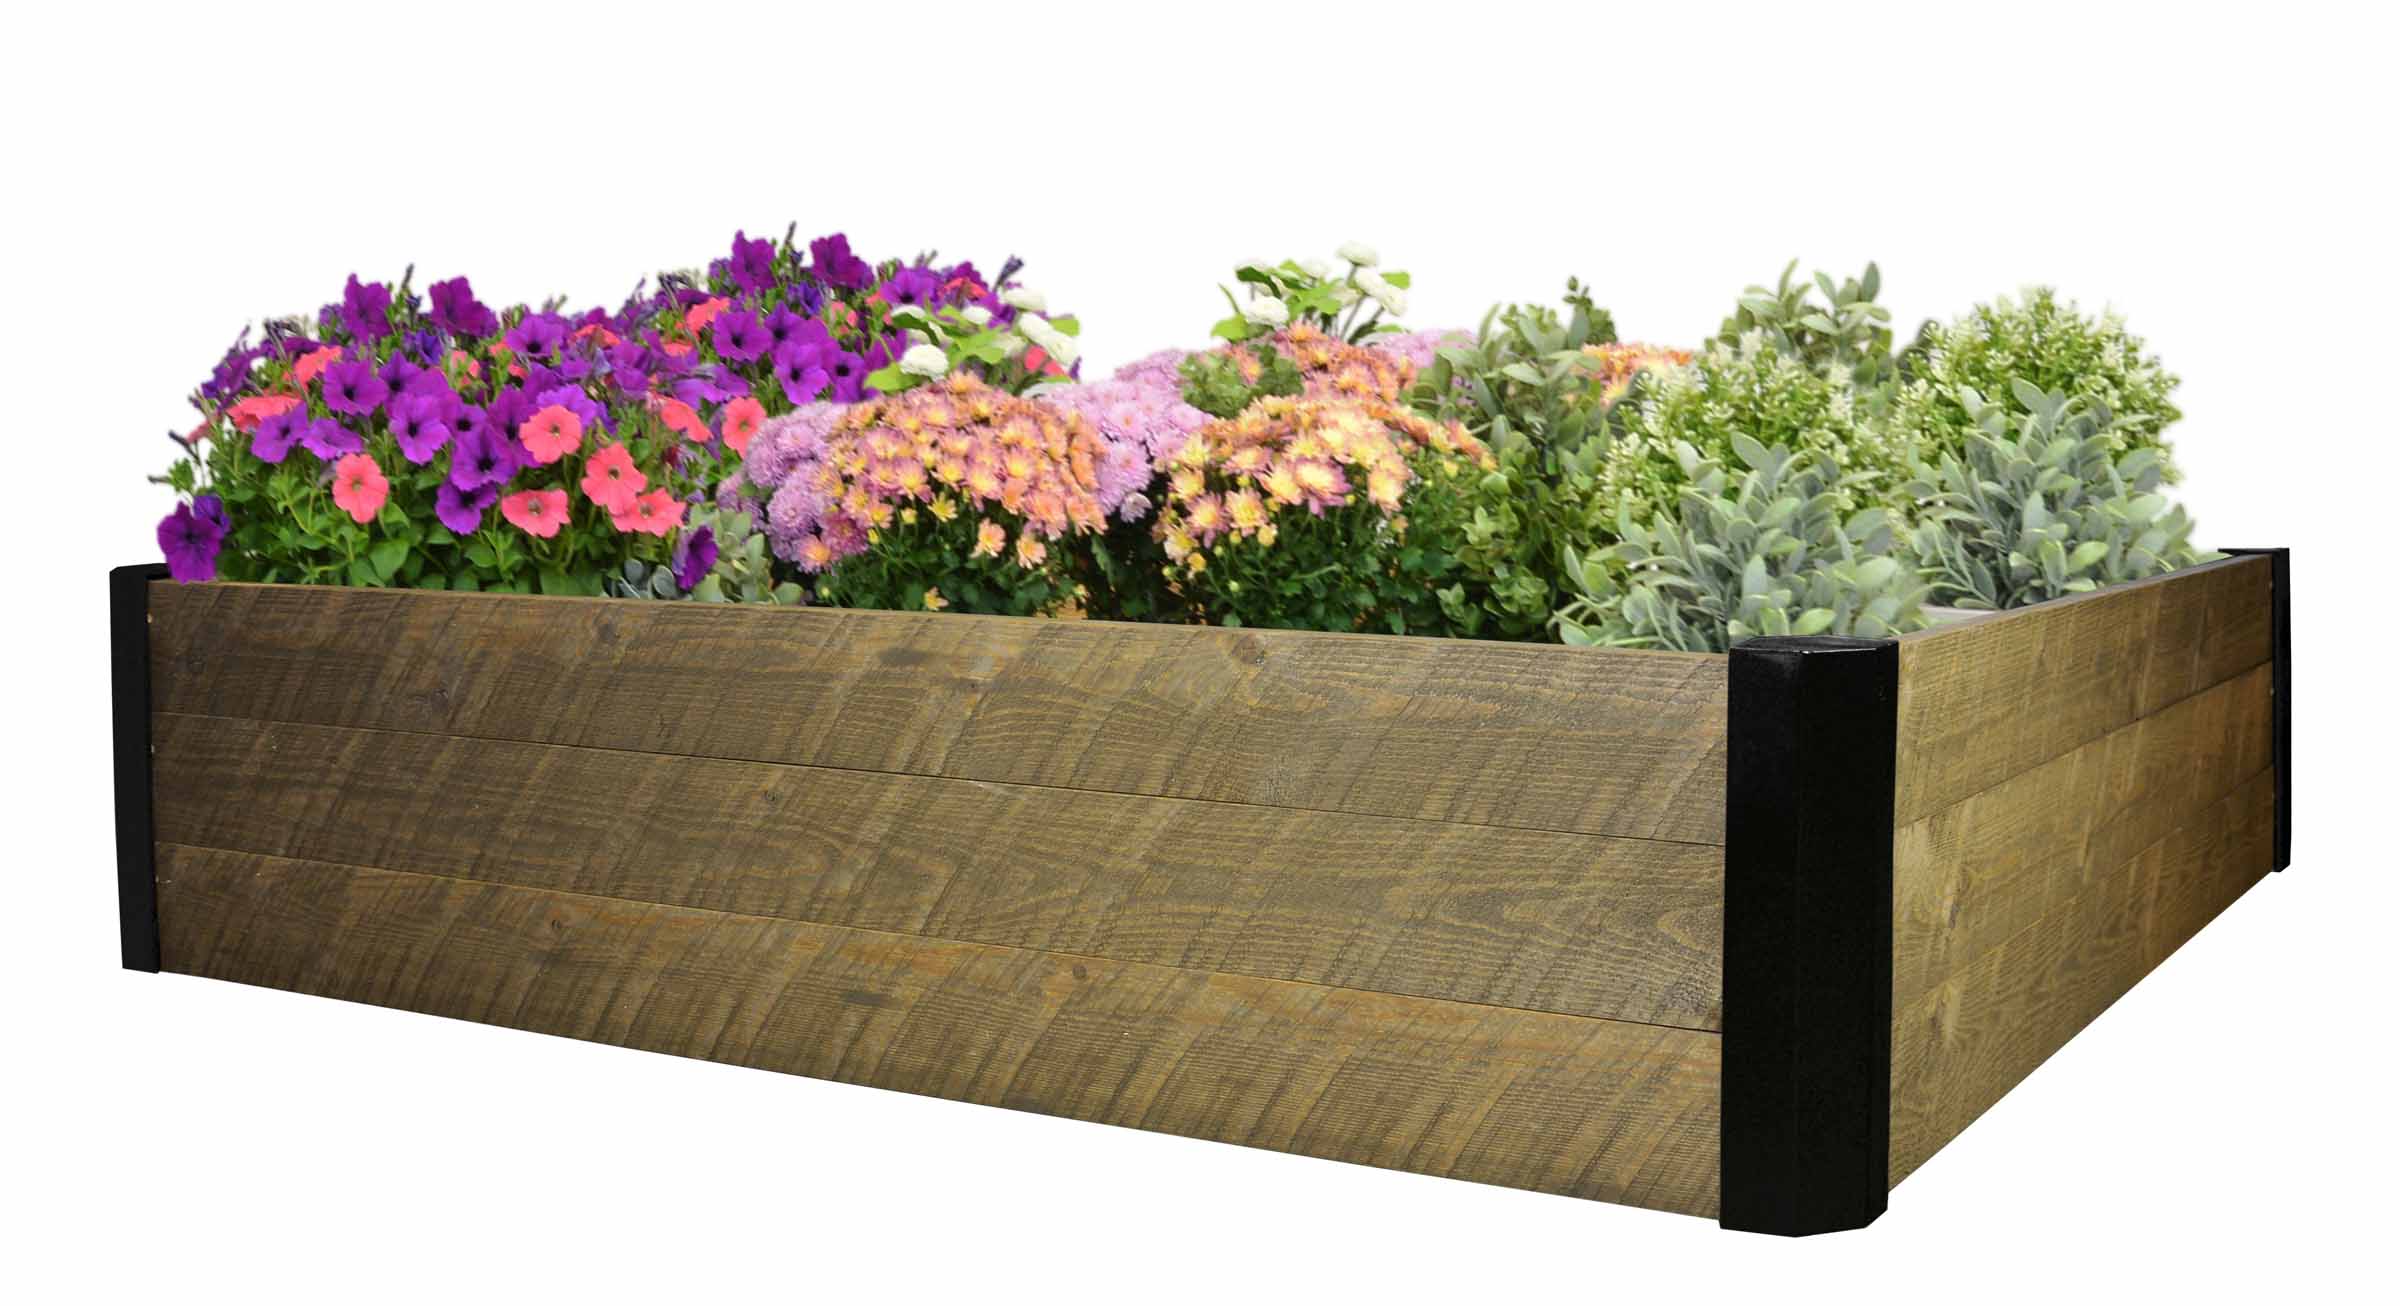
Seed catalogs in hand, raised garden bed space mapped out – you’re ready to get started on your 2015 garden! But, we’re still in the middle of February. It’s the tail end of winter and in some states across the US, a deep layer of snow has settled over backyards and patios. Gardeners everywhere are anxiously awaiting the warm sun on their skin, the soft grass under their feet, and the spring air to fill their lungs. While we’re waiting for gardening season to really start, there are a few things you can do during the winter to start your garden with the perfect sprouts. Here’s our winter gardening checklist to help you grow your best garden yet! Tip 1: Plant Cool-Season Plants Now For A Delicious Spring Bounty Spinach This super-cold-hardy vegetable is a tender crop that can be planted in very early spring as well as winter. Spring plantings can be made as soon as the soil can be properly worked. It's important to seed as soon as you can to give spinach the required 6 weeks of cool weather from seeding to harvest. Peas Sow seeds outdoors 4 to 6 weeks before last spring frost, when soil temperatures reach 45 degrees F. Be sure to add a tomato cage so the pea plants will have something to climb. Carrots Carrots get sweeter as the temperature cools. Plan to plant seeds outdoors 3 to 5 weeks before the last spring frost date. Tip 2: Use Raised Beds To Reduce The Risk Of Stepping On And Compacting Soil When your soil is compacted, your plants can’t grow well. Compaction is what will decrease the amount of air by the roots, inhibiting growth by making it more difficult for the sprouts to break through the surface of the soil. Raised garden beds make it easier to work around the plants without stepping on the soil, keeping it nice and airy! Tip 3: Wrap Growing Plants In Horticultural Fleece Before Frost Sets In Horticultural fleece provides a simple way to give plants some minimal winter protection. Fleece can laid over soil and pegged down, or wrapped around a plant and tied in place with string around the stem. The ease of applying and removing the fleece makes this a good temporary protection solution. Tip 4: Insulate Planters To Avoid Continuous Freezing and Thawing Container soil in raised garden beds will rarely freeze and is easy to maintain over the winter by covering your raised garden bed with leaf mulch or a tarp. Because the soil maintains warmth, it's less work for you and it extends your growing season! If you do find cold soil to be any problem, you can place rocks in your garden to help distribute heat from the sun. With container gardens, frost can easily penetrate the sides of planters and kill roots. You can wrap the entire exterior of your planter in hessian or bubble-wrap to insulate the soil and roots of your vegetables. Keep the top of the planter free so you can continue to water your plants. If you’re as excited about the kick-off to gardening season as we are, you can enter our Facebook giveaway for your chance to win your choice of Cedarcraft planters! Five winners will be chosen on March 15th. Click here to enter!
Learn moreHow To Get Your CedarCraft Garden Started
Getting your urban garden together doesn't have to be a complicated process. You may live in a small space, or have limited resources, and the thought of constructing a planter might seem like a daunting process. Luckily, it isn't with CedarCraft! One of the great things about CedarCraft planters is that you don't have to spend a lot of time or effort putting them together. With just a few simple steps, and no tools needed, you can make your gardening ideas come to fruition in a matter of minutes. CedarCraft planters come with step-by-step instructions right out of the box. They're also available on our website. Each piece of the planter fits together perfectly and instructions are a breeze. Inside tip for your Urban Planter: make sure you assemble the leg pieces so that the dowel holes are facing toward the inside of the planter and the panel grooves are on the outside edge. You'll know if you've mixed them up on step 3. It will only take you 10 minutes to assemble your planter and you're right on your way to growing your dream garden! A video posted by CedarCraft (@cedarcraft) on Jan 21, 2015 at 12:24pm PST
Learn moreIt all starts with an idea
Welcome to CedarCraft's blog where we are going to help your ideas come to life! Each month we're going to share tips and inspiration to help you add freshness and beauty to your home in creative and simple ways. We'll help you get the most out of your raised gardens for a successful harvest of herbs and vegetables. And we'll share easy design projects to add that "something special" to your living spaces.
Learn more