
Gardening Adventures Blog


Best Plant Apps for Gardeners: When Your Ghost Peppers Ghost You
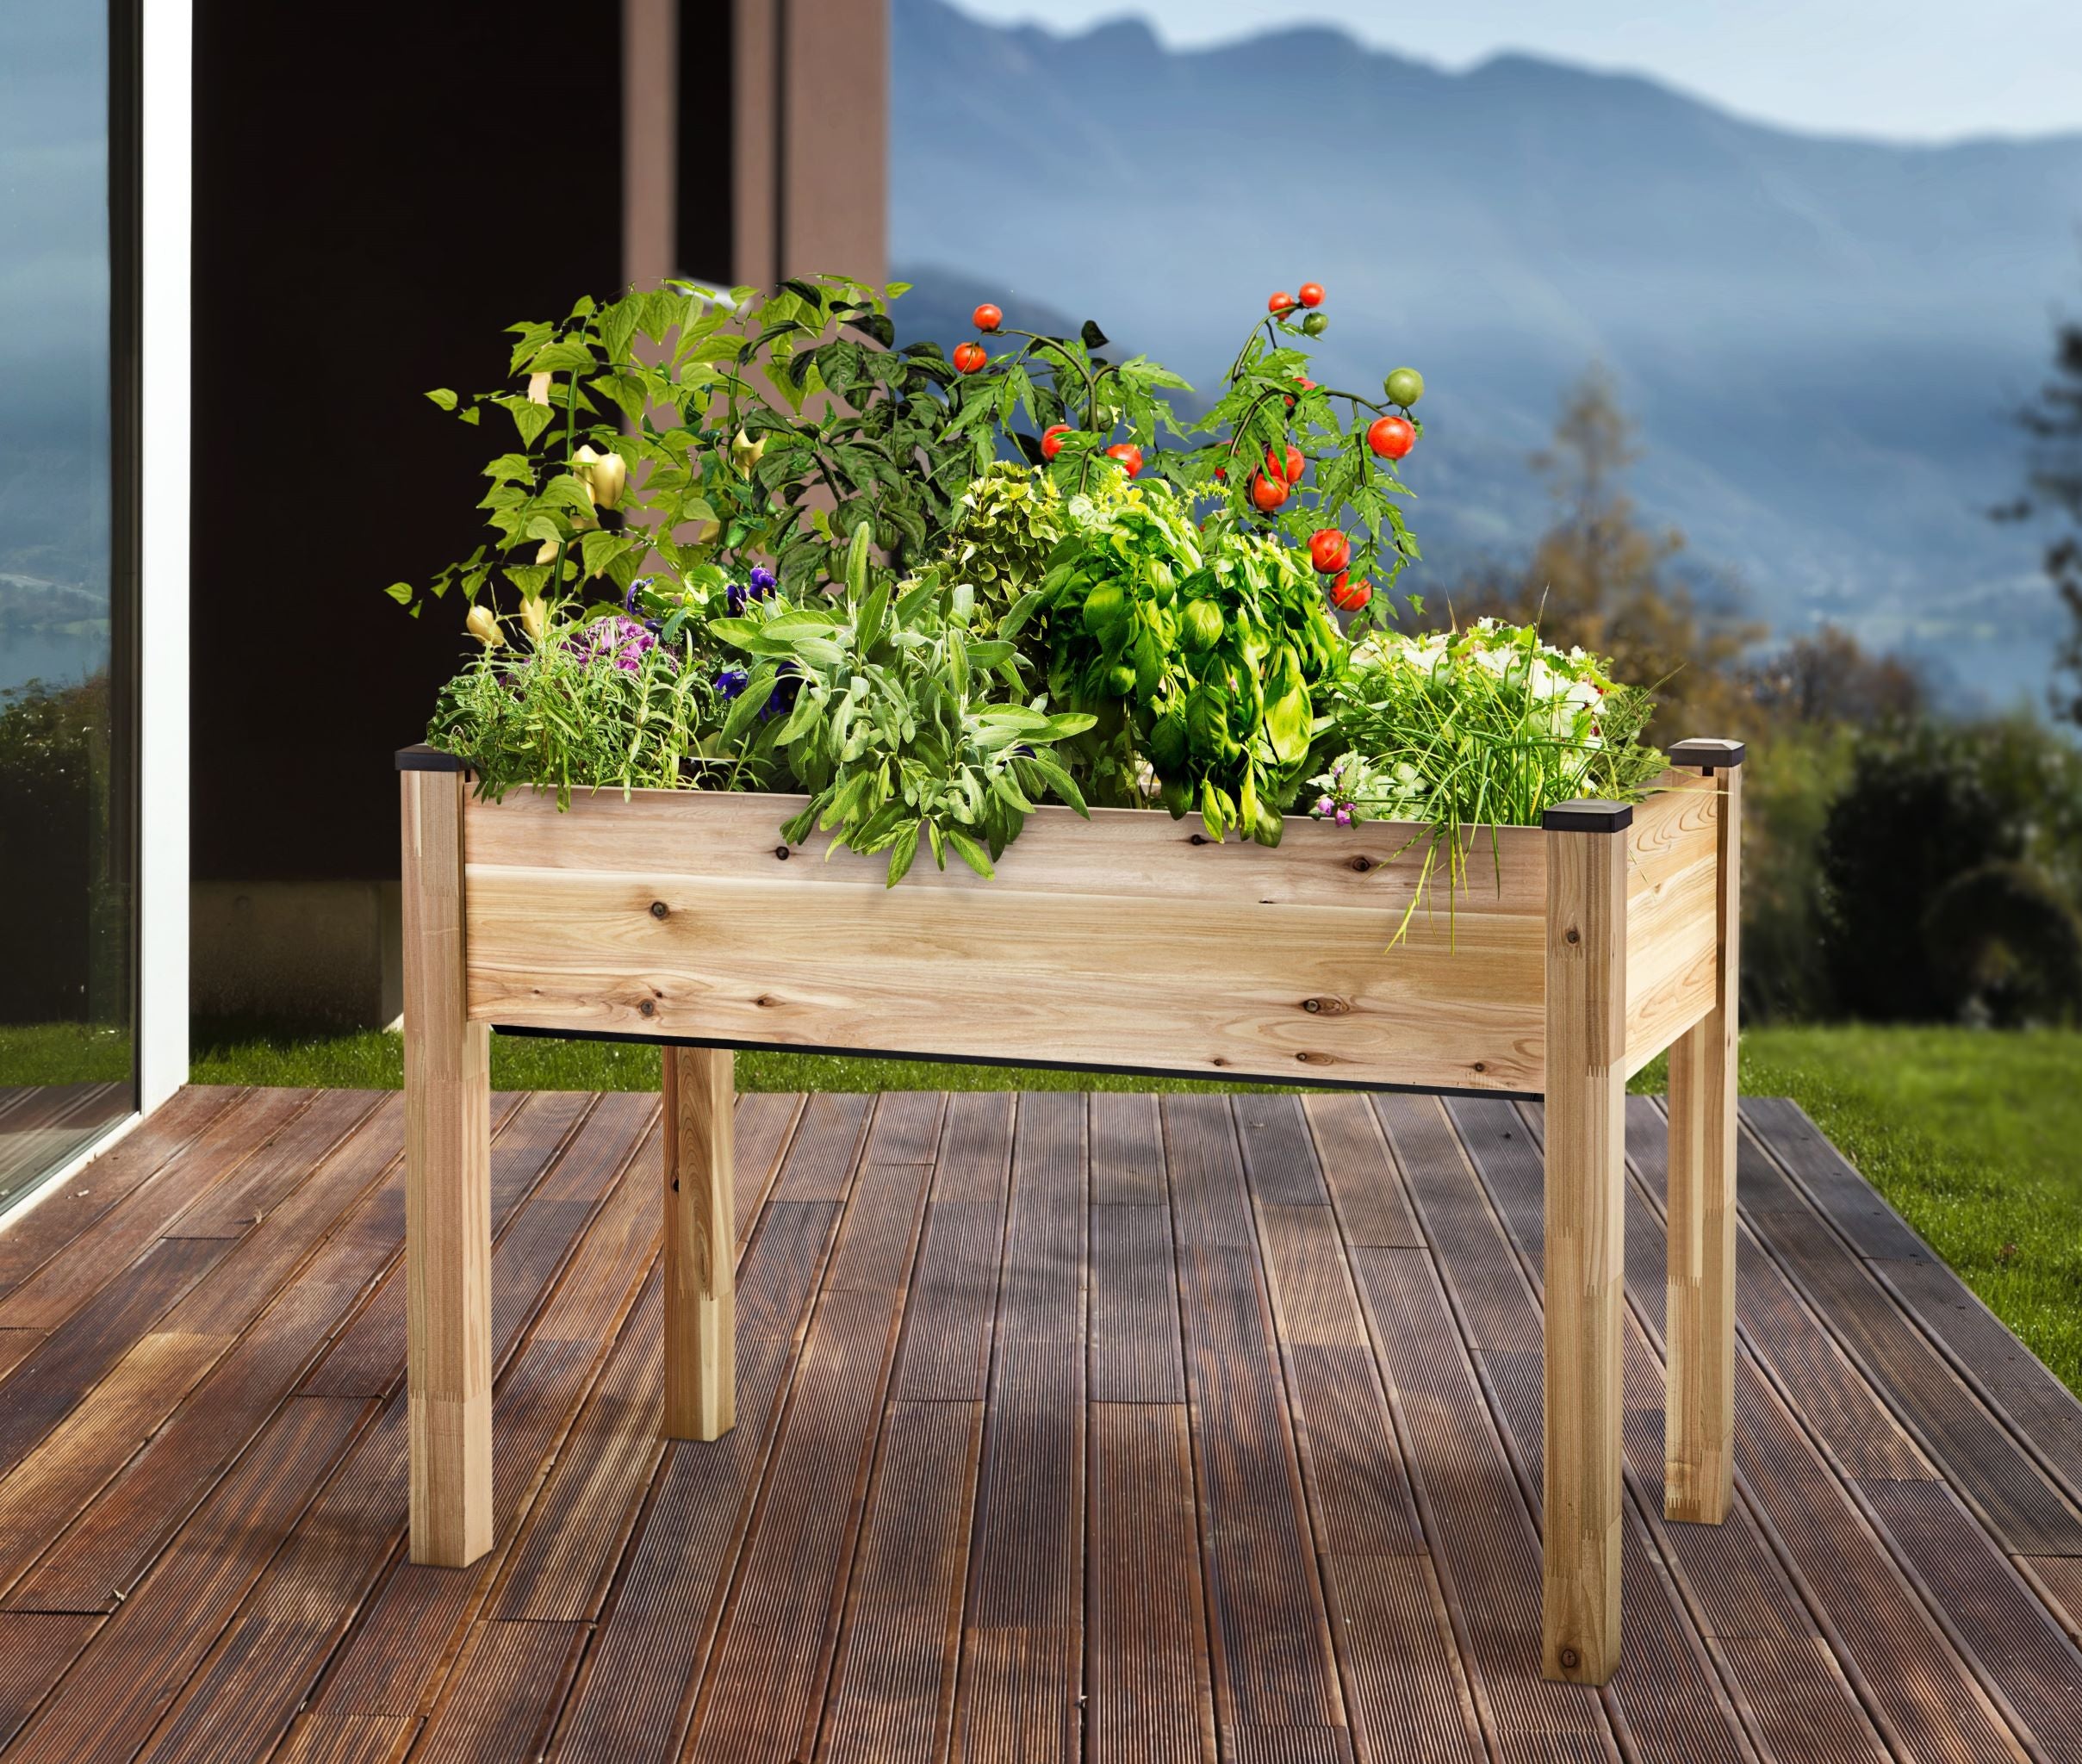
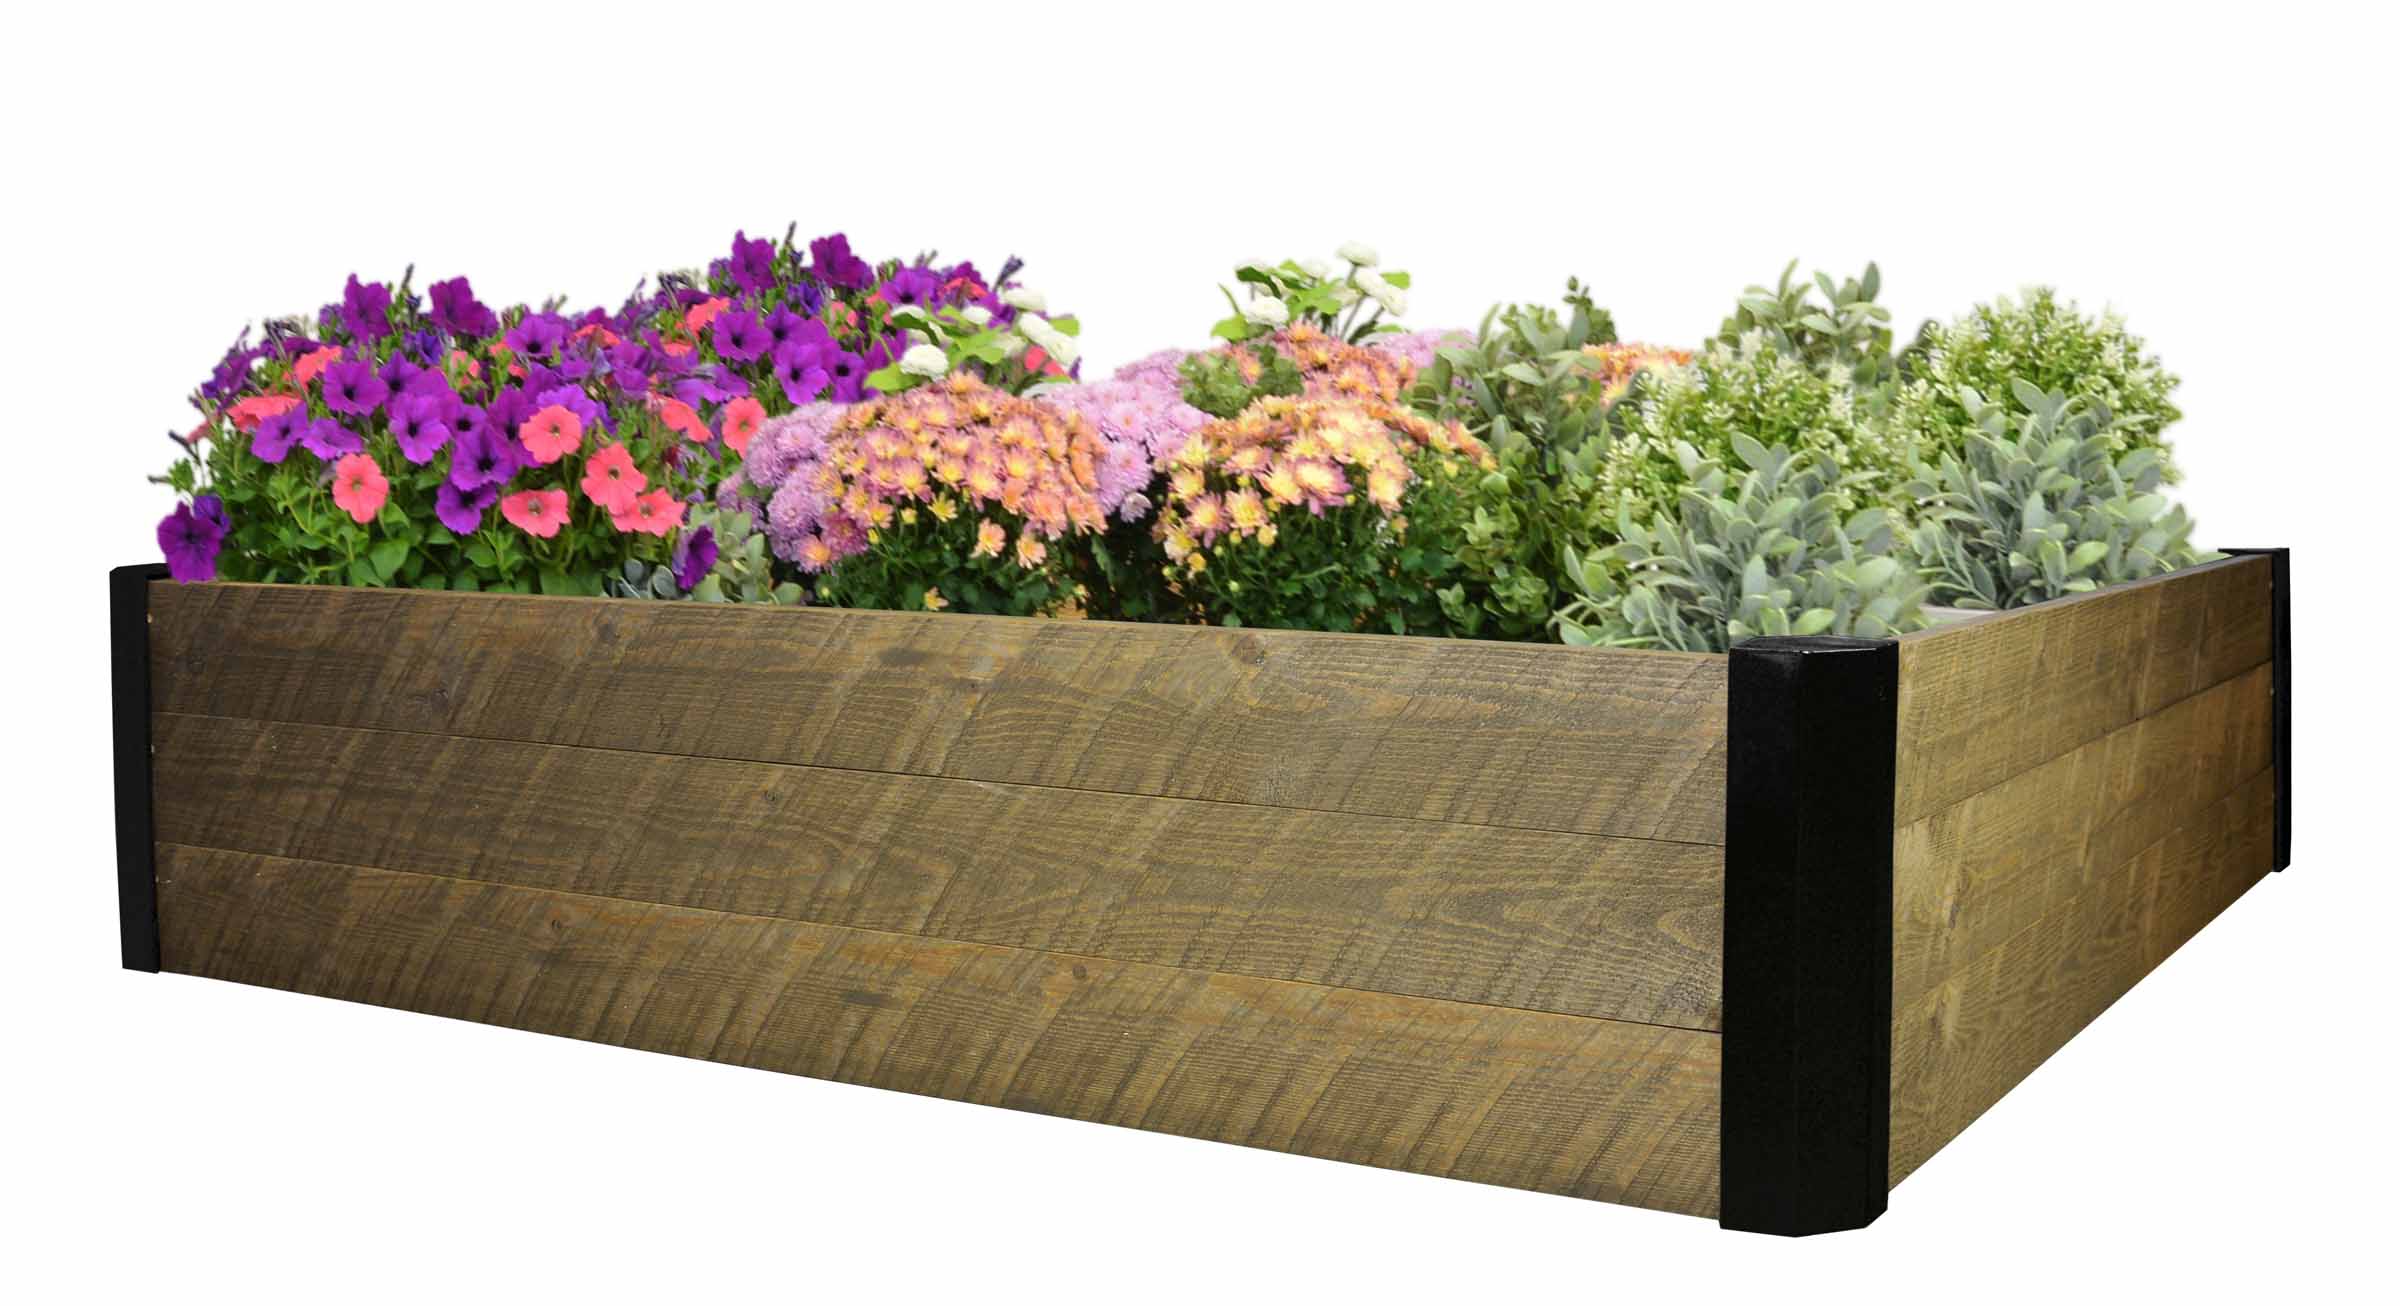
My Pepper Plants Have Commitment Issues This season, my ghost peppers completely ghosted me—big leafy plants, but no fruit at all. My banana peppers were a little more generous, sending out plenty of flowers, but only a handful ever turned into actual peppers. Raised beds make gardening easier, but they don’t explain why your peppers play hard to get.That’s when I turned to plant apps. Whether it’s figuring out why my peppers won’t perform or identifying that mystery sprout in the corner of the bed, these apps act like a pocket garden coach—ready whenever I need a second opinion. Top Plant Apps Worth Downloading App Name Rating Free or Paid Approx. Cost Standout Feature PictureThis 4.8/5 Freemium → Paid ~$30/year Identifies plants instantly, flags pests/disease, and gives tailored care tips PlantNet 4.4/5 Free Free Community-powered ID, perfect for flowers and veggies iNaturalist 4.0/5 Free Free Connects your finds to global citizen science projects PlantSnap 4.6/5 Freemium → Paid In-app purchases Large database, great for ornamentals and edibles alike Planta 4.7/5 Freemium → Paid ~$35/year Creates customized care schedules based on your climate and sunlight For a deeper dive into how these apps compare head-to-head, GrowIt BuildIt ran extensive tests and shared their full results. Why These Apps Are Great for Pepper Problems PictureThis: Snaps a photo of your plant and helps diagnose common issues (like poor pollination or nutrient needs). PlantNet: Great for quick ID when you’re not sure if that’s a volunteer pepper sprout—or an ambitious weed. iNaturalist: Not just peppers—connects you with a community of gardeners and scientists who love troubleshooting. PlantSnap: Broad coverage across veggies and ornamentals—useful if you’ve got more than peppers in your beds. Planta: Tailors watering and fertilizing reminders to your local conditions, which is especially helpful for peppers that are sensitive to heat and timing. Extra Tips for Choosing the Right App Check for troubleshooting featuresSome apps go beyond plant ID and actually suggest care solutions. PictureThis will flag pests, nutrient deficiencies, and stress symptoms—helpful when peppers look fine but aren’t producing fruit.Ease of photo uploads mattersPeppers can look very similar at different stages. Apps with strong AI, like PictureThis and PlantSnap, quickly analyze photos and reduce misidentifications.Look for regional accuracySome apps adjust advice to your climate zone. Planta is especially strong here, creating care schedules based on your local weather, daylight, and humidity—great for peppers that demand consistent warmth and pollination.Try before you buyMany apps start free with limited features. Test them before committing to an annual subscription—especially if you just want ID versus detailed coaching.Use app journalsTracking bloom time, fruit set, and soil conditions makes patterns easier to spot. Both Planta and PictureThis include journaling features, which is perfect for comparing this season’s pepper success (or struggle) and prepping for a fall garden—more on that in an upcoming post. Pairing Apps with CedarCraft Raised Beds Raised and elevated beds already give peppers a head start with warmer soil, better drainage, and easy access for care. Add in an app that reminds you when to water, fertilize, or troubleshoot—and you’ve got a recipe for a stronger harvest, without the guesswork. Wrap-Up Ghost peppers that ghost you, banana peppers that flirt with flowers but won’t commit—every gardener has been there. Plant apps can’t guarantee fruit, but they can help you figure out why things aren’t going as planned and what to try next. Combined with raised-bed planters that give your crops the best growing environment, they’re the kind of backup every gardener needs. Mischelle, the Backyard Hopeful Mischelle is a writer, former chef, and the proud survivor of many, many houseplant casualties. While most greenery in her care has met a leafy end, she’s found her redemption in CedarCraft’s self-watering planters—where her herbs actually thrive. Basil is her crown jewel; her kids eat it like lettuce, and she turns it into a killer artichoke hummus pesto. She loves warm weather, outdoor BBQs, and believes you don’t need to be an expert gardener to create something beautiful—just the right tools, a little sun, and a whole lot of hope
Learn more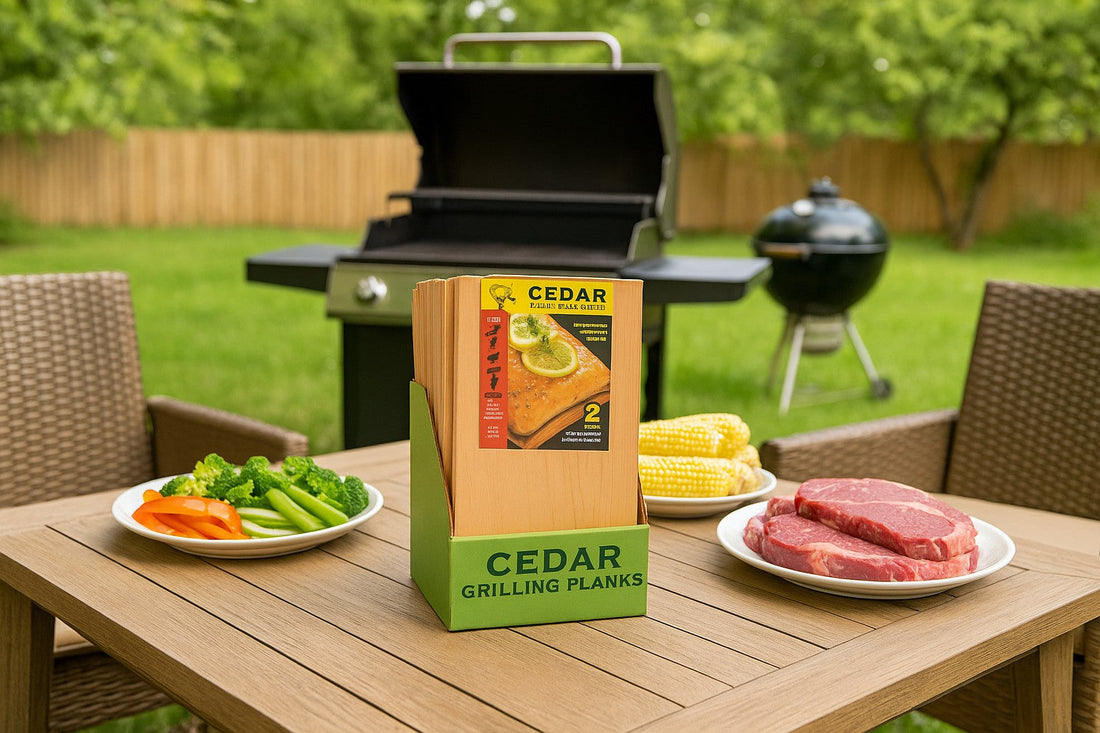
From Planter to Plank
This holiday, ribeye may be off the menu ($19.99/lb—ouch), but that doesn’t mean the grill will be empty. My CedarCraft self-watering planter is still overflowing with basil, so I turned it into creamy cashew pesto and stuffed it inside a pork tenderloin. Grilled on a True Fire Cedar Grill Plank, it’s smoky, herby, and budget-friendly—a backyard feast that even made my neighbors jealous.
Learn more
Surviving the Summer—Without Losing Your Garden or Your Sanity
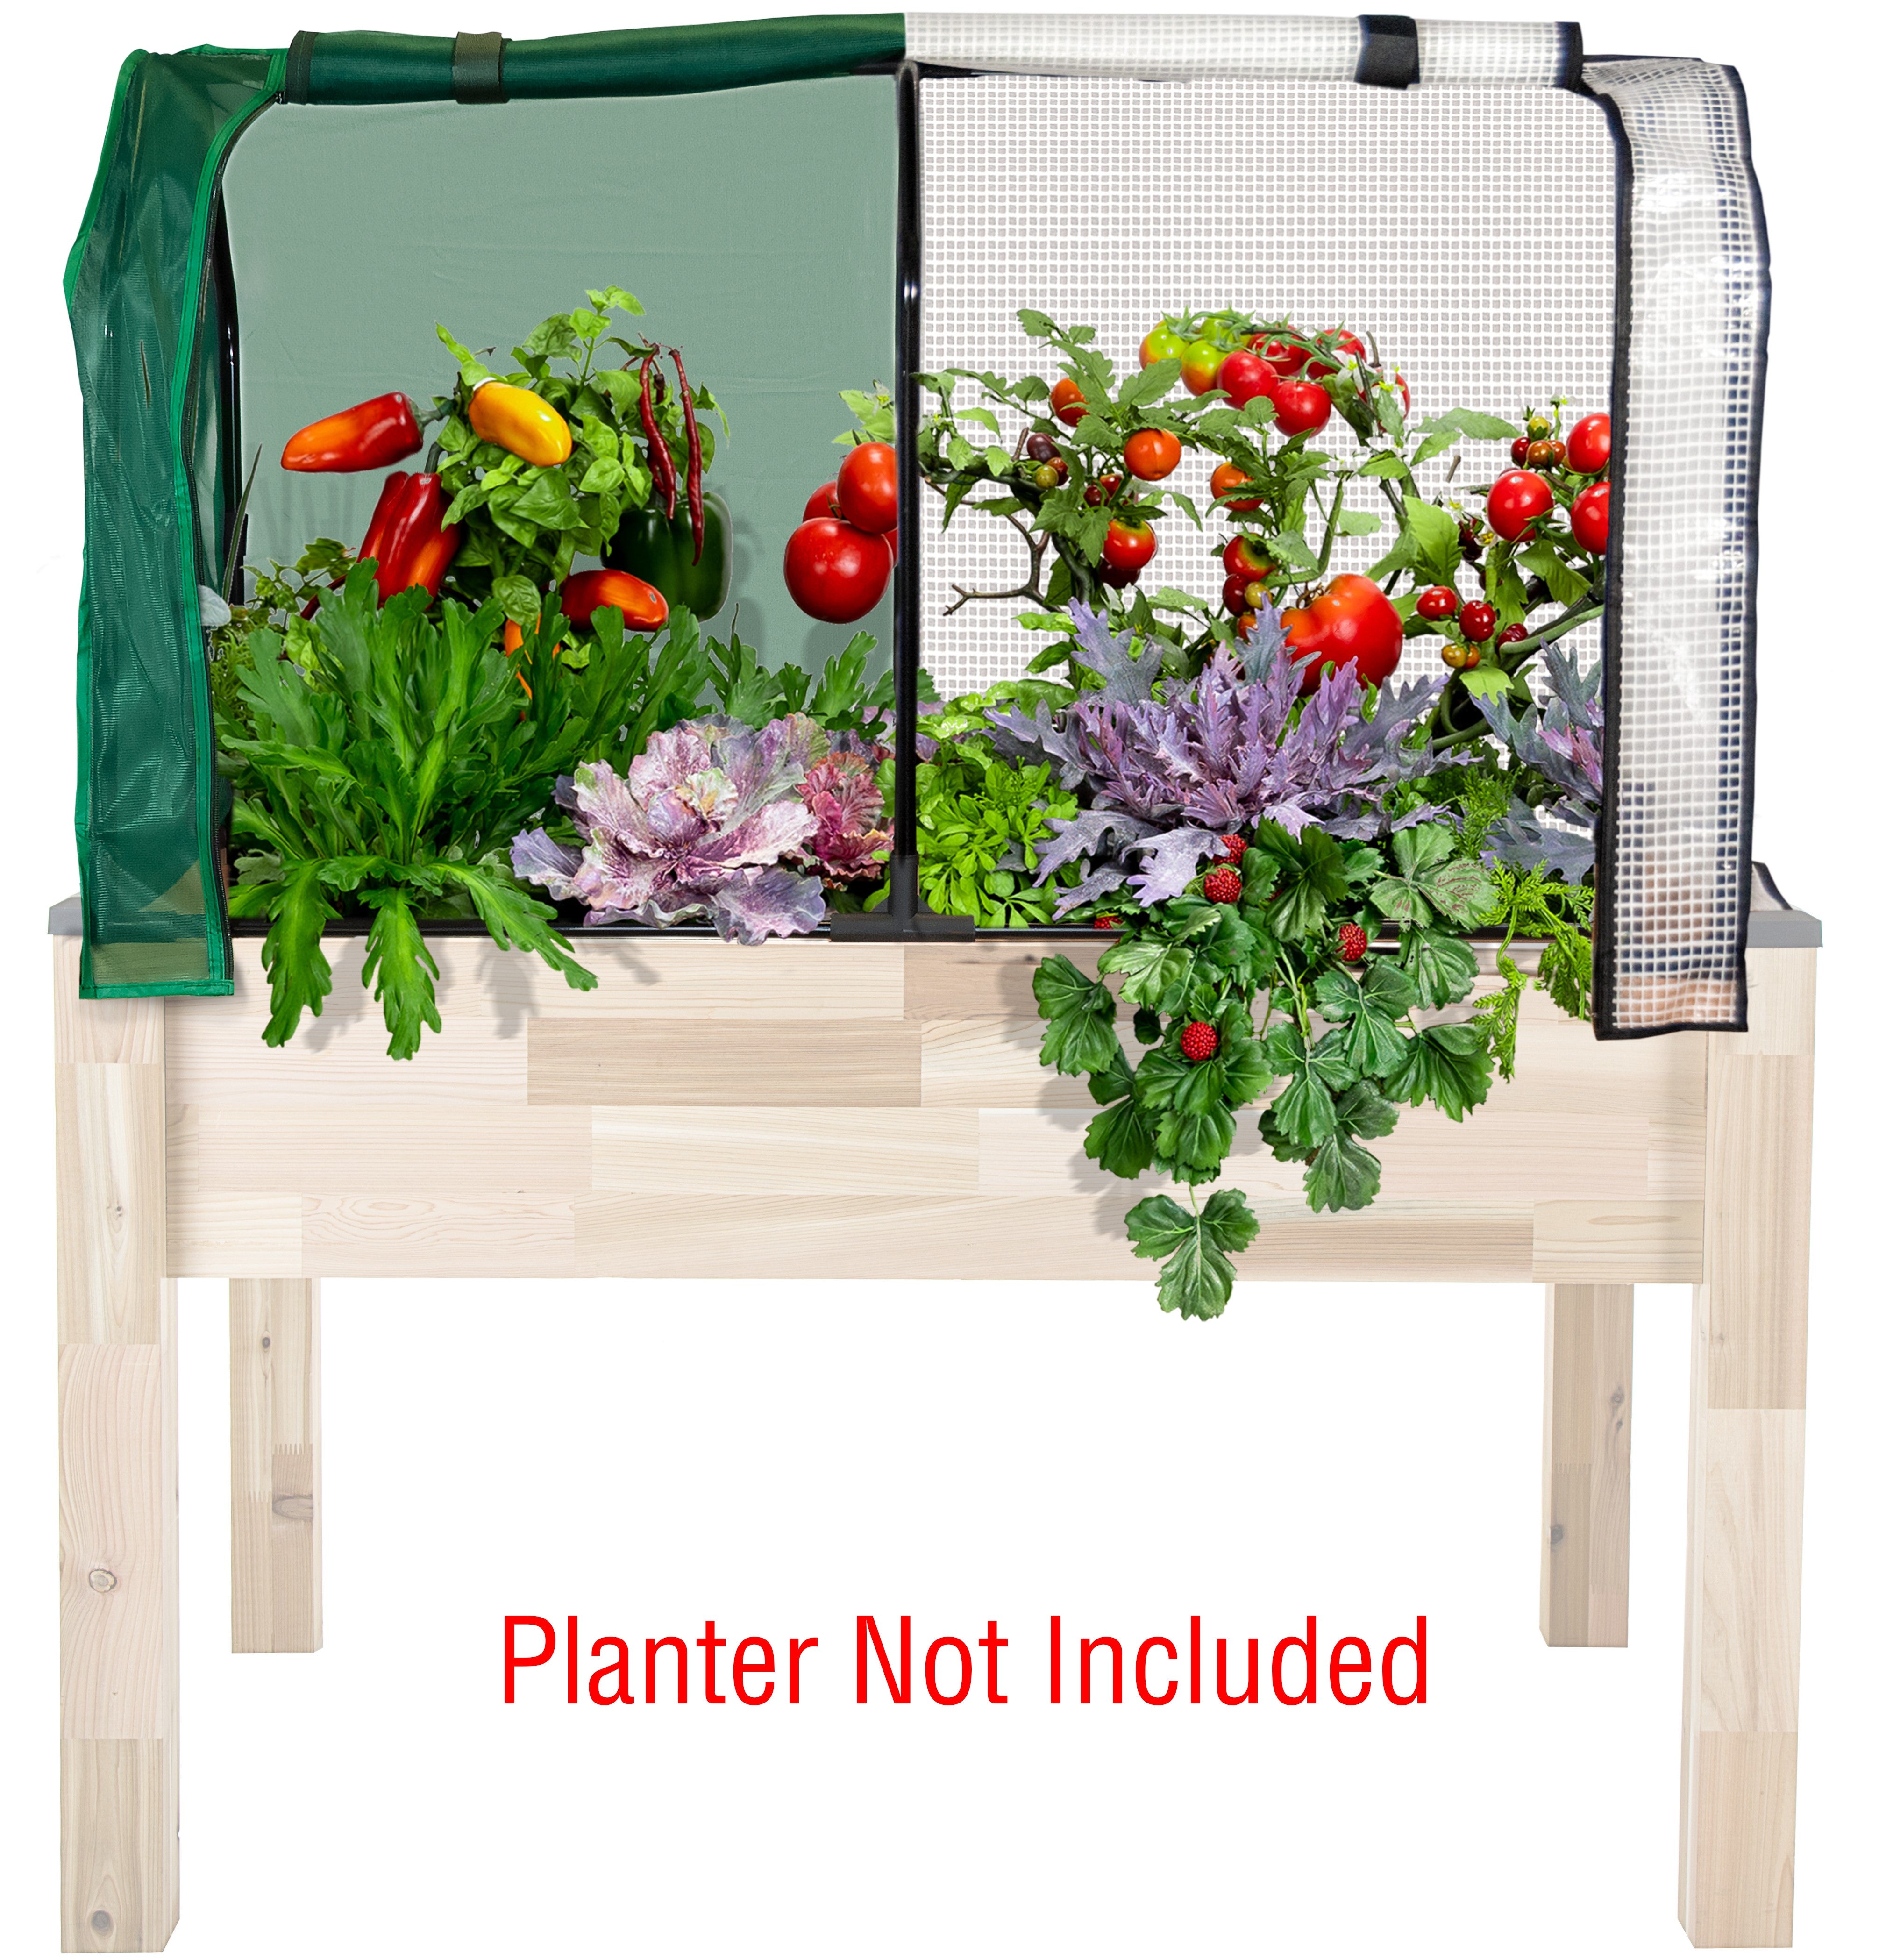
The other afternoon, I stepped outside and the heat radiated off the pavement so fiercely it felt like it was coming at me from all directions. If you’ve gardened here in Texas, you know that feeling—when your plants practically wave a white flag by noon. Most years, by the time August rolls around, my yard looks like a crime scene for potted plants. I call it “The Great Annual Plant Massacre” — victims include tomatoes, peppers, basil, and pretty much anything that dared to leaf out in June. That was until I set up my CedarCraft Self-Watering Raised Planter. Now, even in extreme heat, my garden keeps going—and my family and I get fresh pesto all summer long. I also get something I’d been missing for years: my life (and my weekends) back. My Real-World Routine in Extreme Heat Here’s how I keep my plants happy when the thermometer is working overtime: Refill the reservoir every 3–4 days during the worst heat (longer if temps dip below 95°F). Mist plants every couple of days for a quick refresh on the leaves. Let the self-watering system do the rest—steady root-level moisture means no more midday wilt panic. Why Self-Watering + Raised Height Is a Game-Changer It’s not just about healthy plants—it’s about a happier gardener. Here’s what it’s done for me: Travel without guilt – Head to the beach, take a weekend trip, or escape to Alaska without coming home to crispy, lifeless plants. (That's me in Puerto Rico :). Keep those backaches at bay – Raised height means no crouching marathons or awkward stretches. Steady, stress-free plants – No more “flood or famine” watering cycles that leave roots stressed. Sip, don’t sweat – Bottom watering means less evaporation and less time standing in the sun with a hose. Cooler, happier plants – Roots stay calm, collected, and ready to grow even when the air feels like an oven. Tips for Keeping Plants Thriving in Summer Heat Shade during peak hours – A little afternoon shade can mean the difference between thriving and frying. 2. Misting – Gives plants a quick boost without overwatering the soil.3. Mulch the top – Keeps soil temperatures lower and slows evaporation.4. Prune regularly – Encourages airflow and reduces stress on plants.5. Group heat-tolerant plants together – So your watering schedule stays simple. From Heat-Stressed to Hands-Free Enjoyment Before I had a self-watering raised planter, I was chained to my hose all summer. Now, I get to: Sit on the porch with a glass of iced tea instead of dragging hoses around. Enjoy fresh basil for pesto all summer instead of watching it wither away. Avoid the “August Garden Funeral” where I pull up crispy, lifeless plants and pretend they “moved to the country.”It’s still Texas. It’s still hot. But now, the heat doesn’t win.Ready to beat the summer burnout?Your garden—and your back—will thank you. Check out our CedarCraft Self-Watering Raised Planter and make this the summer you thrive alongside your plants. Mischelle, the Backyard Hopeful Writer, former chef, and reformed plant neglecter. These days, her herbs actually thrive—thanks to CedarCraft’s self-watering planters. She loves cedar-scented projects, summer BBQs, and believes anyone can create a beautiful space with the right tools and a little hope.
Learn more
How to Create a DIY Backyard Oasis in 5 Easy Steps
Overwhelmed by your yard? Here’s how one backyard hopeful transformed her outdoor space into a peaceful retreat—with a cedar pergola, self-watering planters, and a few simple upgrades. A DIY guide for real people, written by a reformed plant neglecter.
Learn more
Why Does My Plant Look Like This? - Plant Diagnosing 101
It is devastating to put all the work and care into tending a plant only to discover that some other bacteria or disease has also been giving it a lot of attention. Thankfully, with a little bit of investigation, the cause of your plants' distress can usually be determined and fixed. Wilted or Dead Seedlings The culprit here is insidious and cruel. Cutworms like young seedlings and as the name suggests, they cut them at ground level, often girdling or killing the plant. They prefer tomatoes, kale, cabbage, and broccoli but aren't really that picky and will go after any seedling. The larval caterpillars who do the damage come in a variety of colors and grow up to 2” long. Placing a cardboard collar around young seedlings is a great way to prevent access to the cutworms. Beneficial nematodes applied to the soil do a lot to control any cutworm population. Wilted Leaves The most common causes are diseases like Fusarium and Verticillium fungi. These two will enter the plant through its' roots and then cut off the water supply to the leaves, which then causes wilt. The best way to handle any disease in the garden is to remove infected plants and destroy them so the disease can't spread. There are also vegetable varieties that have been developed as resistant to these diseases. A fungicide can also help to prevent the disease from spreading. Rapidly wilting plants are likely the result of squash vine borers. These large wasp-like looking moths drill holes in plant stems and have a feast. They like melons, pumpkins, and all kinds of squash. To verify this is the pest causing problems in your garden, look for a hole in the stem near the ground. Squash vine borers can be carefully cut out of the stem to save the plant if it is discovered before the plant dies. An insecticidal soap applied at the stem base helps kill any larvae. Yellow Leaves Leaves can turn yellow for a variety of reasons. The main one is usually over-watering, which can happen is holding water and not draining properly. Adding sand to the soil and not watering as deeply will help. Another cause is the much-despised squash beetle, which loves to suck on cucumber, squash, melon, and zucchini leaves until they turn yellow and die. As with most pests, if you see one, you for sure have an infestation on your hands. Squash beetles are hard to control. As adults, they can be hand-picked off the leaves and killed. Larvae, orange spots found on the undersides of leaves, can be treated with insecticidal soap or neem. Yet another cause of yellow, as well as wilted, leaves are whiteflies. Evidence of a whitefly infestation is a sticky residue on the leaves, which is the excrement of these little moth-like white flies. They prefer tomatoes, peppers, sweet potatoes, and citrus trees. Sticky yellow insect traps will catch the adults and stop them from reproducing. Stunted Growth There is a prolific group of pests called aphids that love to suck all the juice out of plants, favoring the youngest plants most. They form large groups and gather on the undersides of leaves. They especially like cabbage, kale, tomatoes, and lettuce. The result of their feedings is deformed, distorted, and stunted plant growth. Aphids are tiny pear-shaped creatures and can be hard to see but you will not miss their calling cards. Aphids can be removed by spraying water on them to knock them off the plants or with insecticidal soap or oil. To prevent aphids from appearing again, plant to attract beneficial insects that will eat them. Defoliation Don't mistake the culprit here for a ladybug. The Colorado Beetle, ladybug shaped with black and tan stripes, will eat your entire plant if left to it. They like tomatoes, potatoes, eggplants, peppers, and tomatillos and if you see even one, take action because you for sure have an infestation. These beetles can be hand-picked off plants. Neem-based insecticides work really well against them too. Be sure to clean up your garden and rotate your crops each year because these guys love to overwinter in garden debris so they can be ready to attack again in the Spring. If you see damage on any type of bean plant, the pest at work here is the Mexican Bean Beetle. The adult beetles are copper colored with black spots and look similar to a ladybug. The larvae are yellow with soft bristles sticking out. They multiply quickly and will destroy a row of beans in no time at all. When they get tired of eating the leaves, they will start eating the beans too. Planting flowering herbs, like summer savory, will attract a wasp that loves feeding on the Mexican bean beetle larvae. Hot pepper wax insect repellent works well to repel these pests. Holey Leaves If you see small ragged looking holes, possibly in combination with wilted leaves and stem, then you have some cucumber beetles in your garden. These pests are bright yellow and can have either black spots or stripes. They love cucumbers, melons, pumpkins, and squash. Cucumber beetles eat the leaves, making holes, and then transmit bacterial wilt as they eat, so you end up with two problems with this one. The best defense against these beetles is to cover your plants with a row cover until they flower and then using an organic pesticide if they are causing trouble. The only combat against bacterial wilt is to choose plant species that are resistant. Tiny little holes all over the leaves are evidence of flea beetles. These are tiny black or brown flea-sized pests that move quickly and enjoy corn, potatoes, tomatoes, radishes, and eggplant. They lay their eggs in the ground and the larvae will eat plant roots too. Yellow sticky traps work really well in controlling these beetles. Neem and garlic oil can be applied to the leaves to keep these guys away, as well. Two more pests that love eating leaves and leaving holes are snails and slugs. An infestation of either of these can be hard to control since they are hard to see. They only feed at night and will invade in droves. They prefer wet leaves so it is best to water the garden in the morning so the leaves have time to dry before the slugs come out at night. Slugs and snails will eat any plant but have a preference for seedlings. They start eating holes in the leaves and will consume the entire plant if left unchecked. Keeping slugs and snails out of the garden can be difficult once they've discovered the feast. Frogs, toads, snakes, and birds all eat slugs and snails so they should be encouraged to hang out in the garden. Slug bait is often the only way to keep them under control once they begin, however. Make sure the active ingredient is iron phosphate as that is the only slug bait that is non-toxic to birds and the other animals that eat slugs and snails. White Powder on Leaves Powdery mildew is a fungal disease that leaves a white to gray powder over the foliage. If left untreated, leaves will turn brown and drop off. This disease likes beans, squash, zucchini, cucumbers, tomatoes, and pumpkins. To prevent the disease from occurring, ensure there is good air circulation between plants and water plants in the morning so they have time to dry during the day. Remove any infected foliage immediately to prevent it from spreading. The best defense is to choose plant varieties that are resistant. Dark Spots On Leaves Small, dark, spots on the leaves are usually a sign of bacterial leaf spot. The spots start out wet and then, when they dry, leave small black rimmed holes. Bacterial leaf spot attacks all plants but particularly at risk are fruit trees, strawberry plants, all members of the brassica family, tomatoes, and peppers. It can leave black spots on the fruit too, not just the foliage. This disease usually gets into vegetable gardens through infected seedlings and transplants. Make sure you are buying any starts from a reputable place to avoid this from happening. There is no cure for this disease but it can be prevented from spreading. It overwinters in the soil so make sure to clean up the garden and around trees so it doesn't have good places to hide. For fruit trees, choose a variety that is resistant to bacterial leaf spot. As you can see, most of these issues are entirely treatable and even remedied. The key is to catch it early and deal with it quickly because left alone, it will only get worse. Take the time to correctly identify the problem and deal with it and your garden will remain healthy, happy, and productive.
Learn more
Why Gardening is Good for Your Health
The mental and physical benefits of gardening have long been known by those who spend time outside nurturing and tending their vegetable plants. The opportunity to get your hands dirty and watch plants go from seed to maturity touches many elements in our nature that need nurturing themselves. Gardening for Physical Health It can be a struggle to find time to exercise for the sake of exercising. After all, we have chores to do, errands to run, kids to run after, work to attend to, and a whole host of other claims on our time. Gardening, however, is not just physical exertion for the sake of exertion. There is a reward at the end. An excellent reward at that. Fresh vegetables grown with your own sweat and hard work are an amazing motivator. Gardening requires a wide variety of physical movements which get the blood moving and improve overall health. Most of it is low-impact as well, which makes it an accessible choice for people of all abilities. Digging, planting, and weeding are mostly repetitive tasks but one of the great things about gardening is the variety of work. The activities are rarely tedious which can be an obstacle with other types of exercise. Additionally, eating all those vegetables you are growing is awesome for your health. Home-grown vegetables are infinitely better in quality and taste than store bought ones. Kids may turn their noses up at broccoli from the store but when it is broccoli they have watched grow from seed to crown, it is suddenly personal and much more interesting. People who grow their own vegetables tend to eat healthier. Gardening for Mental Health Studies recently have linked gardening with a lower risk for developing dementia. The main reason being that when a person is in a garden, they are surrounded by sights, smells, and sounds that are relaxing on a deep inner level. Gardens are known to reduce stress and improve relaxation. The act of creating something, literally from the dirt, tending it, watching it, and reaping its rewards is something we don't often experience in our everyday lives. How often do we get to see every step in a process as well as enjoy the end result? Watching a seed grow to a mature plant through our own efforts is a great way to boost confidence, improve overall morale, and show accomplishment, which increases self-confidence. Gardening is a fantastic activity for kids and adults of all ages who struggle with depression or self-confidence issues. Gardening provides a balance in our lives between work and play that we are sorely missing in this modern fast-paced world. Gardens force us to slow down and take our time; they give us an outlet to express ourselves creatively and in return, they reward us with bounties of fresh, healthy foods – something that can also be hard to find in this modern world. Maintaining a garden gives a person a sense of purpose, a goal to strive towards that has a physical identifiable reward, and a reason to be outside getting much needed fresh air. To learn more about gardening and to get inspired, follow us on Facebook.
Learn more
How To Attract Beneficial Insects
Butterflies, bees, and bugs need your garden and your garden needs all these beneficial insects too. Creating an environment that is appealing to these insects will greatly enhance the success of your garden. There are many places insects can make their home and so the key is to make your space the most attractive option. Why Do We Need Beneficial Insects? The main reason is for pollination. When bees fly from one flower to another, they are passing on pollen and this pollen is what causes a plant to mature and grow fruit. Sure, you could do a lot of pollination on your own by hand but it is so much easier to let the bees do the work! The second reason is that there are many good bugs that will eat the pesky bugs and therefore save your garden from being eaten up and destroyed. This reduces the need for pesticides and also reduces the work you need to do in the garden because, given the right circumstances, the bugs will happily do it for you. What Do Beneficial Insects Want? Like most creatures on this earth, the basic needs of beneficial insects are quite simple yet particular. They need food, water, and shelter. They are looking for a safe space to live and raise a family. Food A plant flowers and produces nectar to attract insects to it. Each plant produces unique nectar meant to appeal to a certain type of insect. Not all insects want the same dish at the buffet! Plus, many like a buffet with a wide variety to choose from. Plant a wide variety of vegetables and flowers and you will have a wide variety of beneficial insects showing up to enjoy them. To encourage a specific insect, it is important to research what plants or flowers they enjoy most and plant for them. There are around 4,000 types of bees in North America and each one has its' preferred food choice. It has been observed that bees tend to prefer native plants over exotic ones and they also prefer large patches of flowers. Water All creatures need water and insects are no different. Butterflies, in particular, like to gather together and have a social drinking time. Installing a bird bath or a basin for catching rainwater will encourage these insects to stay awhile. Shelter Insects need shelter to protect them from predators, to give them a safe place away from the elements, and to raise their young. Most insects like small hideaway type places, like bushes and hedges. They also like piles of wood or bunches of twigs, as well as hollow branches. Provide a variety of spots around your garden that will appeal to the insects and they will come. Ditch the Pesticides Pesticides don't differentiate between beneficial bugs and pesky, destructive bugs. Using any type of pesticide will get rid of all the insects. When the beneficial ones are gone, it is bad for the health of your garden and it is more likely that the garden will develop other issues. It also creates more work because now there are no good bugs to maintain the space and pesky ones can sneak back in and wreak havoc. When it comes to planning and planting your garden, don't forget about our insect friends who do so much of the work for us and allow us to have fresh vegetables and flowers each and every year. For more ideas and inspiration, follow us on Facebook.
Learn more
The 6 Fastest Growing Vegetables for Your Garden
Gardening takes time but not all vegetables need a lot of time to grow. There is a large variance in maturity rates between different types of vegetables. Planting types that mature quickly mean the sooner you get to enjoy the rewards of your hard work. Additionally, the vegetables in this list are all easy to grow which make them great options for beginning gardeners. Lettuce Ready in as little as 30 days, lettuce should be planted early and often. It can be planted all season long with successive plantings. There are many types of lettuce to choose from which makes this a great choice just for the sake of variety. Some grow better in cooler weather and some are designed for the hotter days of summer. The garden will never get boring when there are multiple types of lettuce coming ready for harvest throughout the season. Radishes This spicy, crunchy, garden gem is a super fast grower. Depending on the type, it can be ready to harvest in 25 days. They prefer cooler weather, so plant them in early in the Spring and you will be enjoying the fruits of your labors while you're still getting other plants in the garden. In late summer, another few rounds of radishes can be planted to be harvested in early fall and into the winter. Zucchini Everyone knows already how prolific zucchini can be but another great thing about this vegetable is that it grows quite quickly as well. Maturity rates for zucchini range from 40-50 days. Once the plant flowers, the fruit is ready for harvesting in as little as 4-8 days. Beets A great vegetable to have in the garden not only because it grows fast but because all parts of the beet are edible and highly nutritious. Beet greens are ready to be harvested 30 days after planting while the beetroot takes a little bit longer, up to 60 days. The greens should be trimmed off the top in small amounts, a few leaves off of each one so as not to hinder the root growing below. Bush Beans These are a great choice because they are very low maintenance and high producers. A one-square-foot bean patch yields around 1 quart of beans. The average days to maturity for bush beans is 50 days. To increase the yield, do consecutive plantings spaced two weeks apart and you will be enjoying bush beans all season long. Kale Besides being a powerhouse vegetable nutritionally, kale is also a powerhouse grower. It grows fast, strong, all season long, and it doesn't die off easily. One plant, treated with the right care, can produce all season long starting from when it is just 2" tall. This means you can be harvesting kale in as little as 30 days. Cut off the leaves as they mature and watch the plant keep producing more. If you are new to gardening or short on time, this list of vegetables is the perfect place to start. Not only will you be enjoying fresh vegetables just a month after you start your garden, but you may also have some to share with the neighbors. Happy Gardening! For more ideas, tips, and inspiration follow us on Facebook.
Learn more
Fertilizers for Container Gardens
Now that you have your plants all set up in their new homes, it is time to tend them and help them thrive. Fertilizers are a necessary part of container gardening because the plants don't have access to the minerals and nutrients found in soil. Potting soil provides nutrients in the beginning but over time it depletes. The plants need supplements to ensure that they grow and flourish. Types of Fertilizer Slow-release, or timed-release, fertilizers contain a water soluble fertilizer that is sheathed in a ball of permeable resin coating. Nutrients are released in small amounts when the fertilizer comes in contact with water. When you use this type of fertilizer, every time you water the container plants, they are being fertilized. This type of fertilizer is mixed into the potting soil and can last up to 3-4 months. The benefit to using this type of fertilizer is that it only has to be applied once or twice during a growing season and you don't have to worry about forgetting to fertilize. The downside is that it is difficult to manage how much the plants are getting at any one time. If you have a self-watering planter, slow-release fertilizers are not a good option. Liquid fertilizers are pre-mixed liquids that are then added to water and given to your plants during their regular watering time. They are generally applied every 2 weeks. The upside to this type of fertilizer is that it can be adjusted easily based on how the plants are doing. Adding more or less or skipping an application is easy. The main drawback is that it requires a person to remember to do it on a regular schedule. For the time-crunched or forgetful gardener, this may not be the best option. When to Apply Fertilizer and How Much? There is no set answer to this question because every plant and situation varies. How much to use depends on the type of plant, what stage of the growing season you are in, and how long it has been since the last application. A good rule of thumb is to follow what the fertilizer label says and then adjust it as needed based on how the plants react. It is better to under-fertilize a plant as opposed to over-fertilizing, so if you are concerned, always use a smaller amount. Plants need different types and amounts of fertilizer for different growth stages. To understand better what your plants need, it is important to understand how fertilizer is compiled. Fertilizer is always rated using 3 numbers that are written like 10-2-2. This is the NPK value. The numbers will vary but the order in which they are presented are always the same. The first number is the amount of nitrogen, the second is the amount of phosphorous, and the third is the amount of potassium. Organic and Non-Organic Fertilizer Options There are ups and downs to both types and what you use is dependent on your preferences. You may find that a combination of the two works best for your plants. Organic fertilizers include fish meal emulsions, liquid kelp, alfalfa meal, fresh worm castings, and feather meal. Each one has a specific purpose and it is often necessary to keep a wide variety on hand to supplement the soil properly. Additionally, it is often hard to know exactly the amount of nutrients and minerals in each one. An organic fertilizer takes more time to show results than a synthetic one, however, the results are generally more long term. Synthetic fertilizers are water-soluble and highly specific. The nutrients and minerals are in exact amounts and you know explicitly what the plants are receiving. It is easier to find exact nutrient blends for your particular situation and the mixes are generally less expensive than organic options. Plants benefit quickly from synthetic fertilizers, however, they usually need to be applied more often. Types of Organic Fertilizers When selecting an organic fertilizer, it is important to pay attention to the NPK(nitrogen, phosphorous, potassium) values. Not all organic fertilizers contain all three. A good organic fertilizer will list its NPK value and whether it is plant-based, manure-based, or a blend of the two. Organic Fertilizers are more expensive than synthetic, however, their effects are longer lasting and improve the overall quality of the soil. Worm Castings – A great choice for the entire growing season. There are quick-release and slow-release nutrients that will help with all growing stages and beneficial bacteria to assist the plants in absorbing the nutrients. They are high in iron, calcium, magnesium, sulfur and trace minerals. Alfalfa Meal – Inexpensive and generally widely available, this fertilizer gives a steady supply of nutrients throughout the growing season. Feather Meal – This is best added as a supplement during the mid-growth stage and provides a good source of nitrogen to the plants. Kelp Meal & Seaweed – Amend the soil in the beginning with this to add trace minerals which will help plants get started and thrive. Seaweed can also be used for some insect control. Oyster Shell Flour/Crushed Dried Eggshells – These add calcium. Compost – High in nutrients and microorganisms, this is something that should be added to any organic garden. The exact nutrients will vary depending on what was in the compost. Manure – Not all manures are created equal. A lot depends on the health of the animals, the quality of their food, and how the manure was handled. If it is possible to get manure from a local source, that is best. It is an excellent source of NPK and has been used for millennia with success. Most manures should be composted before being added to vegetable gardens to kill pathogens and weed seeds. The exceptions to this are rabbit, alpaca, and llama manure. Blends – The market today is brimming with organic fertilizer options which contain some combination of the mediums listed above. A few good ones are Dr. Earth Organics, Neptune's Harvest, and Unco Industries Earthworm Castings. Synthetic Fertilizers Simpler, by far, because they are designed to be an all-in-one and simple to use. They will need to be applied more often and on a regular schedule. They are easier to work with and provide the plants with the nutrients they need, however, they don't do much to improve the overall quality of the soil. Synthetic fertilizers are widely available and usually less expensive but since they need to be added more often, it may work out to be similar in overall cost. There are a plethora of synthetic fertilizers on the market. Some popular ones include Miracle-Gro, Scotts, and Pennington. All container plants need fertilizer in order to prosper. The one that is best for your plants depends entirely on where you are and what you are growing. Look through all the options and find the best one for your plants. Don't be afraid to experiment a bit and test the different types for yourself. Your plants are depending on you! For more information about container gardening and to learn some gardening tricks and tips, follow us on Facebook.
Learn more