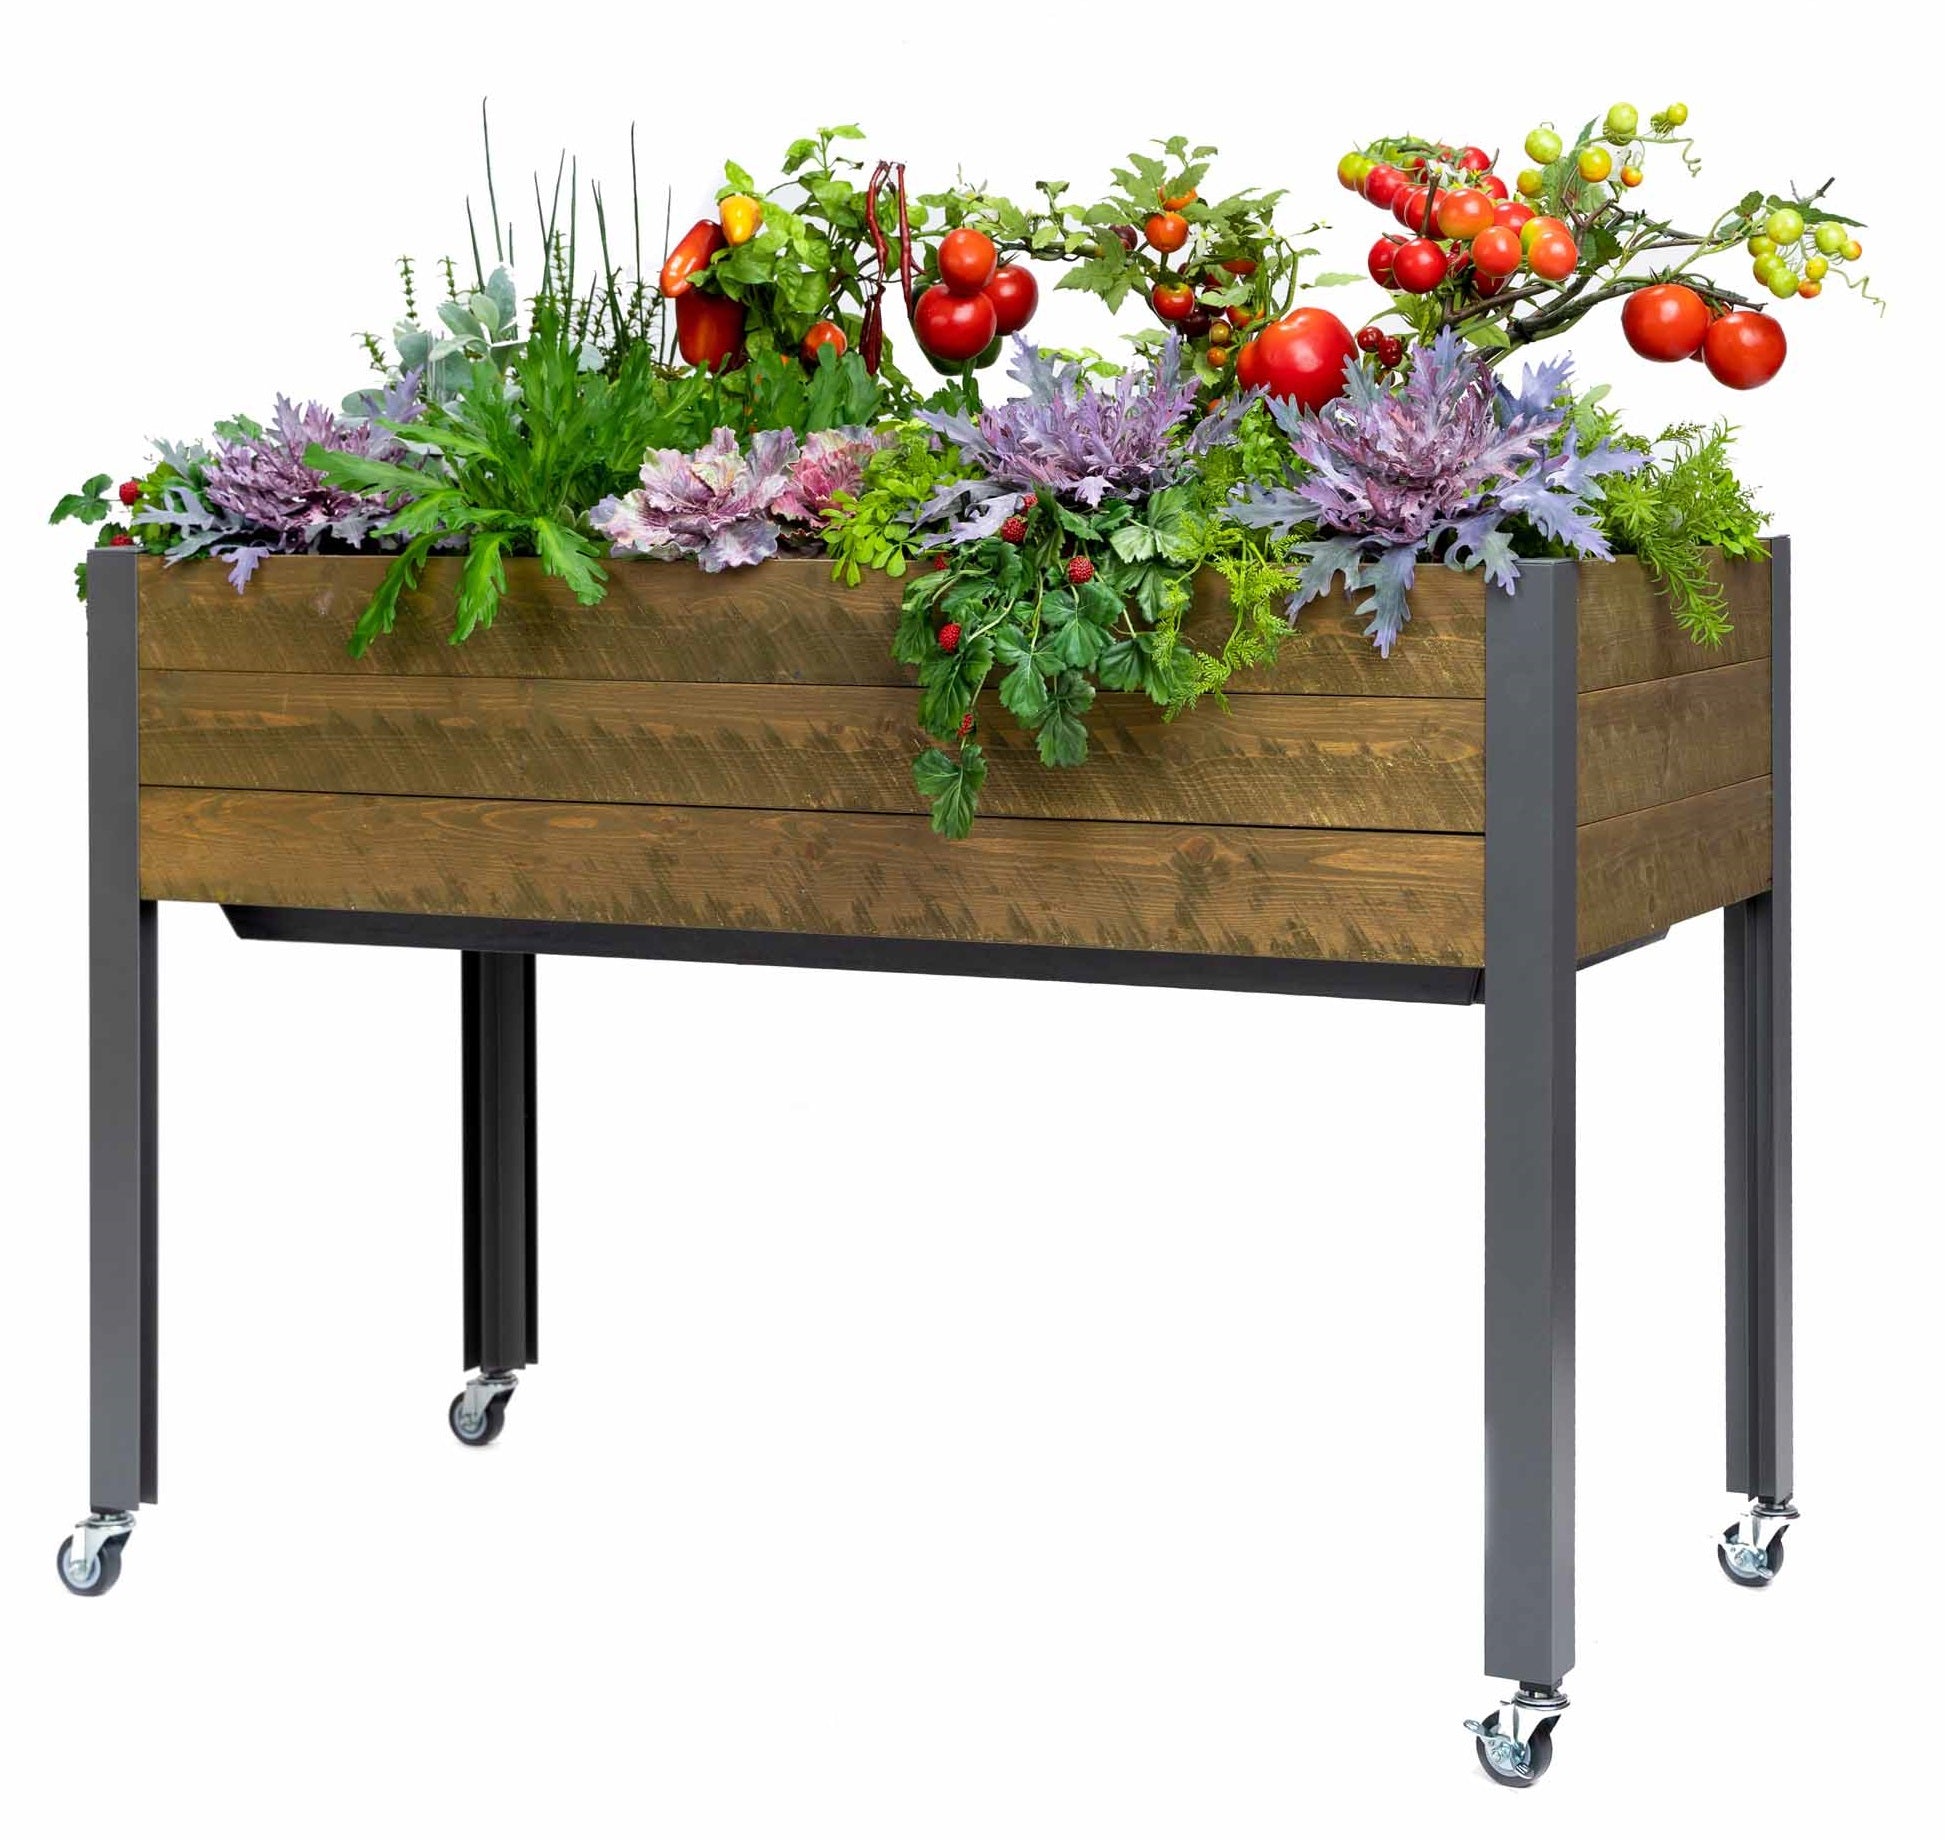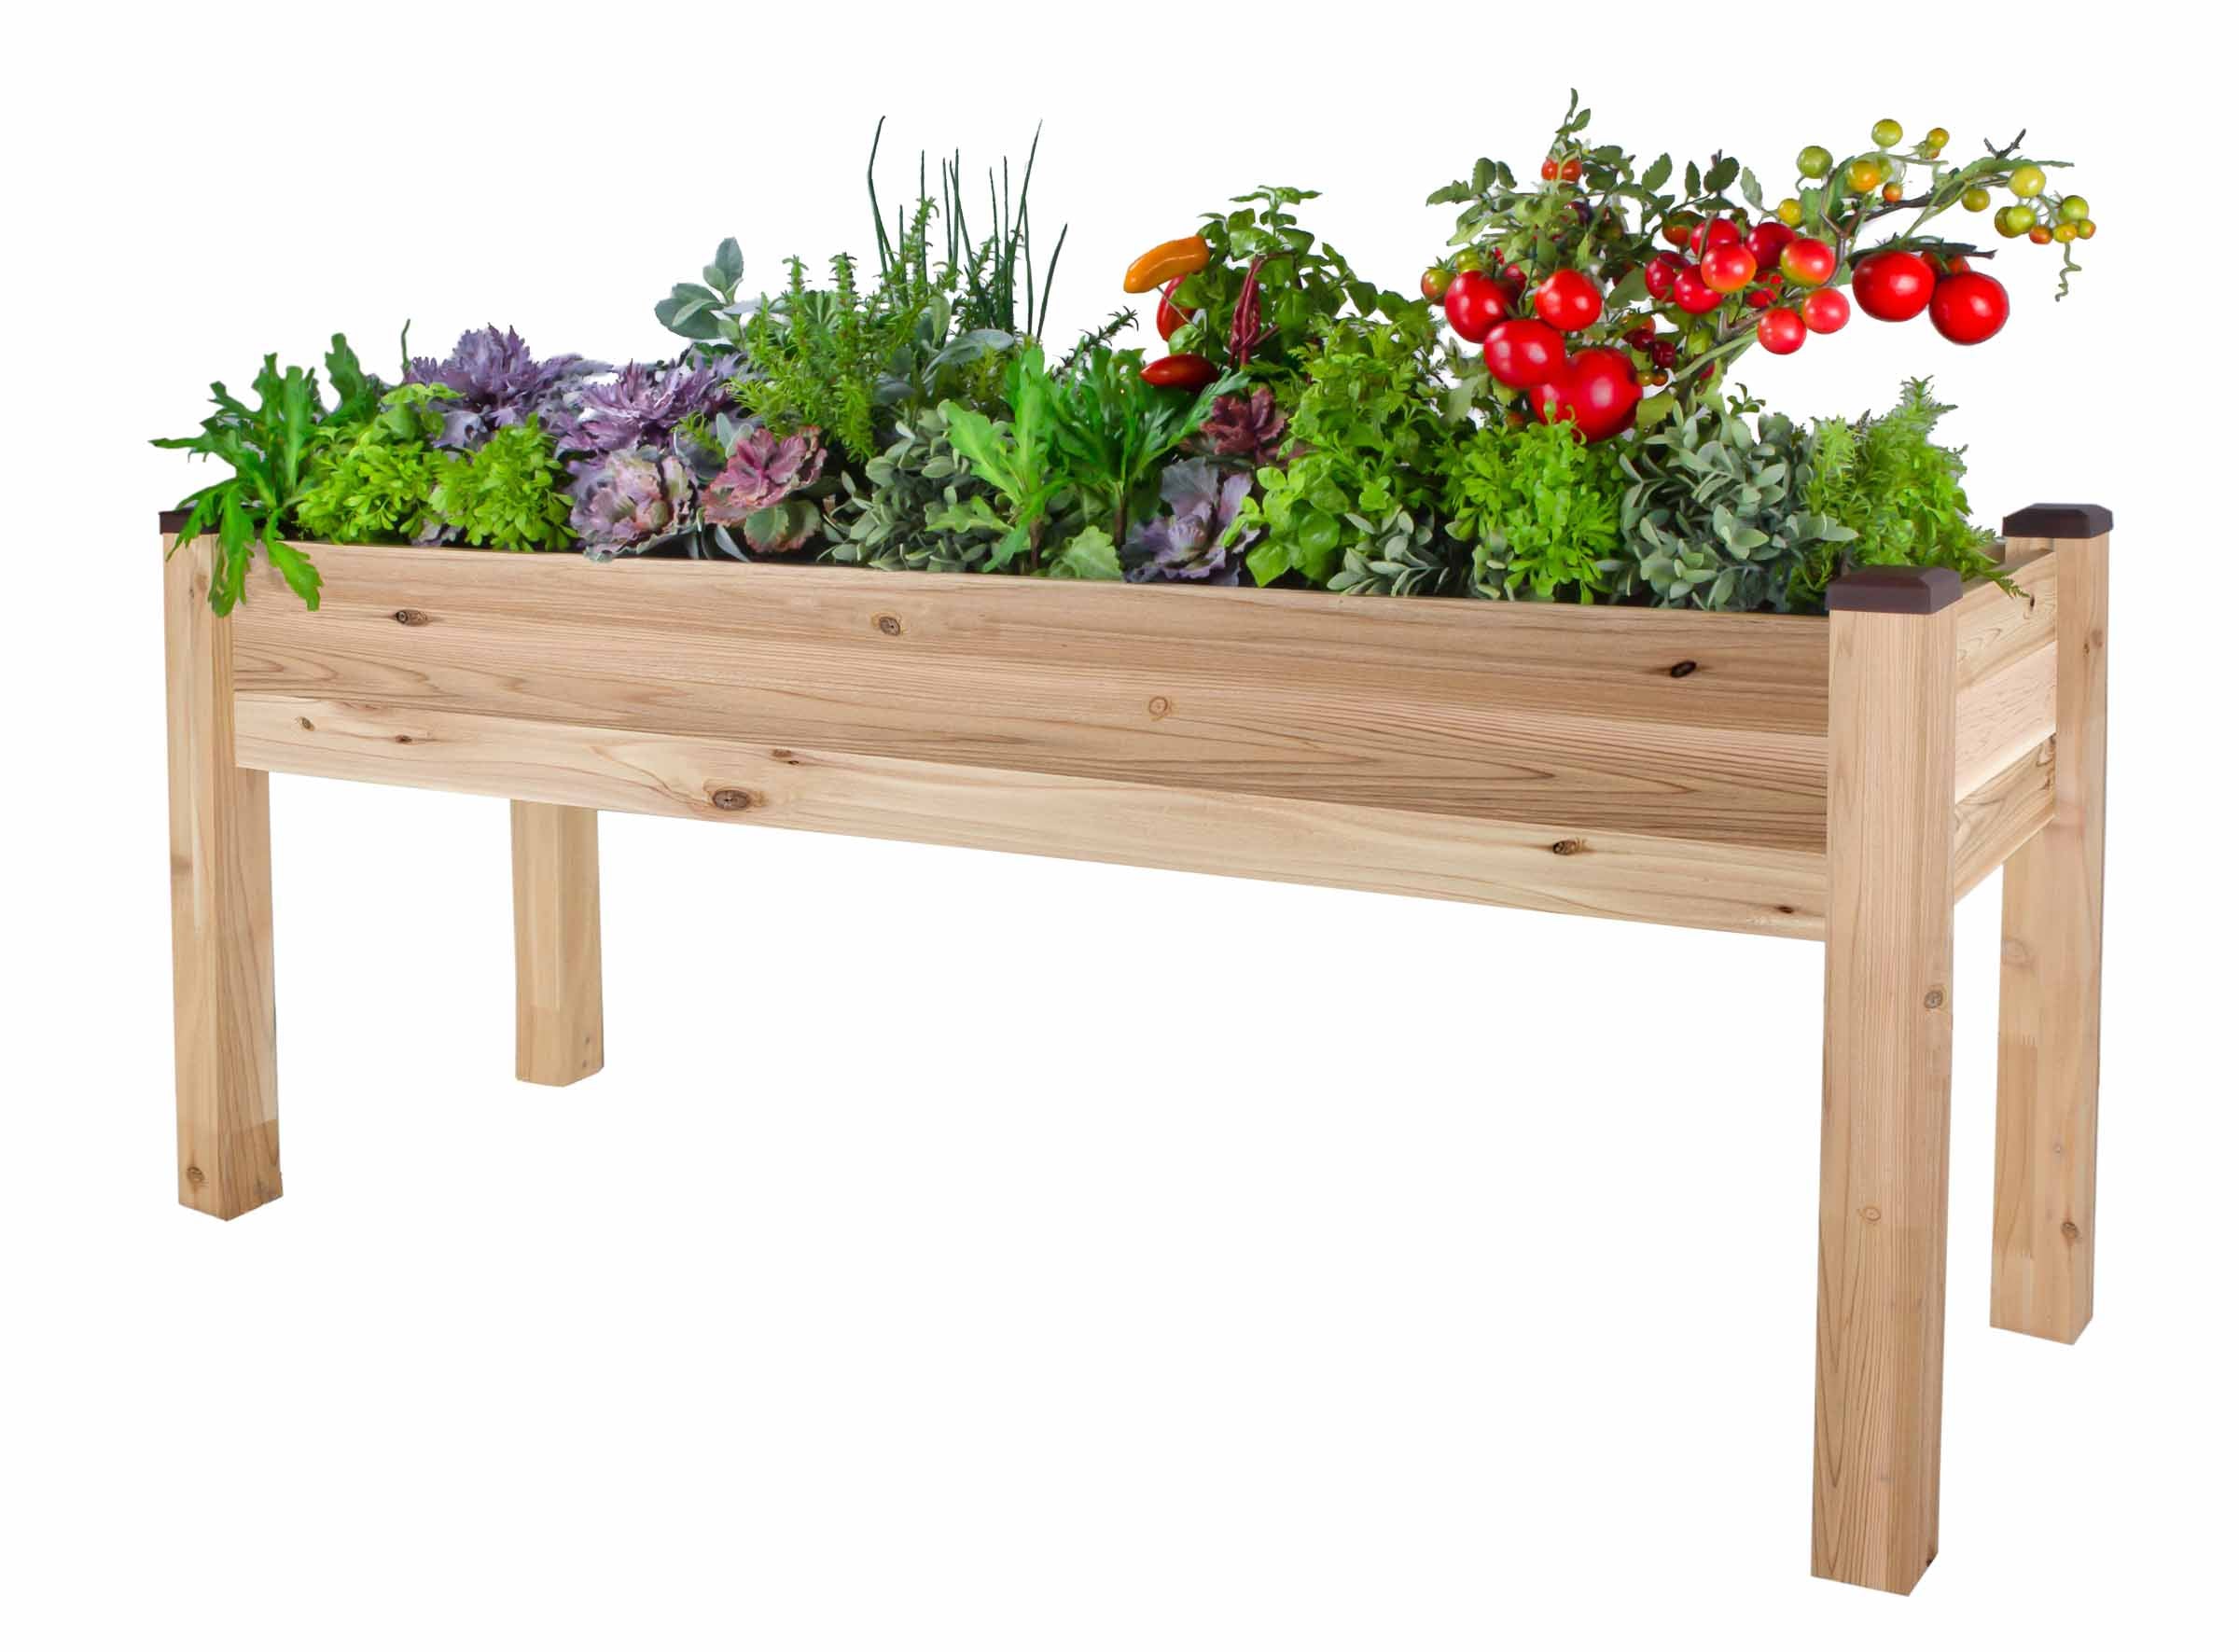
The sun is shining, the grass is green, it’s time to get your hands dirty and plant your garden! Here are the things we've covered in other CedarCraft blog posts on what you need to know before you get those plants in your soil:
- How to plan out your garden - considering square foot layout and companion planting
Now it’s time to get the details on how to plant a plethora of fruits, herbs, and vegetables in your planters!
If you are a beginner gardener, your best bet is to establish your garden with starters rather than seeds. This will reduce the margin of error for you as you gain more hands-on experience.
When choosing where to purchase your starters, avoid Big Box hardware and garden stores. They often have plants that are sick with disease, which will spread to healthy plants in your planters. Visit your local garden center where the plants have been grown there or the surrounding area. Plus, the gardeners working there LOVE to share their wealth of knowledge to help you out.
Local farms and CSA’s will have plant sales in the spring, giving you the opportunity to grow exactly what your favorite farmer has decided to produce for crops that year. These are generally organic and GMO-free plants as well.
Horticulture organizations and university departments will host starter sales as a fundraising source for students. This is a great way to get plants at an affordable price while supporting local gardeners in your area!
Once you’ve purchased your plants, roll up your sleeves, because you’re about to play in some dirt.
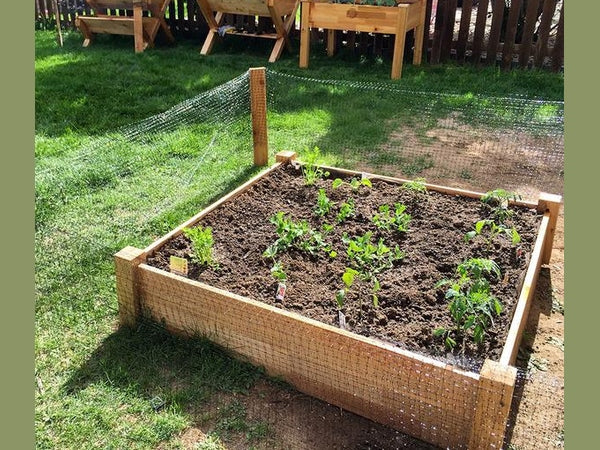
Because you’ve mapped out your garden, getting the plants in is pretty easy. A calm, overcast day is ideal for planting conditions, but it’s not a problem if you’re planting on a sunny weekend.
Make sure your plants are well watered in their cell containers and stay nice and snug in there until the very last minute. You want to protect the tender roots from sun and wind exposure to reduce the amount of shock they’ll go through in the transferring process.
Prepare your soil by watering your planter so that the plants aren’t going in dry spot. They’ll need a lot to drink to get established! After digging each hole, add some more water before placing the plant in. Then after gently covering the top (not packed down, because the roots need air), water it again.
Transferring plants can be a stress on their roots and health, so you’ll need to keep a close eye on them for a week or so. Make sure there’s enough water to keep the soil moist, but not too much to drown them. You may need to water frequently if you see them begin to wilt. You may also want to shield them from sun and wind during that week if your climate is especially harsh.
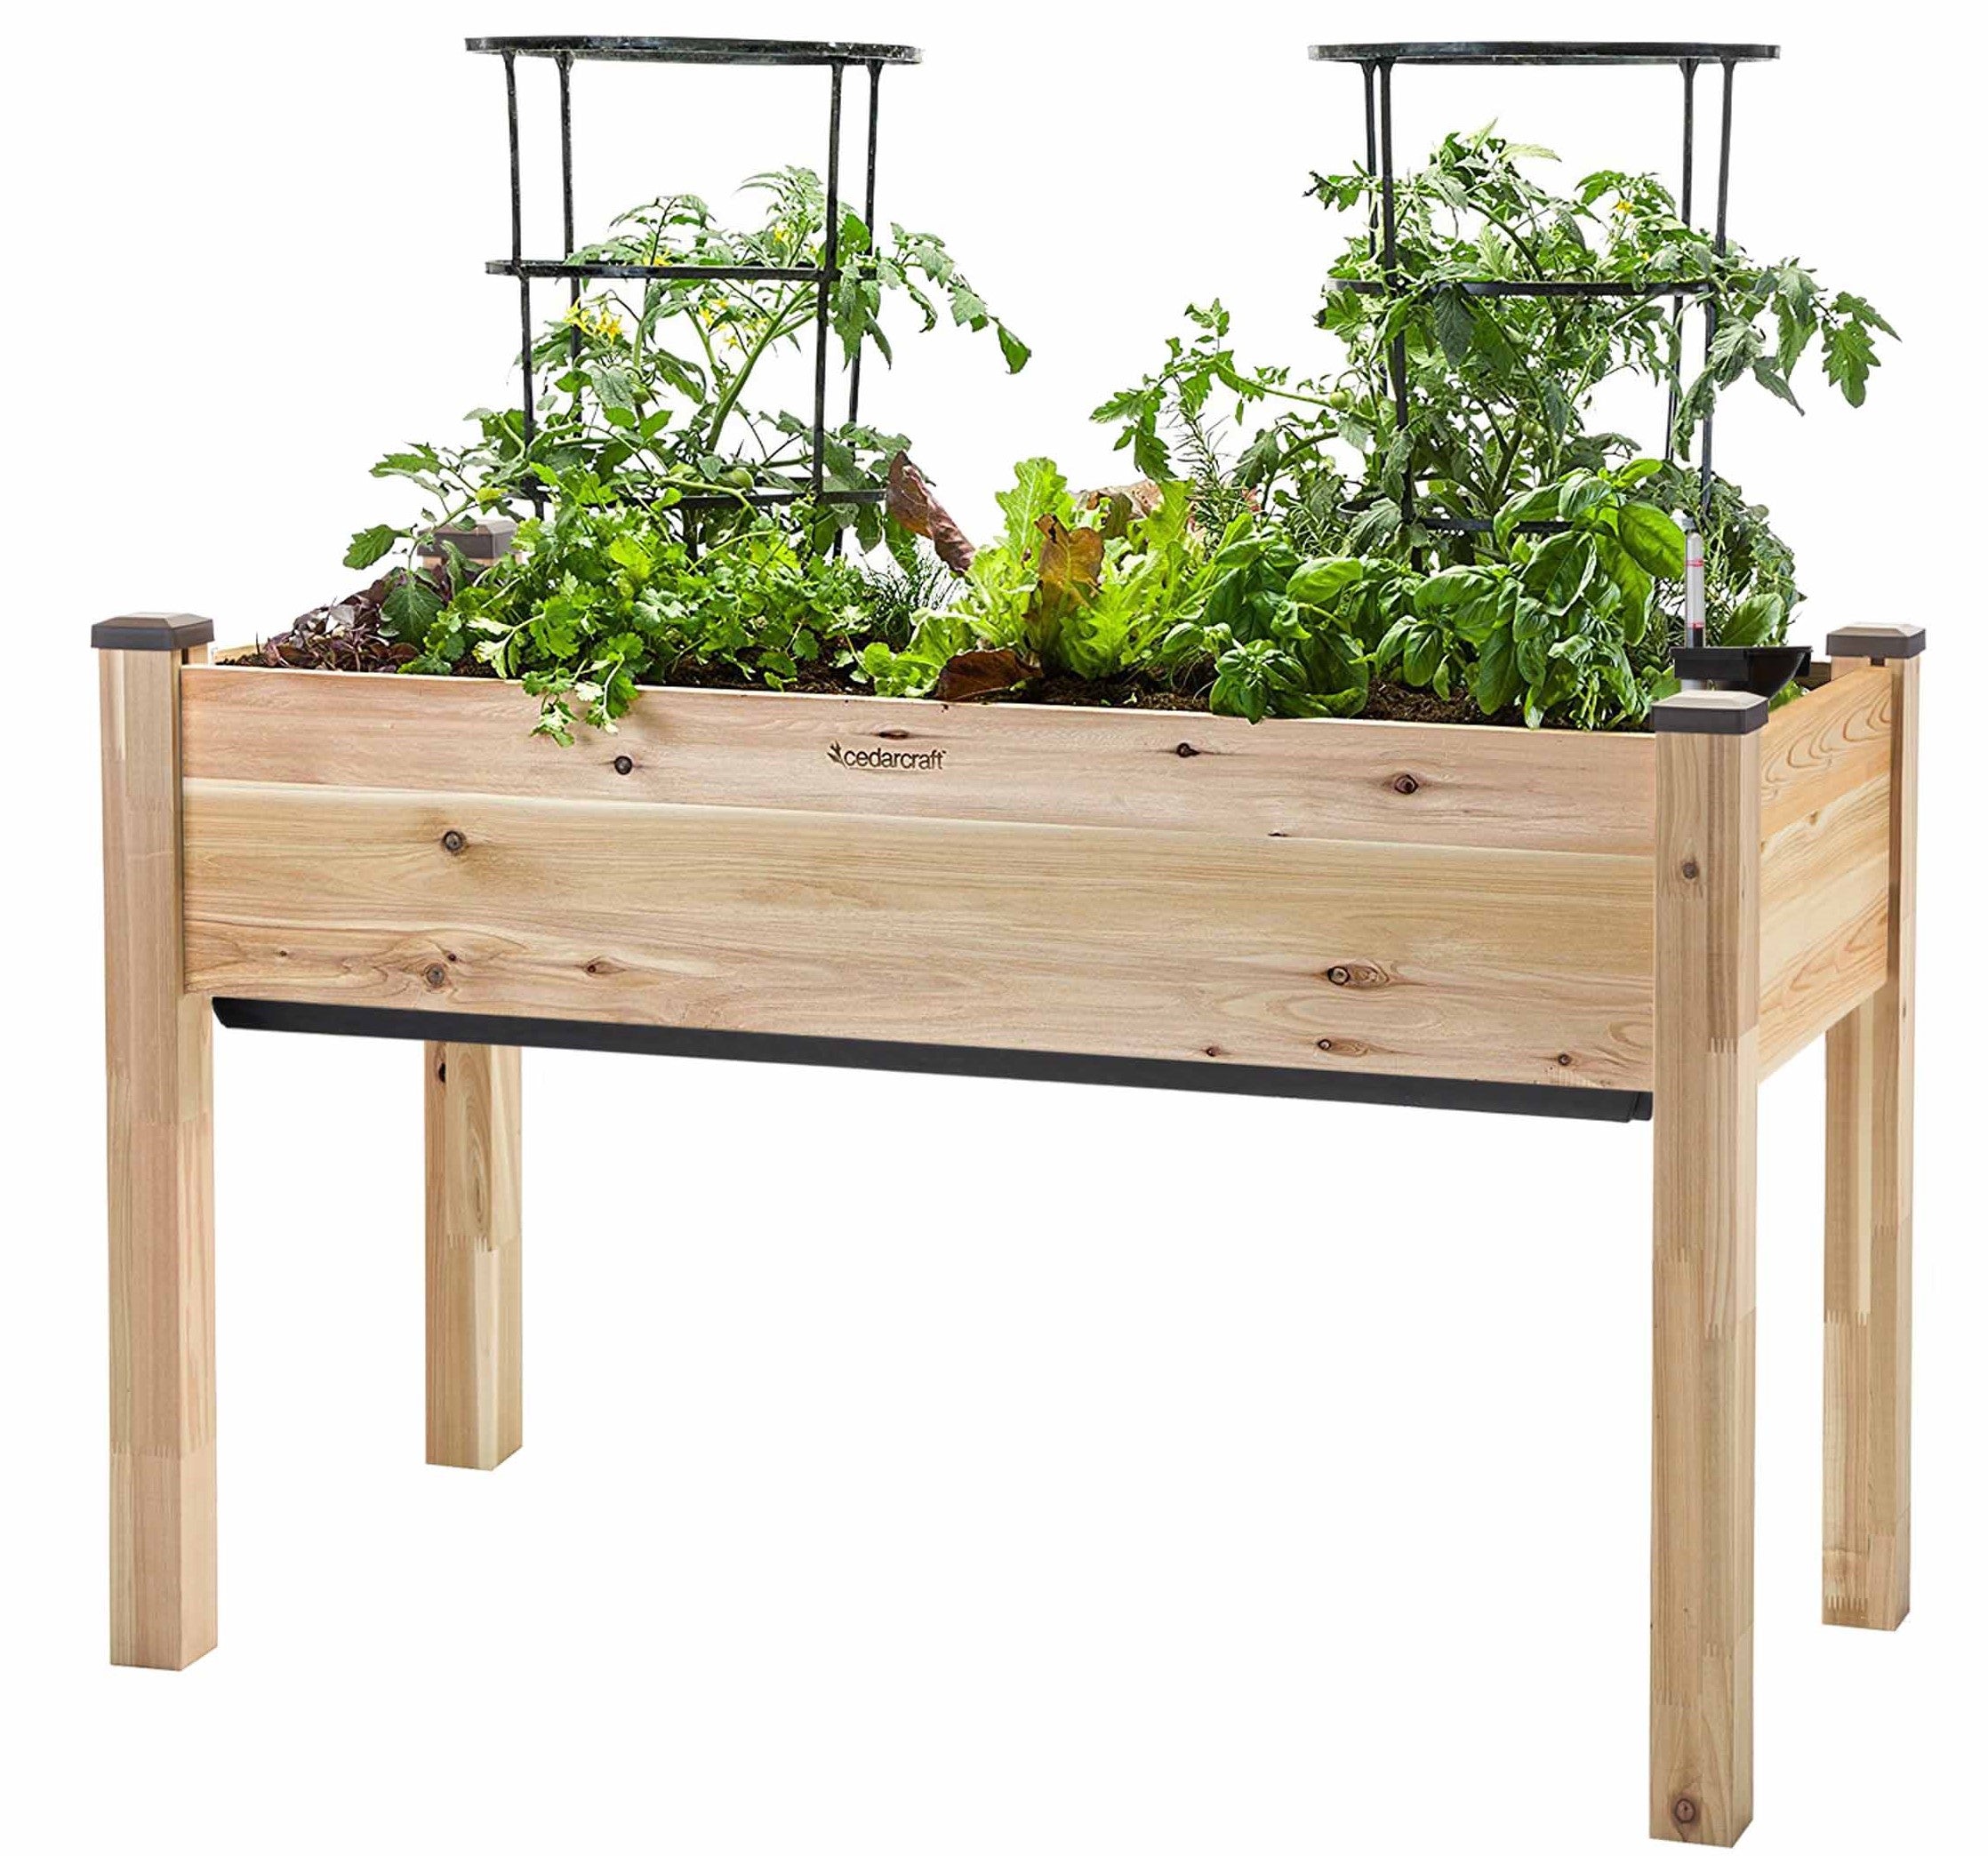
After a week or two, their roots should be established and leaves will be a perky green as they have settled into their new CedarCraft planter home!


