
Gardening Adventures Blog


Lessons Learned From Planter Gardening This Season
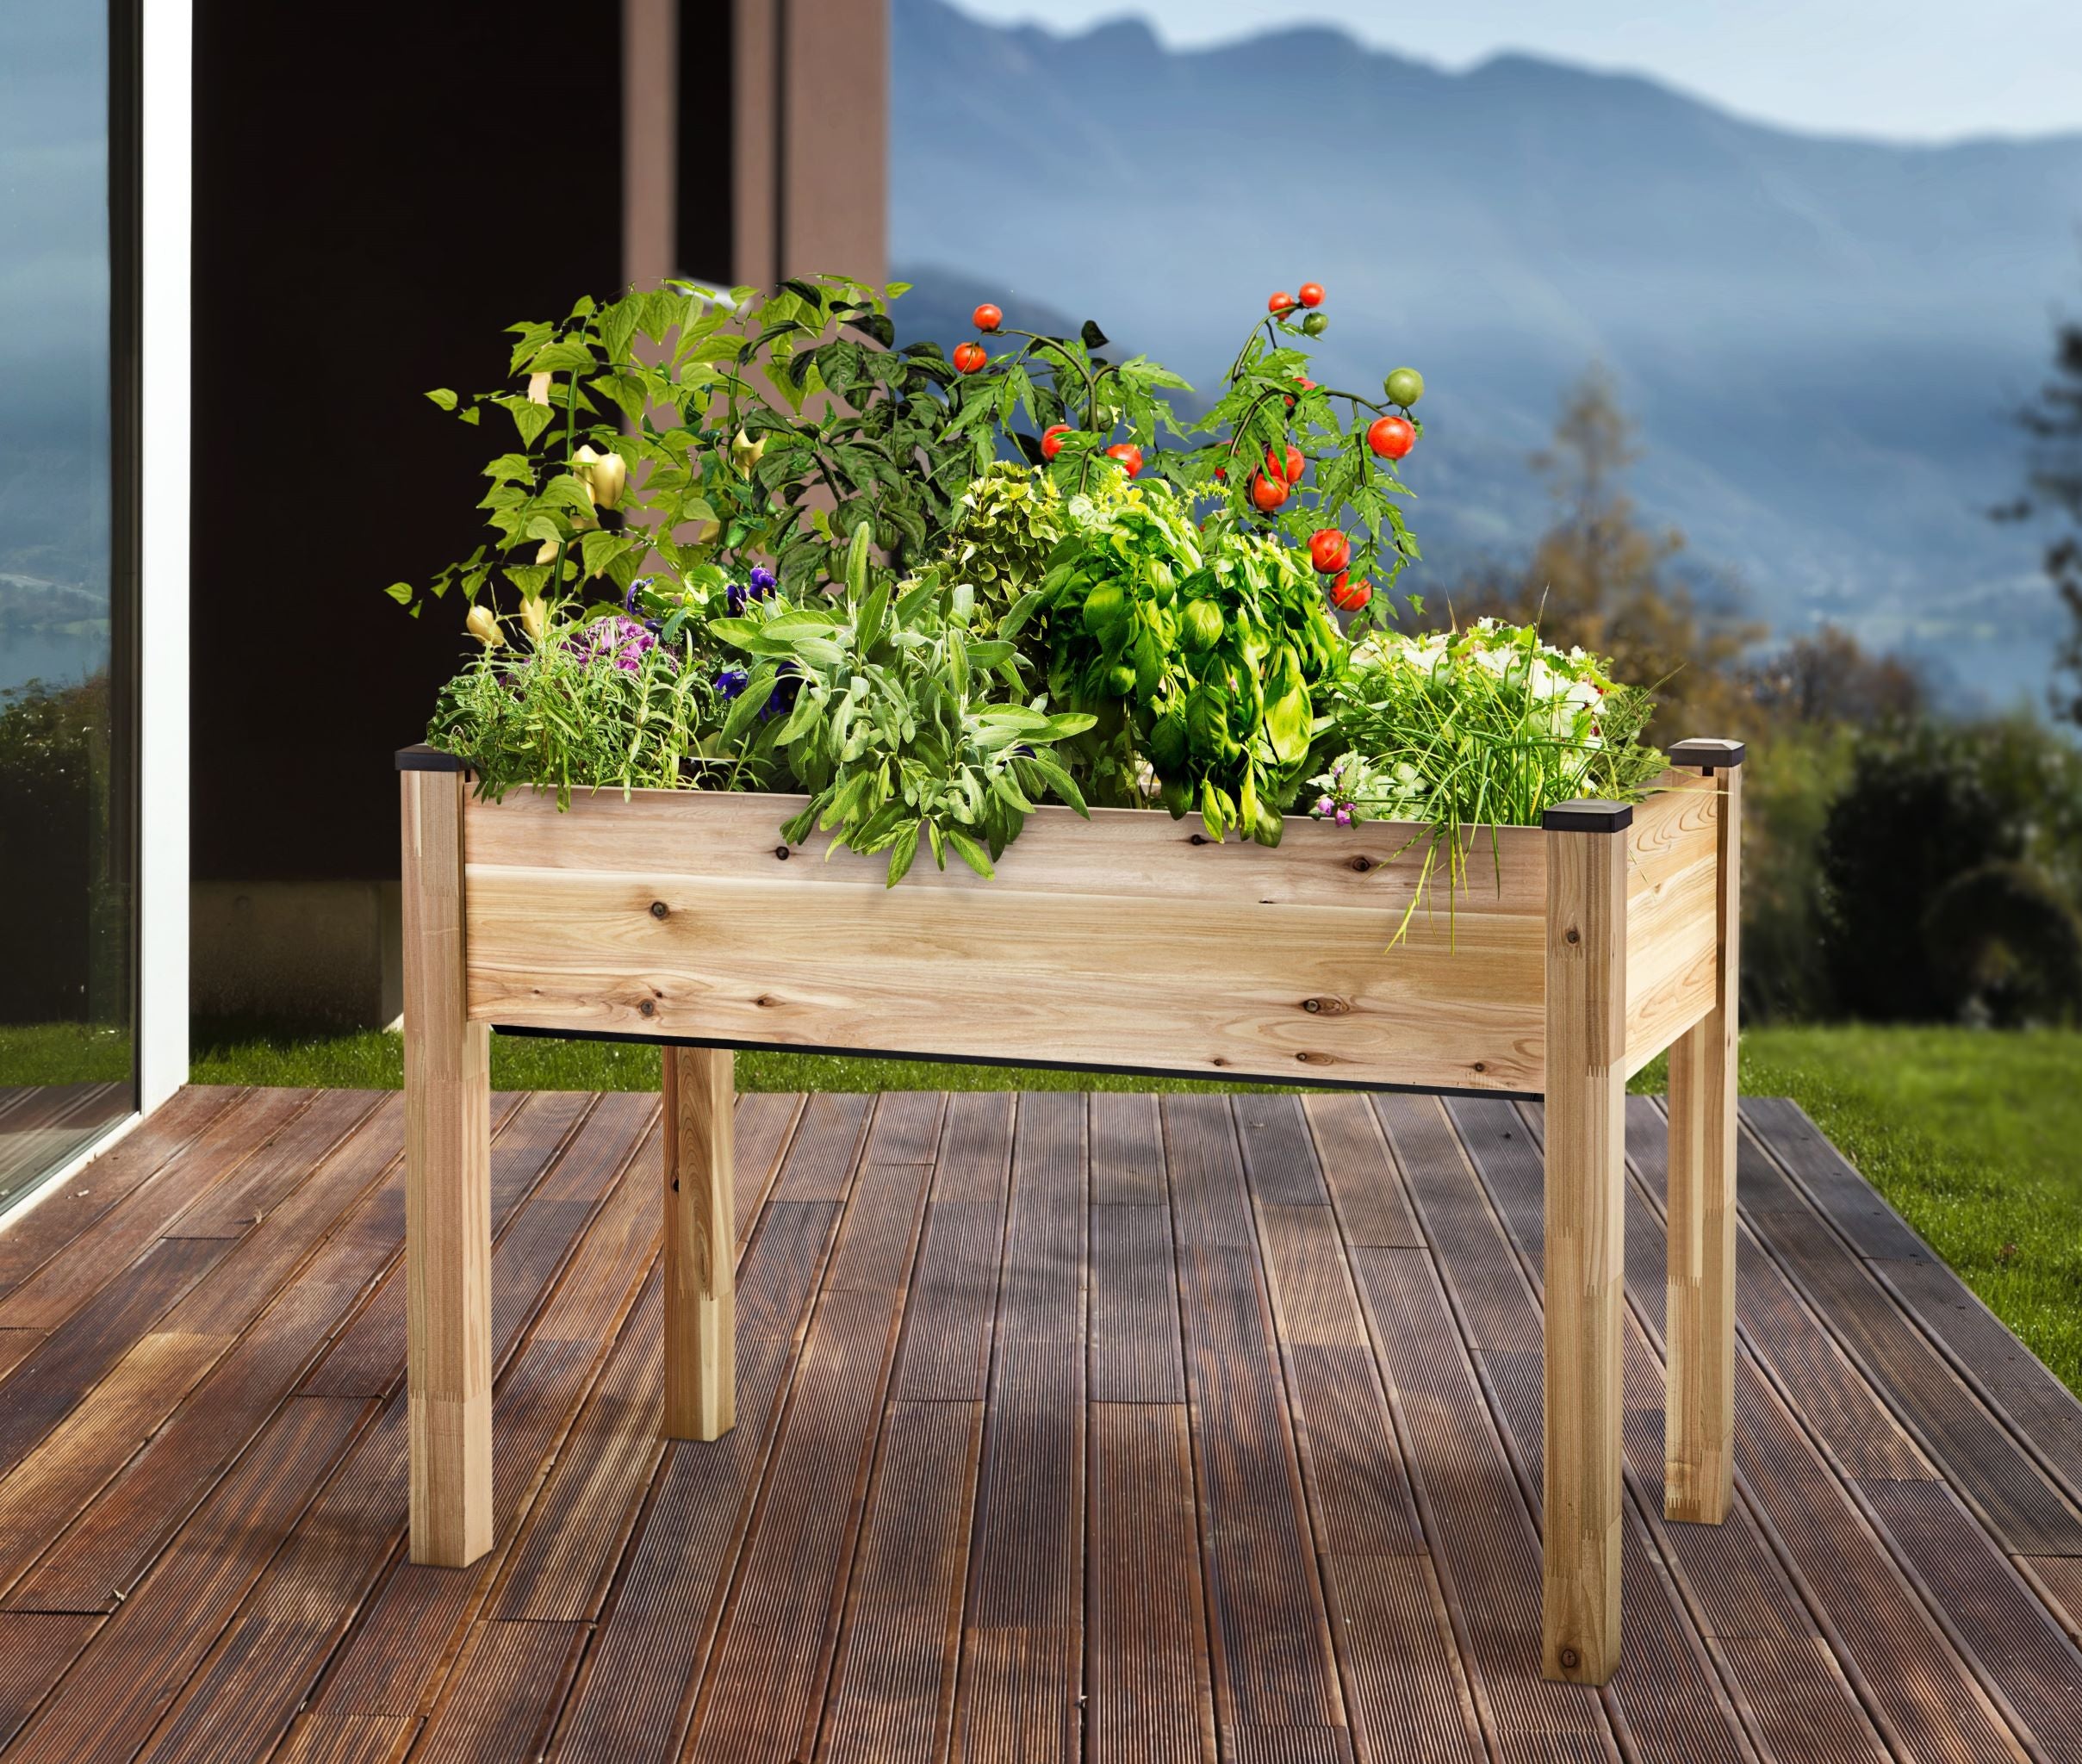
Gardening is a mix of science and art. It’s possible that you can carefully craft the perfect garden space with optimal soil nutrients, ideal sunlight, and a well-timed watering system and have nothing go as planned. Even the best gardeners experience challenges during the growing season, and sometimes they have complete garden fails. Gardening is a learning process for everyone, not just a product, which is part of the appeal. It’s also comforting for beginning gardeners to know that even the most experienced gardeners still have their obstacles to overcome. Many of the pros live by the philosophy, “If you’re not killing plants, you’re not stretching yourself as a gardener.” Our CedarCraft team field-tests each one of our planters during the gardening season, growing a variety of fruits, vegetables, herbs, and flowers in the process. You can see how our own gardens grow on Instagram as we share photo updates throughout the year. Rest assured, even though our garden may look beautiful, we experience our own challenges too. We’d love to share some lessons that our Colorado team learned from the 2015 gardening season. Weather This is one of the biggest hurdles for every gardener around the world, and it has been since the beginning of time. Floods, droughts, cold snaps, high winds, and hail are all elements that can wreak havoc on your garden. Our Colorado team had an exceptionally wet and cold-ish May, right when the planting season began. It was a little too much for the cucumbers to bear and we lost them all. Lesson Learned: Patience is a virtue, especially in gardening. It’s better to wait a little longer than jump the gun when planting your starters to make sure they have a good chance of establishing roots. Soil We spent a lot of time on procuring the right mix of soil for all of the planters this year. What we found was with that particular mix, our tomatoes flourished and thrived in the ground planters, but our spinach and lettuce greens needed a little more help with the same mix in the Urban planter. We had to switch out soils in that planter, and once we did, the spinach grew like wild! Lesson Learned: Ground planters with sturdy plants do well with the soil mix we wrote about earlier this year. The Elevated planters will do better with a softer container soil mix. Water We did pretty well with keeping up on our watering cycles this year! Nothing dried out or wilted… until we went on vacation. Summer is a time to enjoy vacations with kids out of school and the warm-weather adventures at your feet. Our Colorado team went on a backpacking trip for a few days thinking that the garden would be OK. While there were cool temps in the high country, it was a lot warmer in the flatlands. We came back to find some of the plants drier than they should have been, which caused a few to bolt early. Lesson Learned: set up watering systems if you can, and at the very least, have a neighbor or friend come over to water your garden while you’re on vacation. We have some exciting new developments with our product line in 2016 that will help you with this! Look for an announcement in January. Pests This may have been the biggest challenge for us this year above all else. Rabbits scaled chicken wire fences to nap in the cilantro, birds filled up on strawberries, squirrels pilfered the peppers, and bugs munched on kale and cauliflower. It was garden warfare despite our best efforts with all methods of pest control. Lesson Learned: We’re still learning. We’ll see what we can do to lessen the likeness of “Mr. McGregor’s Garden” in 2016. Unexpected Experiments We had one planter that we lovingly called the “misfit garden” where we planted extra starters and companion planted plants that you’re not supposed to place next to each other. We didn’t have high hopes for this section of the garden, but decided to take the risk anyway to see what would happen. There were some fails in there for sure, like the extra cauliflower plants not producing anything at all, but we found some unexpected success, like potatoes and pumpkins thriving!! Lesson Learned: It’s OK to take risks! Don’t be afraid to fail, because you might just experience some unexpected successes. And sometimes those are the best! Despite our own challenges this year, we came out of it with first-hand knowledge to apply in the 2016 growing season, and we had some delicious harvests along the way. We’re certainly looking forward to the gardening adventures that the next year will bring!
Learn more
Planning Your Garden
Gardening is a treasured hobby for many people. It’s a way to relax, spend time connected to the Earth, all while providing a moment to breathe in the aromas of soil and flowers. It’s also a way to become food-independent, allowing people to grow their fruits, vegetables, and herbs on their own – the way they want it grown. However, that’s not true for everyone! Gardening may seem intimidating to others, especially beginner gardeners who don’t have the years of hands-on experience. People who’ve never started their own garden often say they have a “black thumb” holding the perception that there’s a steep learning curve to growing plants. We’re going to help make it a little easier for you! At CedarCraft, we’re big fans of the Square Foot Gardening concept developed by Mel Bartholomew. Square Foot Gardening is a uniquely simplified system of gardening that eliminates 80% of the: Space Work Weeds Watering Waste Square Foot Gardening creates a planting grid within your planters with each crop having its own square. There are four spacing guidelines: Extra Large fruits and vegetables are allowed one plant per square for 12 inch spacing Large fruits and vegetables have 4 plants per square for 6 inch spacing Medium allows for 9 plants per square for 4 inch spacing Small fruits, vegetables, and herbs have 16 plants per square for 3 inch spacing. You can use the seed packet to find out what spacing your plant needs. A tomato or green pepper plant needs one per square, while radishes and carrots need 16 per square. There are online planning guides that can help you map this out, too. This system works perfectly with your CedarCraft planters. We’ve broken down the square feet in each one of our planters for you: CedarCraft Cascading Planter CedarCraft Elevated Planter CedarCraft Urban Planter CedarCraft Raised Garden Planter Once you have a grid system mapped out, you’ll need to double check a companion planting guide to make sure your plants can share the same planter. Some plants don’t grow well together. Beans: Don’t plant near chives, garlic, leeks, onions, peppers, marigolds Peas: Don’t plant near chives, garlic, leeks, onions, peppers Broccoli and Cauliflower: Don’t plant near peppers, squash, strawberries, tomatoes Tomatoes: Don’t plant near broccoli, cauliflower, cilantro, cucumbers Dill: Don’t plant near carrots You can follow our CedarCraft Pinterest boards for gardening tips, companion planting guides, and examples of what people are growing in their own Square Foot Gardens!
Learn more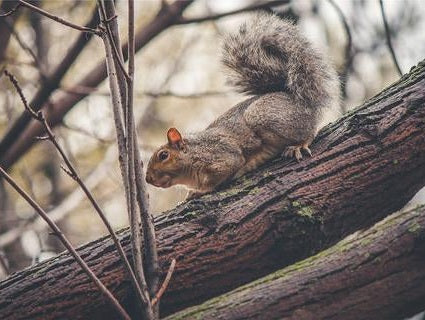
Tips on Keeping Critters Out
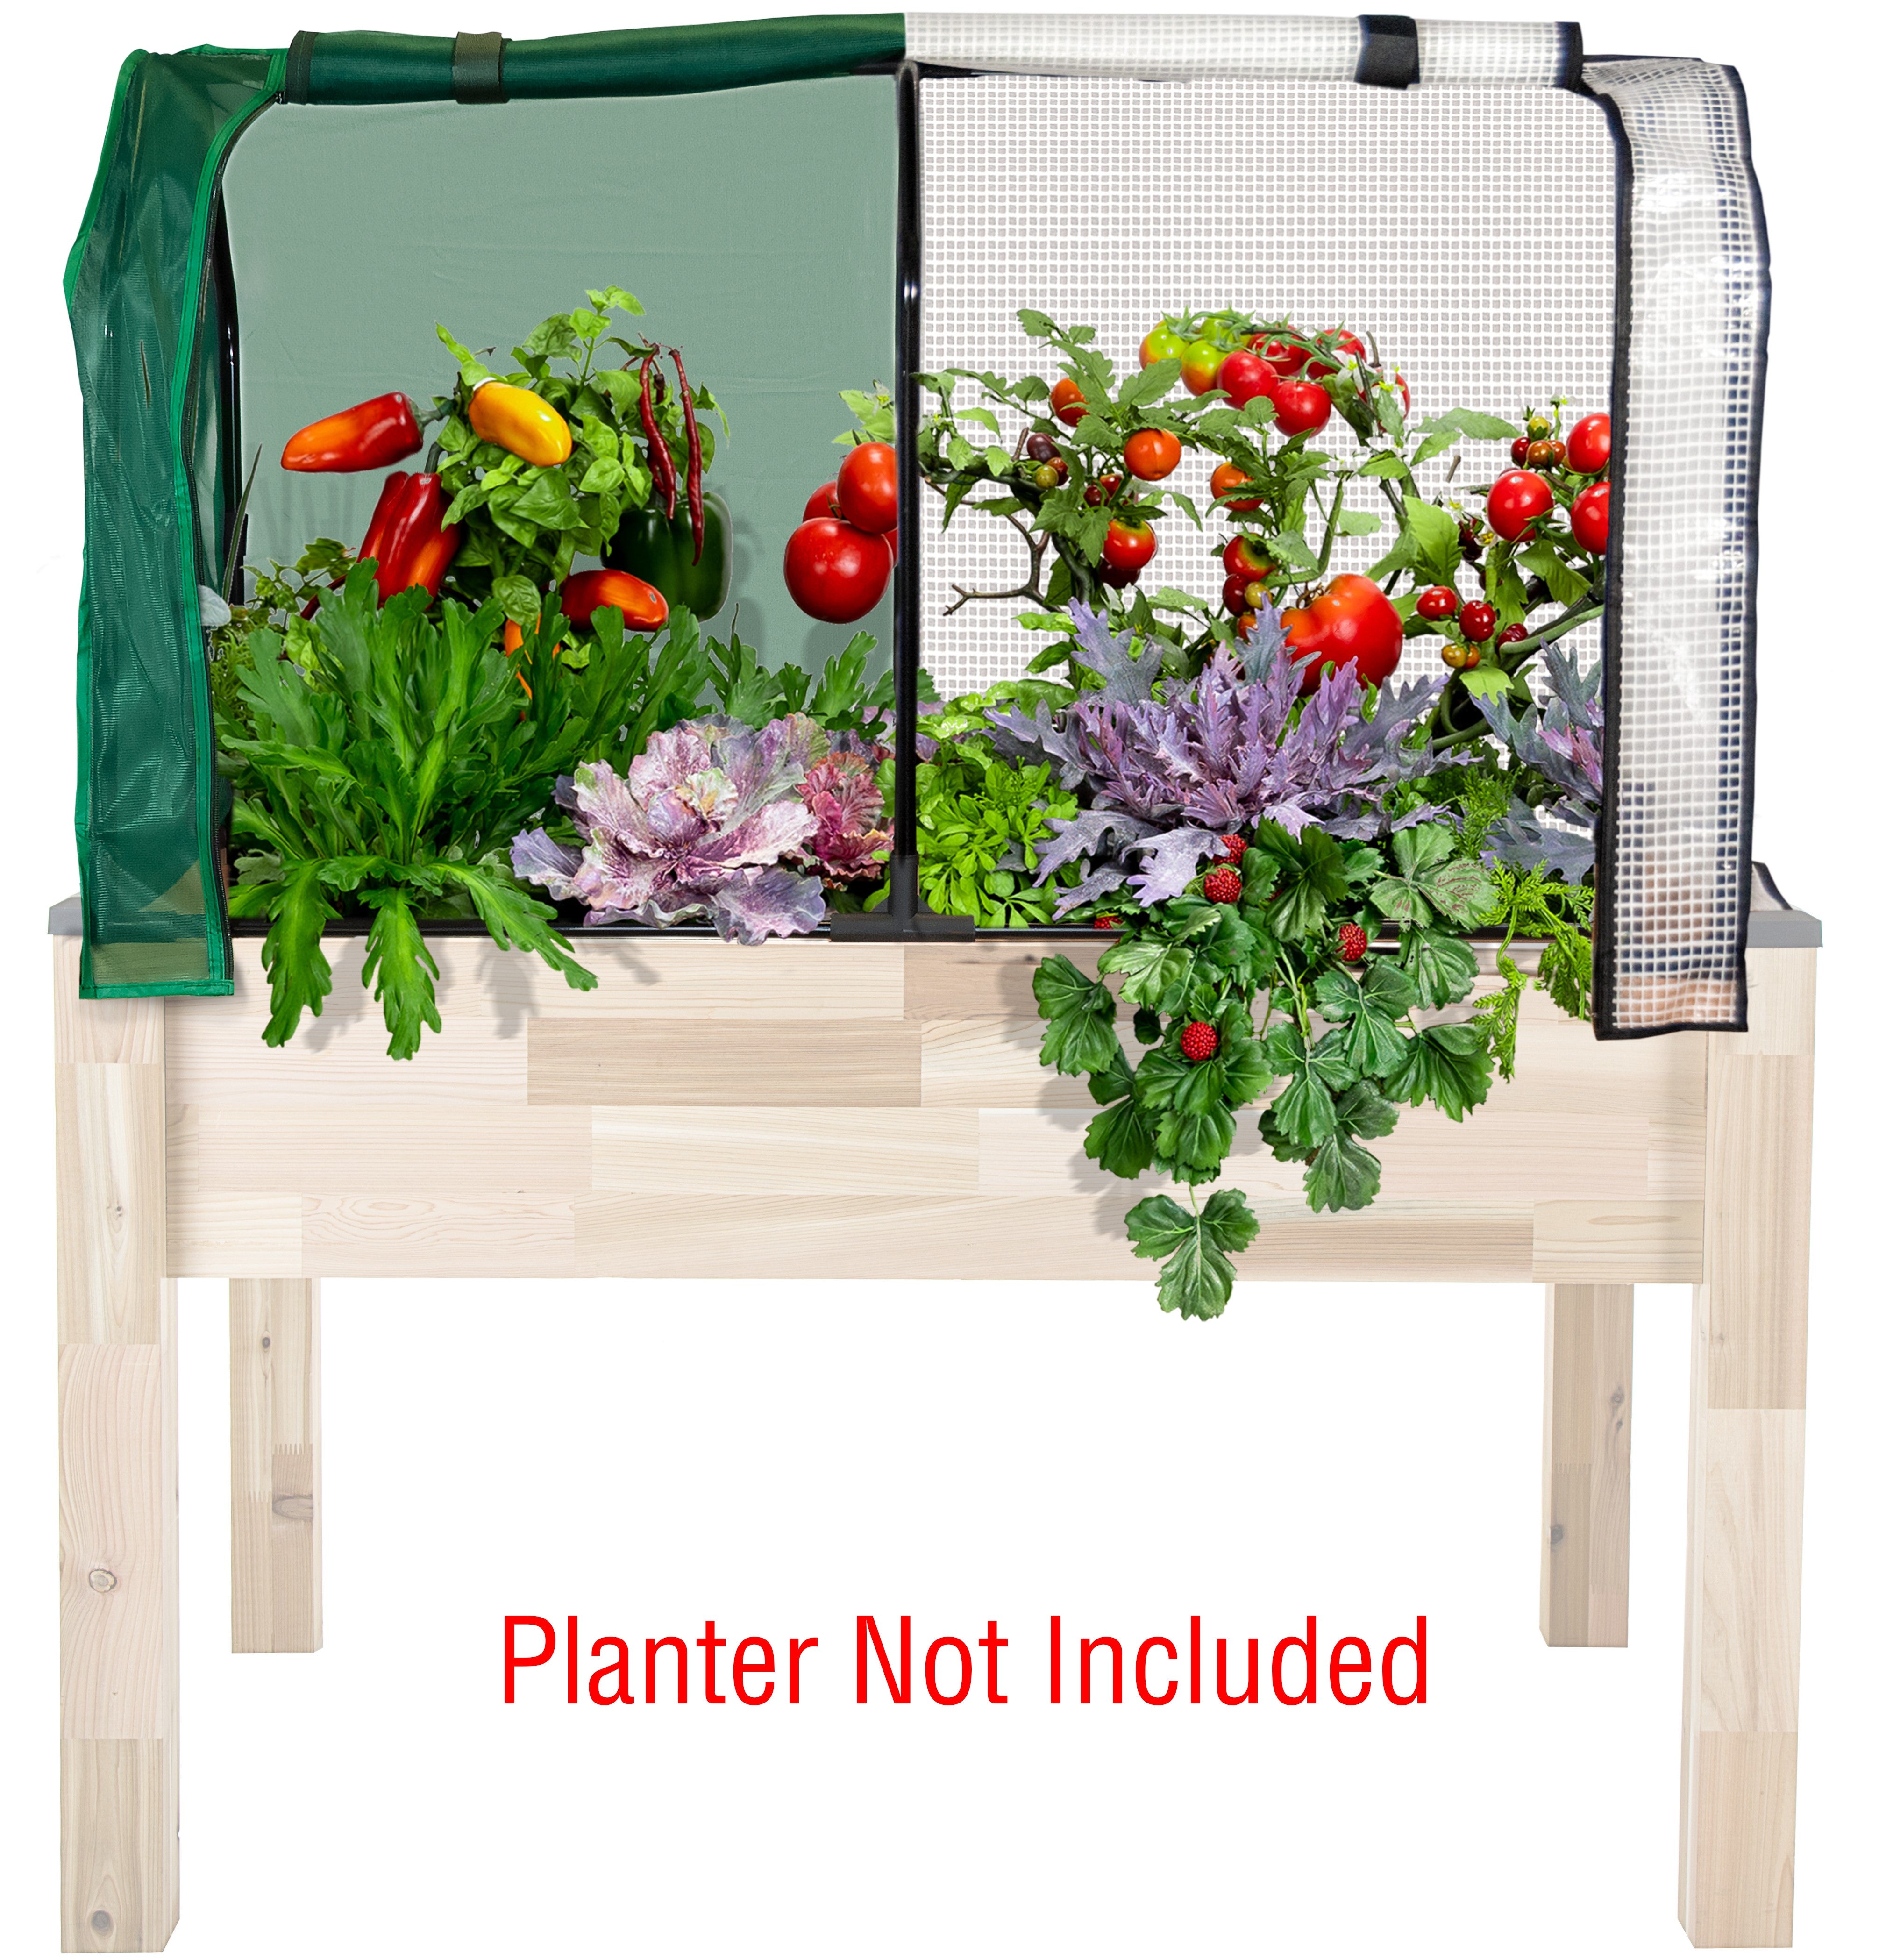
You have your CedarCraft planters, you’ve filled them with soil, and you’re getting ready to plant your seeds in preparation of growing a delicious harvest. But, you notice that it’s not just you who will enjoy the fruits of your labor; backyard critters are ready to dig in to their new planter buffet! Some of our planters are raised up enough that they’ll keep out voles, rabbits, and pets – like our Elevated and Urban planters. You may need to take precautions to repel squirrels, deer, and birds. A few of our other designs, like the Cascading planter and the Raised Garden planter are low enough that neighborhood animals can hop right in to help themselves. Shortly after our Colorado team filled planters with soil, and before planting seeds and sprouts, we discovered that the rascally rabbits were quick to hop in and spread out, calling dibs on their new comfortable dirt beds. We’re particularly fond of our backyard bunnies, but we are also protective of our vegetables that we’d like to feed to our family. We want to find a way that we can share our environment harmoniously. Here are some thoughtful tips on how to safely keep the critters out of your garden: Fencing This is the best way to prevent all types of neighborhood animals from staking claim to your garden. This will keep the rabbits, raccoons, squirrels, deer, and birds at bay, and it’s easy to build. This works especially well for our Raised Garden and Elevated planters. You can make your fence as elaborate or as simple as you’d like. All you need is to nail a bottom frame together, the same size as the planter. Create a type of hoop-house with PVC piping and deer netting over the top. Here's a handy how-to article with specific instructions. Repellants Small rodents like rabbits and squirrels can be deterred by unsavory scents, like those of a predator and strong-smelling herbs. You can sprinkle fox and coyote urine products around the base of the planters. Blood meal mix can work in the same way, too. Planting garlic, hot peppers, and onions to your garden boarders is an option, plus you get the benefit of the delicious foods you’ve planted. Feed Them While it sounds like this option is encouraging nibbling on your garden, creating a critter bed with things for them to eat on the opposite side of your yard can keep them full and distracted enough from trying to get into what’s yours.
Learn more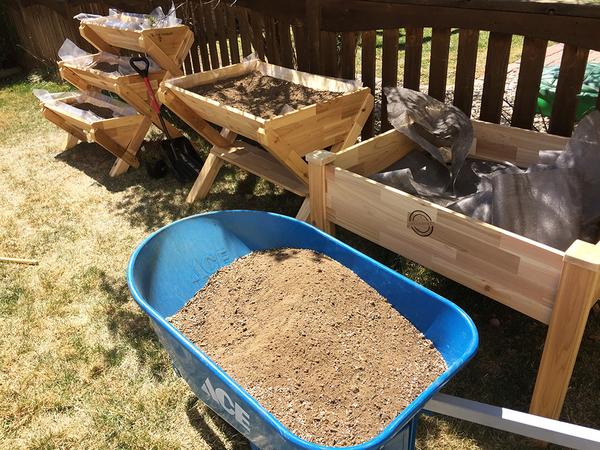
How Much Soil Do You Need?
Spring is here and it’s time to start getting your CedarCraft planters ready! You have them assembled and it was a snap. But now it comes down to the dirty work – filling them with soil. You may be wondering, how much soil do I need to fill this? You may have read our previous blog post on Soil 101 for container gardening. That post gave you some insights on why your container soil is so important for your garden planters and that you shouldn’t dig up dirt from your yard to fill your raised bed. This weekend our CedarCraft team assembled our planter collection and filled them all with a container gardening mix. We’re going to give you some step-by-step instructions on what you need to do to fill your planters. Calculate Cubic Volume First you need to break out the calculator and figure out how much soil your planter needs. You can find a plethora of gardening calculators from a simple Google search. Here’s a handy calculator on Home Depot’s website. To determine how much soil you need to fill your planter or raised bed, these are the dimensions you need for your formula: Length (in inches) x Width (in inches) x Depth (in inches) = total amount of cubic feet or cubic yards of soil. (12 cubic feet of soil = 0.444 cubic yards of soil) We’ve made it even easier for you! If you take a look at our collection descriptions, we have cubic feet of soil capacity for each planter listed: CedarCraft Cascading Planter: 5 cubic feet = 0.1 cubic yards = 77 quarts CedarCraft Elevated Planter: 4 cubic feet = 0.1 cubic yards = 102 quarts PatioCraft Elevated Planter: 6 cubic feet = 0.2 cubic yards = 179 quarts CedarCraft Urban Planter: 5 cubic feet = 0.1 cubic yards = 128 quarts CedarCraft Raised Garden Planter: 11.5 cubic feet = 0.4 cubic yards = 295 quarts PatioCraft Raised Garden Planter: 16 cubic feet = 0.6 cubic yards = 478 quarts Fill With The Right Mix Now that you know how much soil you need, you need to know what kind of soil to fill it with. Since our team filled each planter in our whole collection, we visted our local commercial soil source recommended by landscapers and contractors. We needed a lot of soil and it filled our truck bed! If you have one or two planters, you won’t need to go to these lengths. We used a soil mix with 60% topsoil and 40% compost, and then added an additional 10% vermiculite to that. With shovels in hand, we poured the vermiculite into the truck bed on top of the soil and got to work mixing! With smaller projects, you can pour your soil mixes onto a tarp and rotate. You can also create your own Mel’s Mix we mentioned in our Soil 101 post with this recipe: 1/3 peat moss 1/3 compost 1/3 vermiculite Before you add soil to your planters, make sure you have your liners in place. You will need landscaping fabric for your Elevated and Raised Garden planters. Now you know what kind of soil mix to use and how much, all that’s left is adding it to your planters. Happy gardening!
Learn more
Winter Gardening Checklist
Seed catalogs in hand, raised garden bed space mapped out – you’re ready to get started on your 2015 garden! But, we’re still in the middle of February. It’s the tail end of winter and in some states across the US, a deep layer of snow has settled over backyards and patios. Gardeners everywhere are anxiously awaiting the warm sun on their skin, the soft grass under their feet, and the spring air to fill their lungs. While we’re waiting for gardening season to really start, there are a few things you can do during the winter to start your garden with the perfect sprouts. Here’s our winter gardening checklist to help you grow your best garden yet! Tip 1: Plant Cool-Season Plants Now For A Delicious Spring Bounty Spinach This super-cold-hardy vegetable is a tender crop that can be planted in very early spring as well as winter. Spring plantings can be made as soon as the soil can be properly worked. It's important to seed as soon as you can to give spinach the required 6 weeks of cool weather from seeding to harvest. Peas Sow seeds outdoors 4 to 6 weeks before last spring frost, when soil temperatures reach 45 degrees F. Be sure to add a tomato cage so the pea plants will have something to climb. Carrots Carrots get sweeter as the temperature cools. Plan to plant seeds outdoors 3 to 5 weeks before the last spring frost date. Tip 2: Use Raised Beds To Reduce The Risk Of Stepping On And Compacting Soil When your soil is compacted, your plants can’t grow well. Compaction is what will decrease the amount of air by the roots, inhibiting growth by making it more difficult for the sprouts to break through the surface of the soil. Raised garden beds make it easier to work around the plants without stepping on the soil, keeping it nice and airy! Tip 3: Wrap Growing Plants In Horticultural Fleece Before Frost Sets In Horticultural fleece provides a simple way to give plants some minimal winter protection. Fleece can laid over soil and pegged down, or wrapped around a plant and tied in place with string around the stem. The ease of applying and removing the fleece makes this a good temporary protection solution. Tip 4: Insulate Planters To Avoid Continuous Freezing and Thawing Container soil in raised garden beds will rarely freeze and is easy to maintain over the winter by covering your raised garden bed with leaf mulch or a tarp. Because the soil maintains warmth, it's less work for you and it extends your growing season! If you do find cold soil to be any problem, you can place rocks in your garden to help distribute heat from the sun. With container gardens, frost can easily penetrate the sides of planters and kill roots. You can wrap the entire exterior of your planter in hessian or bubble-wrap to insulate the soil and roots of your vegetables. Keep the top of the planter free so you can continue to water your plants. If you’re as excited about the kick-off to gardening season as we are, you can enter our Facebook giveaway for your chance to win your choice of Cedarcraft planters! Five winners will be chosen on March 15th. Click here to enter!
Learn more