
You’ve planned your garden.
You’ve mapped your layout.
You’ve started your seeds.
Now comes the moment when those tiny seedlings leave their safe little world and move into something bigger. This step can go smoothly… or it can be the moment when your plants start looking at you like they’re not entirely convinced about your plan. Transplanting itself isn’t difficult, but it does require a little patience, proper spacing, and good timing.
When Seedlings Grow Faster Than Expected

You planted seeds in egg cartons and carefully followed the directions on the back of the seed packet. They sprouted beautifully — maybe a little too beautifully. They’re growing
faster than their containers can handle, your last frost date is still weeks away, and now you’re wondering what to do next.
This is where potting up becomes part of the process.
Potting up simply means moving seedlings into a slightly larger container so their roots have room to develop while they wait for outdoor conditions to cooperate.
You likely need to pot up if:
- Roots are pressing against the sides or bottom
- Soil dries out very quickly
- Seedlings are 3–4 inches tall and still weeks from transplanting
- Leaves are crowding each other
Egg cartons are excellent for starting seeds. They’re just not built for long-term growth.
How to Pot Up Without Stress
You don’t need special supplies.
Containers can be simple:
- Yogurt cups (with drainage holes)
- Solo cups
- Small nursery pots
- 3–4 inch starter pots
Drainage is essential. Without it, roots can sit in water and weaken. Use a quality potting mix — not garden soil. Garden soil is too dense for small containers and can limit oxygen around young roots.
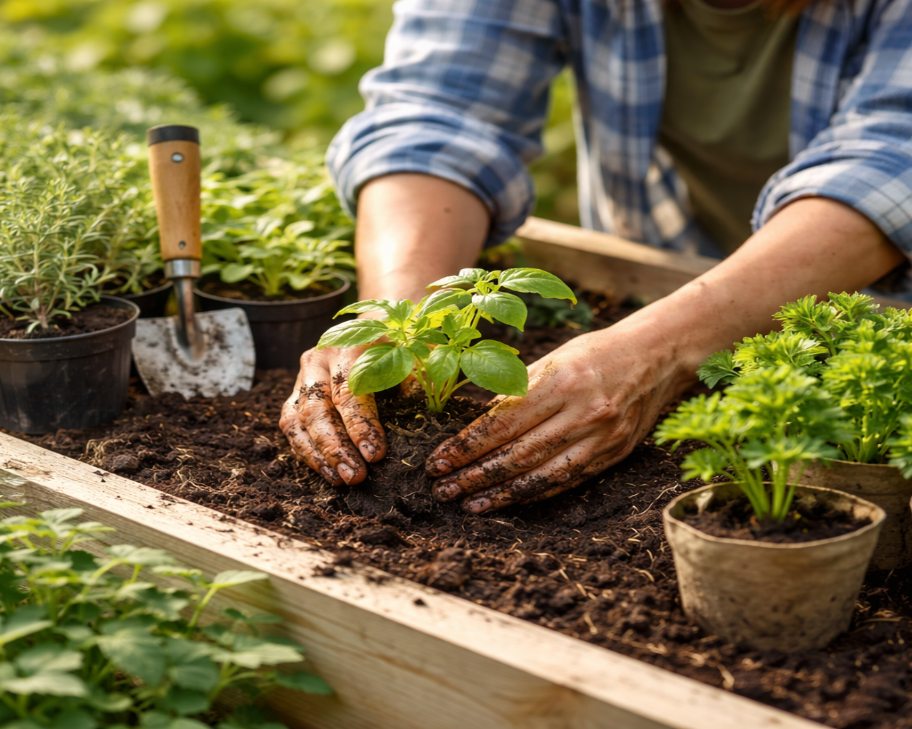
To pot up:
- Fill the new container with fresh potting mix.
- Gently remove the seedling from its original cell.
- Handle it by the leaves, not the stem.
- Replant at the same depth (tomatoes can go slightly deeper).
- Water thoroughly.
If seedlings are still indoors, they still need strong light. Keep grow lights a few inches above the plants and run them 12–16 hours per day. Potting up gives roots room — it doesn’t replace light needs.
Think of this step as a bridge between seed tray and garden bed.
Preparing for the Move Outdoors
As we covered in Blog 2, your average last frost date is a guide — not a guarantee. Once that date passes and soil temperatures are appropriate, you can begin preparing seedlings for transplanting.
But don’t move them outside all at once!

Seedlings raised indoors are protected from wind, temperature swings, and intense sunlight. Hardening off introduces them gradually to outdoor conditions over 7–10 days. Start with short periods in indirect light and increase time and exposure daily.
If you’ve used the Garden Planner, this is where your “Move Outdoors” date becomes helpful. Planning that hardening-off window ahead of time keeps you from rushing the transition.
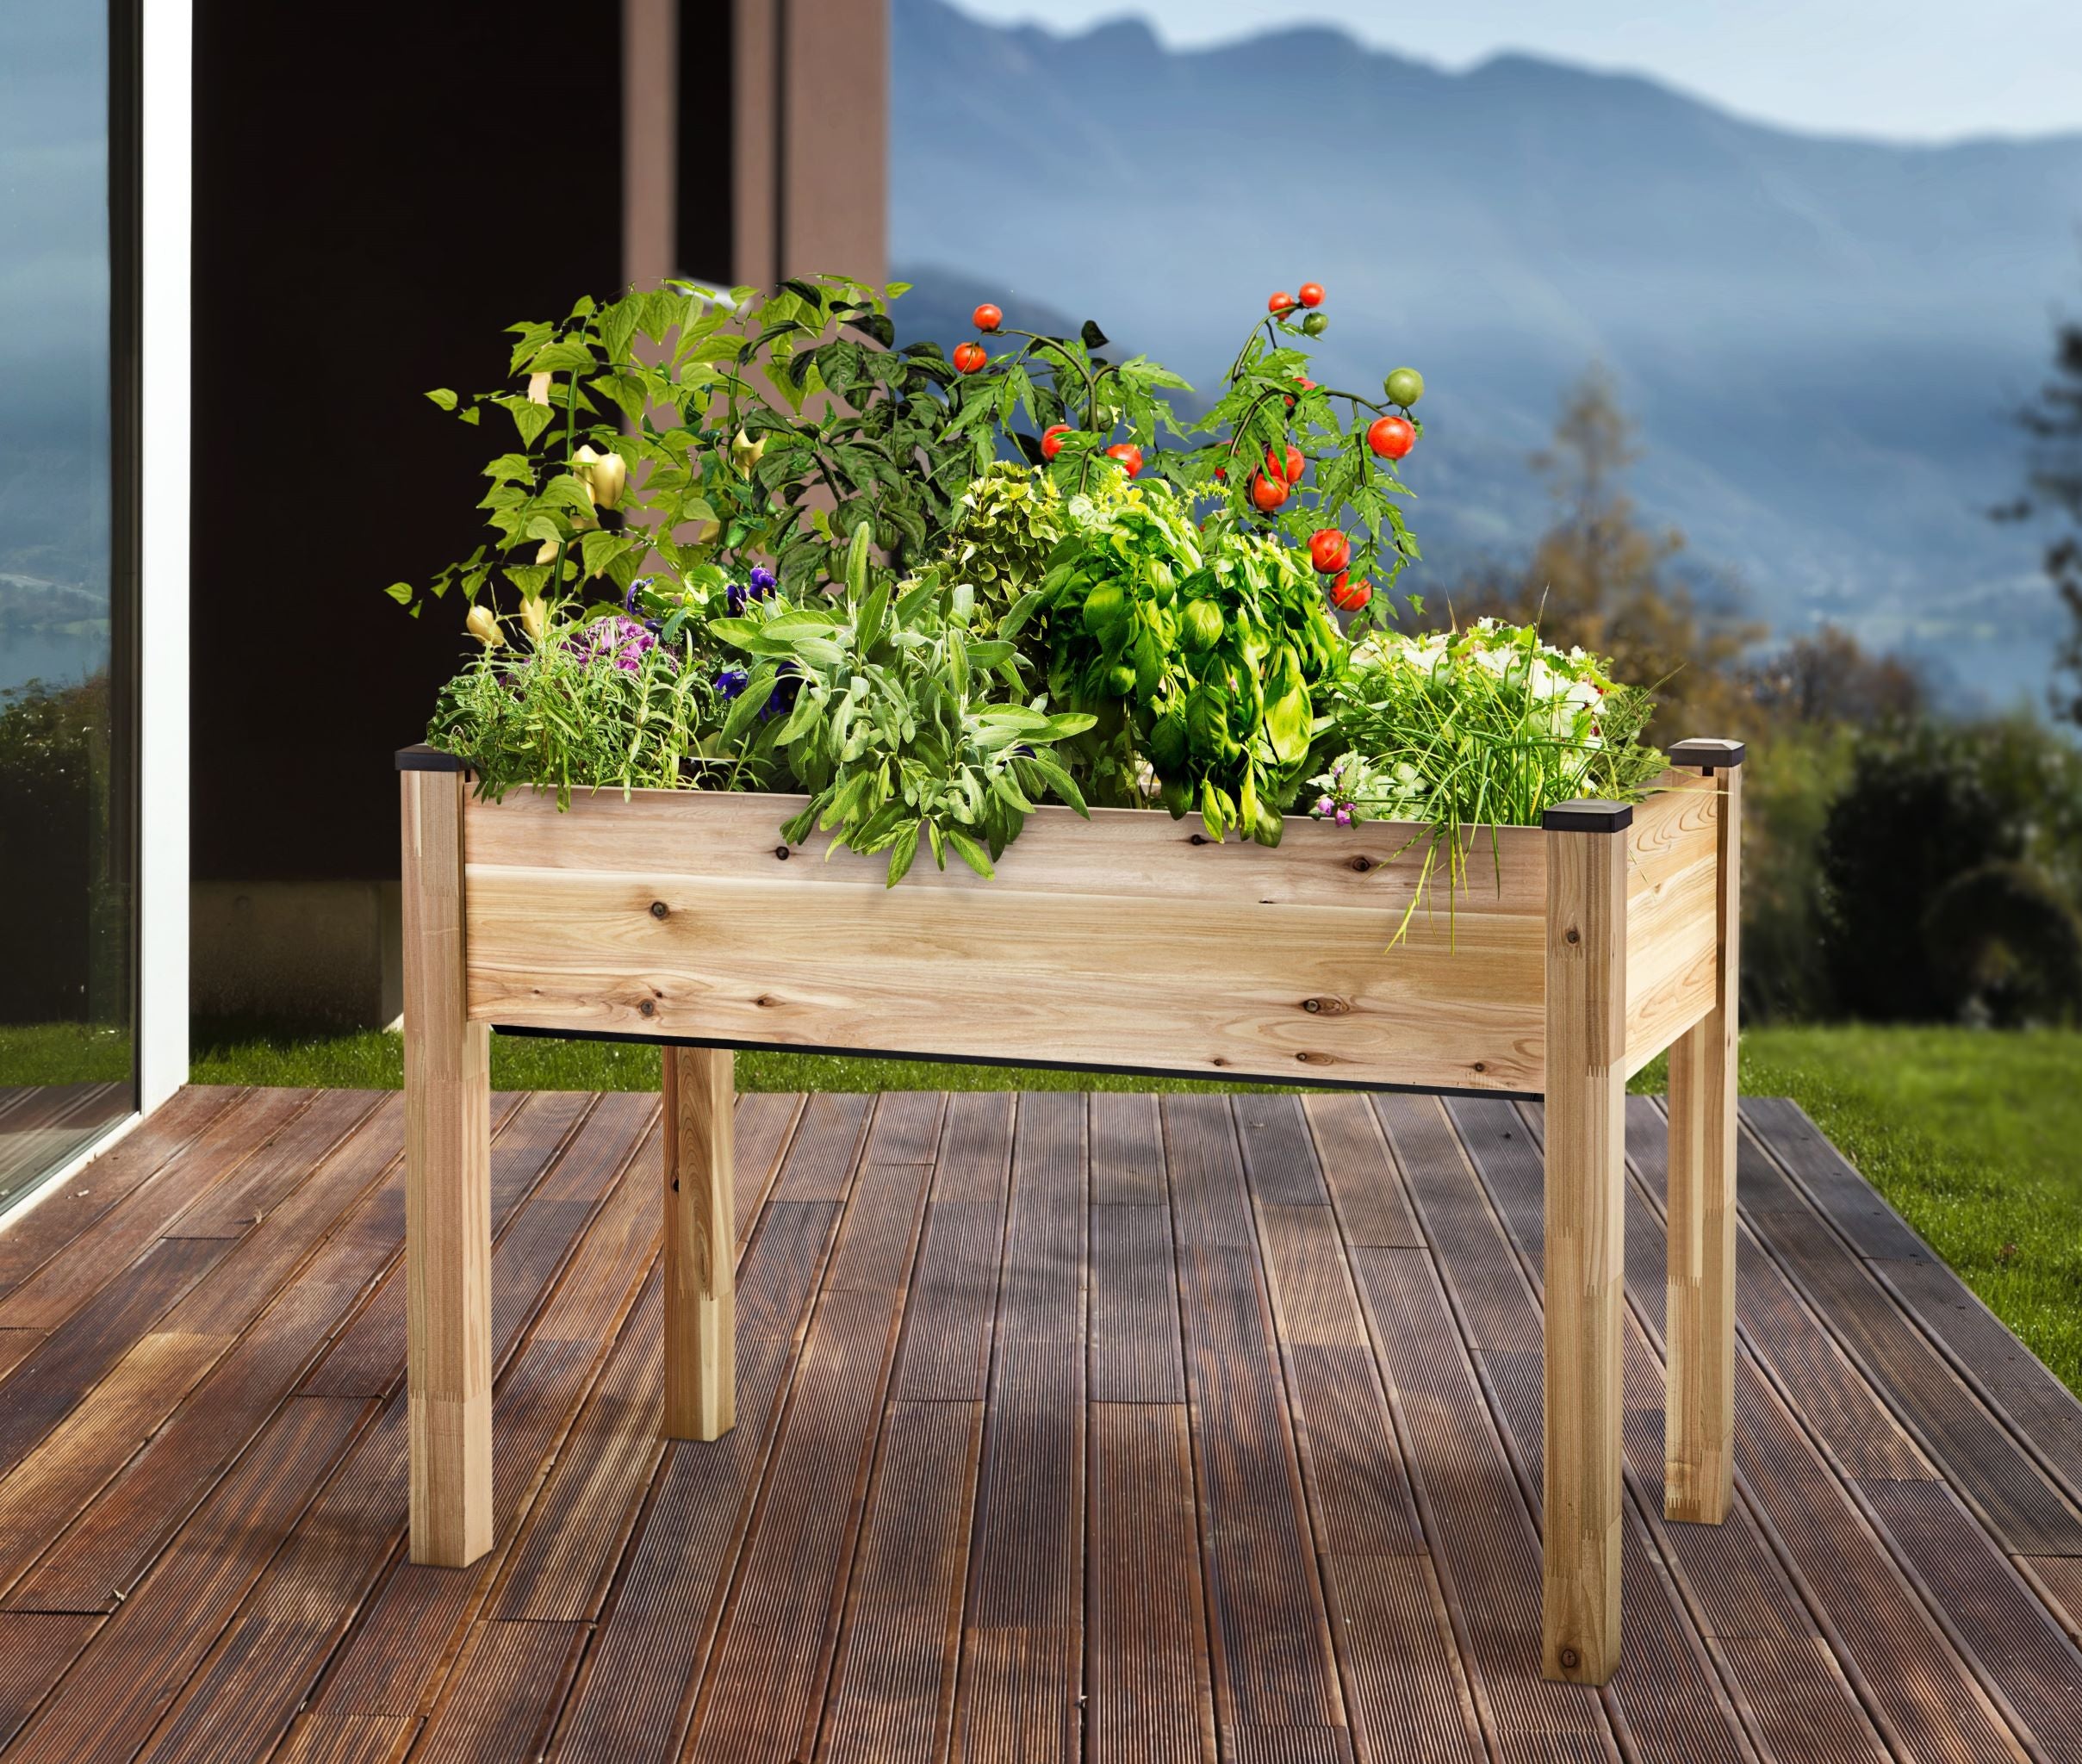
Spacing and Depth: Where Planning Pays Off
Remember when you sketched your layout in Blog 3? This is where that thoughtful planning makes a difference.
When transplanting, space plants according to their mature size, not how small they look in early spring. What feels spacious now can become crowded by July.
You can find spacing recommendations on seed packets or by searching online for your specific plant variety.
As a general starting point:
- Tomatoes: 18–24 inches
- Basil: 10–12 inches
- Peppers: 12–18 inches
Proper spacing improves airflow, reduces disease risk, and allows plants to receive full sunlight.

I’ve learned this firsthand. One year, I planted far too much basil in a single elevated
planter because it looked roomy at the time. I was thinking about pesto output, not airflow. By midsummer, it turned into what I now call The Great Basil Incident. The plants were so tightly packed I couldn’t reach the center leaves, airflow disappeared, and what should have been a thriving herb bed felt more like a jungle.
Small plants don’t stay small.
Most seedlings should be planted at the same depth they grew indoors. Tomatoes are the exception — they benefit from deeper planting because buried stems form additional roots.
After transplanting, water thoroughly to help the soil settle around the roots and reduce stress.
Expect a Brief Adjustment Period
Even when everything is done correctly, transplanted seedlings may pause their growth or droop slightly for a few days. That doesn’t mean something is wrong — it simply means the plant is adjusting to its new environment.

Give them time!
When we brought our rescue dog Maddie home, she was adorable and all we wanted to do was play with her and snuggle nonstop. But Maddie needed a few quiet days to settle in and figure out her new world before she felt comfortable.
Plants are surprisingly similar.
After transplanting, seedlings need a little space and time to adjust to their new soil, light, and surroundings. With patience and steady care, they usually bounce back quickly — often stronger than before.
Strong roots and gradual exposure lead to stronger plants.
Use Your Planner to Learn From the Season
This stage is not just about moving plants — it’s about observing what works.

In your Garden Planner, note:
- Pot-up dates
- Transplant dates
- Spacing decisions
- Any signs of stress
- Weather surprises
Those small notes become incredibly helpful next season. Planning doesn’t remove the learning curve. It just makes it shorter.
Coming Up in Blog 6
Next, we’ll talk about mid-season care — feeding, pruning, support systems, and preventing problems before they start.
Because once plants are growing strong, your role shifts from planting… to protecting.

Mischelle is the voice behind The Backyard Hopeful, sharing real-life lessons from her Texas garden — from seed starting to pesto-worthy basil harvests — so everyday gardeners can grow with a little more confidence.