
Gardening Adventures
Lessons Learned From Planter Gardening This Season
Gardening is a mix of science and art. It’s possible that you can carefully craft the perfect garden space with optimal soil nutrients, ideal sunlight, and a well-timed watering system and have nothing go as planned. Even the best gardeners experience challenges during the growing season, and sometimes they have complete garden fails. Gardening is a learning process for everyone, not just a product, which is part of the appeal. It’s also comforting for beginning gardeners to know that even the most experienced gardeners still have their obstacles to overcome. Many of the pros live by the philosophy, “If you’re not killing plants, you’re not stretching yourself as a gardener.” Our CedarCraft team field-tests each one of our planters during the gardening season, growing a variety of fruits, vegetables, herbs, and flowers in the process. You can see how our own gardens grow on Instagram as we share photo updates throughout the year. Rest assured, even though our garden may look beautiful, we experience our own challenges too. We’d love to share some lessons that our Colorado team learned from the 2015 gardening season. Weather This is one of the biggest hurdles for every gardener around the world, and it has been since the beginning of time. Floods, droughts, cold snaps, high winds, and hail are all elements that can wreak havoc on your garden. Our Colorado team had an exceptionally wet and cold-ish May, right when the planting season began. It was a little too much for the cucumbers to bear and we lost them all. Lesson Learned: Patience is a virtue, especially in gardening. It’s better to wait a little longer than jump the gun when planting your starters to make sure they have a good chance of establishing roots. Soil We spent a lot of time on procuring the right mix of soil for all of the planters this year. What we found was with that particular mix, our tomatoes flourished and thrived in the ground planters, but our spinach and lettuce greens needed a little more help with the same mix in the Urban planter. We had to switch out soils in that planter, and once we did, the spinach grew like wild! Lesson Learned: Ground planters with sturdy plants do well with the soil mix we wrote about earlier this year. The Elevated planters will do better with a softer container soil mix. Water We did pretty well with keeping up on our watering cycles this year! Nothing dried out or wilted… until we went on vacation. Summer is a time to enjoy vacations with kids out of school and the warm-weather adventures at your feet. Our Colorado team went on a backpacking trip for a few days thinking that the garden would be OK. While there were cool temps in the high country, it was a lot warmer in the flatlands. We came back to find some of the plants drier than they should have been, which caused a few to bolt early. Lesson Learned: set up watering systems if you can, and at the very least, have a neighbor or friend come over to water your garden while you’re on vacation. We have some exciting new developments with our product line in 2016 that will help you with this! Look for an announcement in January. Pests This may have been the biggest challenge for us this year above all else. Rabbits scaled chicken wire fences to nap in the cilantro, birds filled up on strawberries, squirrels pilfered the peppers, and bugs munched on kale and cauliflower. It was garden warfare despite our best efforts with all methods of pest control. Lesson Learned: We’re still learning. We’ll see what we can do to lessen the likeness of “Mr. McGregor’s Garden” in 2016. Unexpected Experiments We had one planter that we lovingly called the “misfit garden” where we planted extra starters and companion planted plants that you’re not supposed to place next to each other. We didn’t have high hopes for this section of the garden, but decided to take the risk anyway to see what would happen. There were some fails in there for sure, like the extra cauliflower plants not producing anything at all, but we found some unexpected success, like potatoes and pumpkins thriving!! Lesson Learned: It’s OK to take risks! Don’t be afraid to fail, because you might just experience some unexpected successes. And sometimes those are the best! Despite our own challenges this year, we came out of it with first-hand knowledge to apply in the 2016 growing season, and we had some delicious harvests along the way. We’re certainly looking forward to the gardening adventures that the next year will bring!
Learn more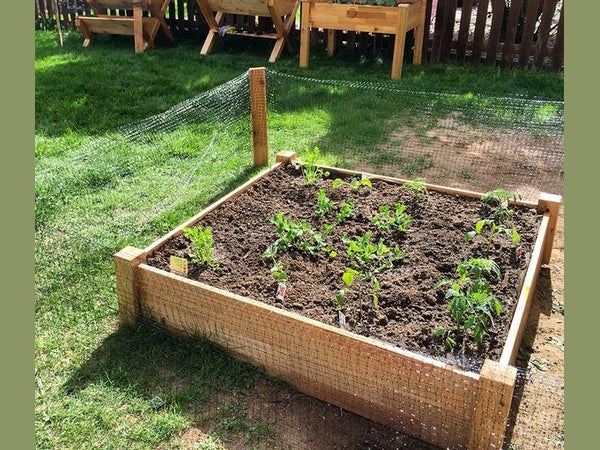
Planting Your Garden
The sun is shining, the grass is green, it’s time to get your hands dirty and plant your garden! Here are the things we've covered in other CedarCraft blog posts on what you need to know before you get those plants in your soil: How much soil do you need and what kind of mix? How to plan out your garden - considering square foot layout and companion planting How to keep critters out of your garden Now it’s time to get the details on how to plant a plethora of fruits, herbs, and vegetables in your planters! If you are a beginner gardener, your best bet is to establish your garden with starters rather than seeds. This will reduce the margin of error for you as you gain more hands-on experience. When choosing where to purchase your starters, avoid Big Box hardware and garden stores. They often have plants that are sick with disease, which will spread to healthy plants in your planters. Visit your local garden center where the plants have been grown there or the surrounding area. Plus, the gardeners working there LOVE to share their wealth of knowledge to help you out. Local farms and CSA’s will have plant sales in the spring, giving you the opportunity to grow exactly what your favorite farmer has decided to produce for crops that year. These are generally organic and GMO-free plants as well. Horticulture organizations and university departments will host starter sales as a fundraising source for students. This is a great way to get plants at an affordable price while supporting local gardeners in your area! Once you’ve purchased your plants, roll up your sleeves, because you’re about to play in some dirt. Because you’ve mapped out your garden, getting the plants in is pretty easy. A calm, overcast day is ideal for planting conditions, but it’s not a problem if you’re planting on a sunny weekend. Make sure your plants are well watered in their cell containers and stay nice and snug in there until the very last minute. You want to protect the tender roots from sun and wind exposure to reduce the amount of shock they’ll go through in the transferring process. Prepare your soil by watering your planter so that the plants aren’t going in dry spot. They’ll need a lot to drink to get established! After digging each hole, add some more water before placing the plant in. Then after gently covering the top (not packed down, because the roots need air), water it again. Transferring plants can be a stress on their roots and health, so you’ll need to keep a close eye on them for a week or so. Make sure there’s enough water to keep the soil moist, but not too much to drown them. You may need to water frequently if you see them begin to wilt. You may also want to shield them from sun and wind during that week if your climate is especially harsh. After a week or two, their roots should be established and leaves will be a perky green as they have settled into their new CedarCraft planter home!
Learn more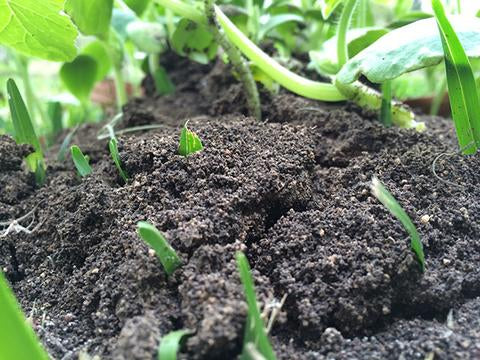
Planning Your Garden
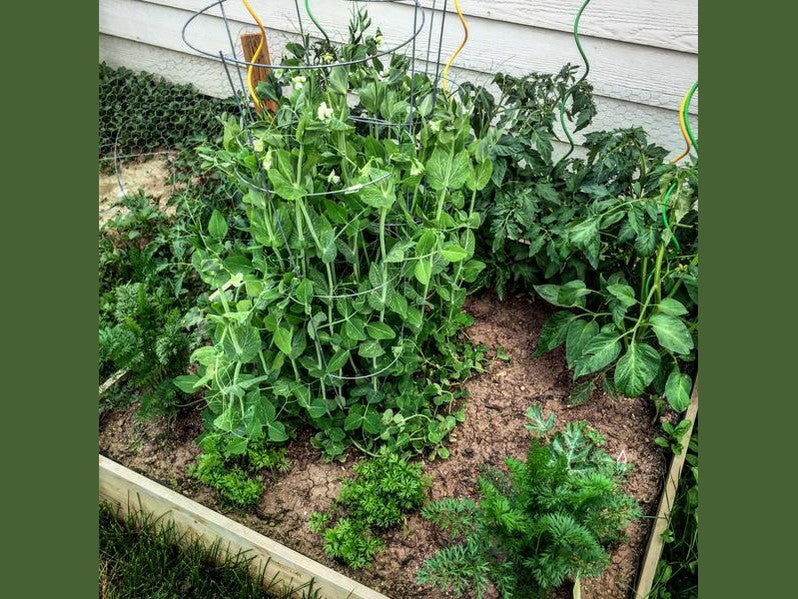
Gardening is a treasured hobby for many people. It’s a way to relax, spend time connected to the Earth, all while providing a moment to breathe in the aromas of soil and flowers. It’s also a way to become food-independent, allowing people to grow their fruits, vegetables, and herbs on their own – the way they want it grown. However, that’s not true for everyone! Gardening may seem intimidating to others, especially beginner gardeners who don’t have the years of hands-on experience. People who’ve never started their own garden often say they have a “black thumb” holding the perception that there’s a steep learning curve to growing plants. We’re going to help make it a little easier for you! At CedarCraft, we’re big fans of the Square Foot Gardening concept developed by Mel Bartholomew. Square Foot Gardening is a uniquely simplified system of gardening that eliminates 80% of the: Space Work Weeds Watering Waste Square Foot Gardening creates a planting grid within your planters with each crop having its own square. There are four spacing guidelines: Extra Large fruits and vegetables are allowed one plant per square for 12 inch spacing Large fruits and vegetables have 4 plants per square for 6 inch spacing Medium allows for 9 plants per square for 4 inch spacing Small fruits, vegetables, and herbs have 16 plants per square for 3 inch spacing. You can use the seed packet to find out what spacing your plant needs. A tomato or green pepper plant needs one per square, while radishes and carrots need 16 per square. There are online planning guides that can help you map this out, too. This system works perfectly with your CedarCraft planters. We’ve broken down the square feet in each one of our planters for you: CedarCraft Cascading Planter CedarCraft Elevated Planter CedarCraft Urban Planter CedarCraft Raised Garden Planter Once you have a grid system mapped out, you’ll need to double check a companion planting guide to make sure your plants can share the same planter. Some plants don’t grow well together. Beans: Don’t plant near chives, garlic, leeks, onions, peppers, marigolds Peas: Don’t plant near chives, garlic, leeks, onions, peppers Broccoli and Cauliflower: Don’t plant near peppers, squash, strawberries, tomatoes Tomatoes: Don’t plant near broccoli, cauliflower, cilantro, cucumbers Dill: Don’t plant near carrots You can follow our CedarCraft Pinterest boards for gardening tips, companion planting guides, and examples of what people are growing in their own Square Foot Gardens!
Learn more
Tips on Keeping Critters Out
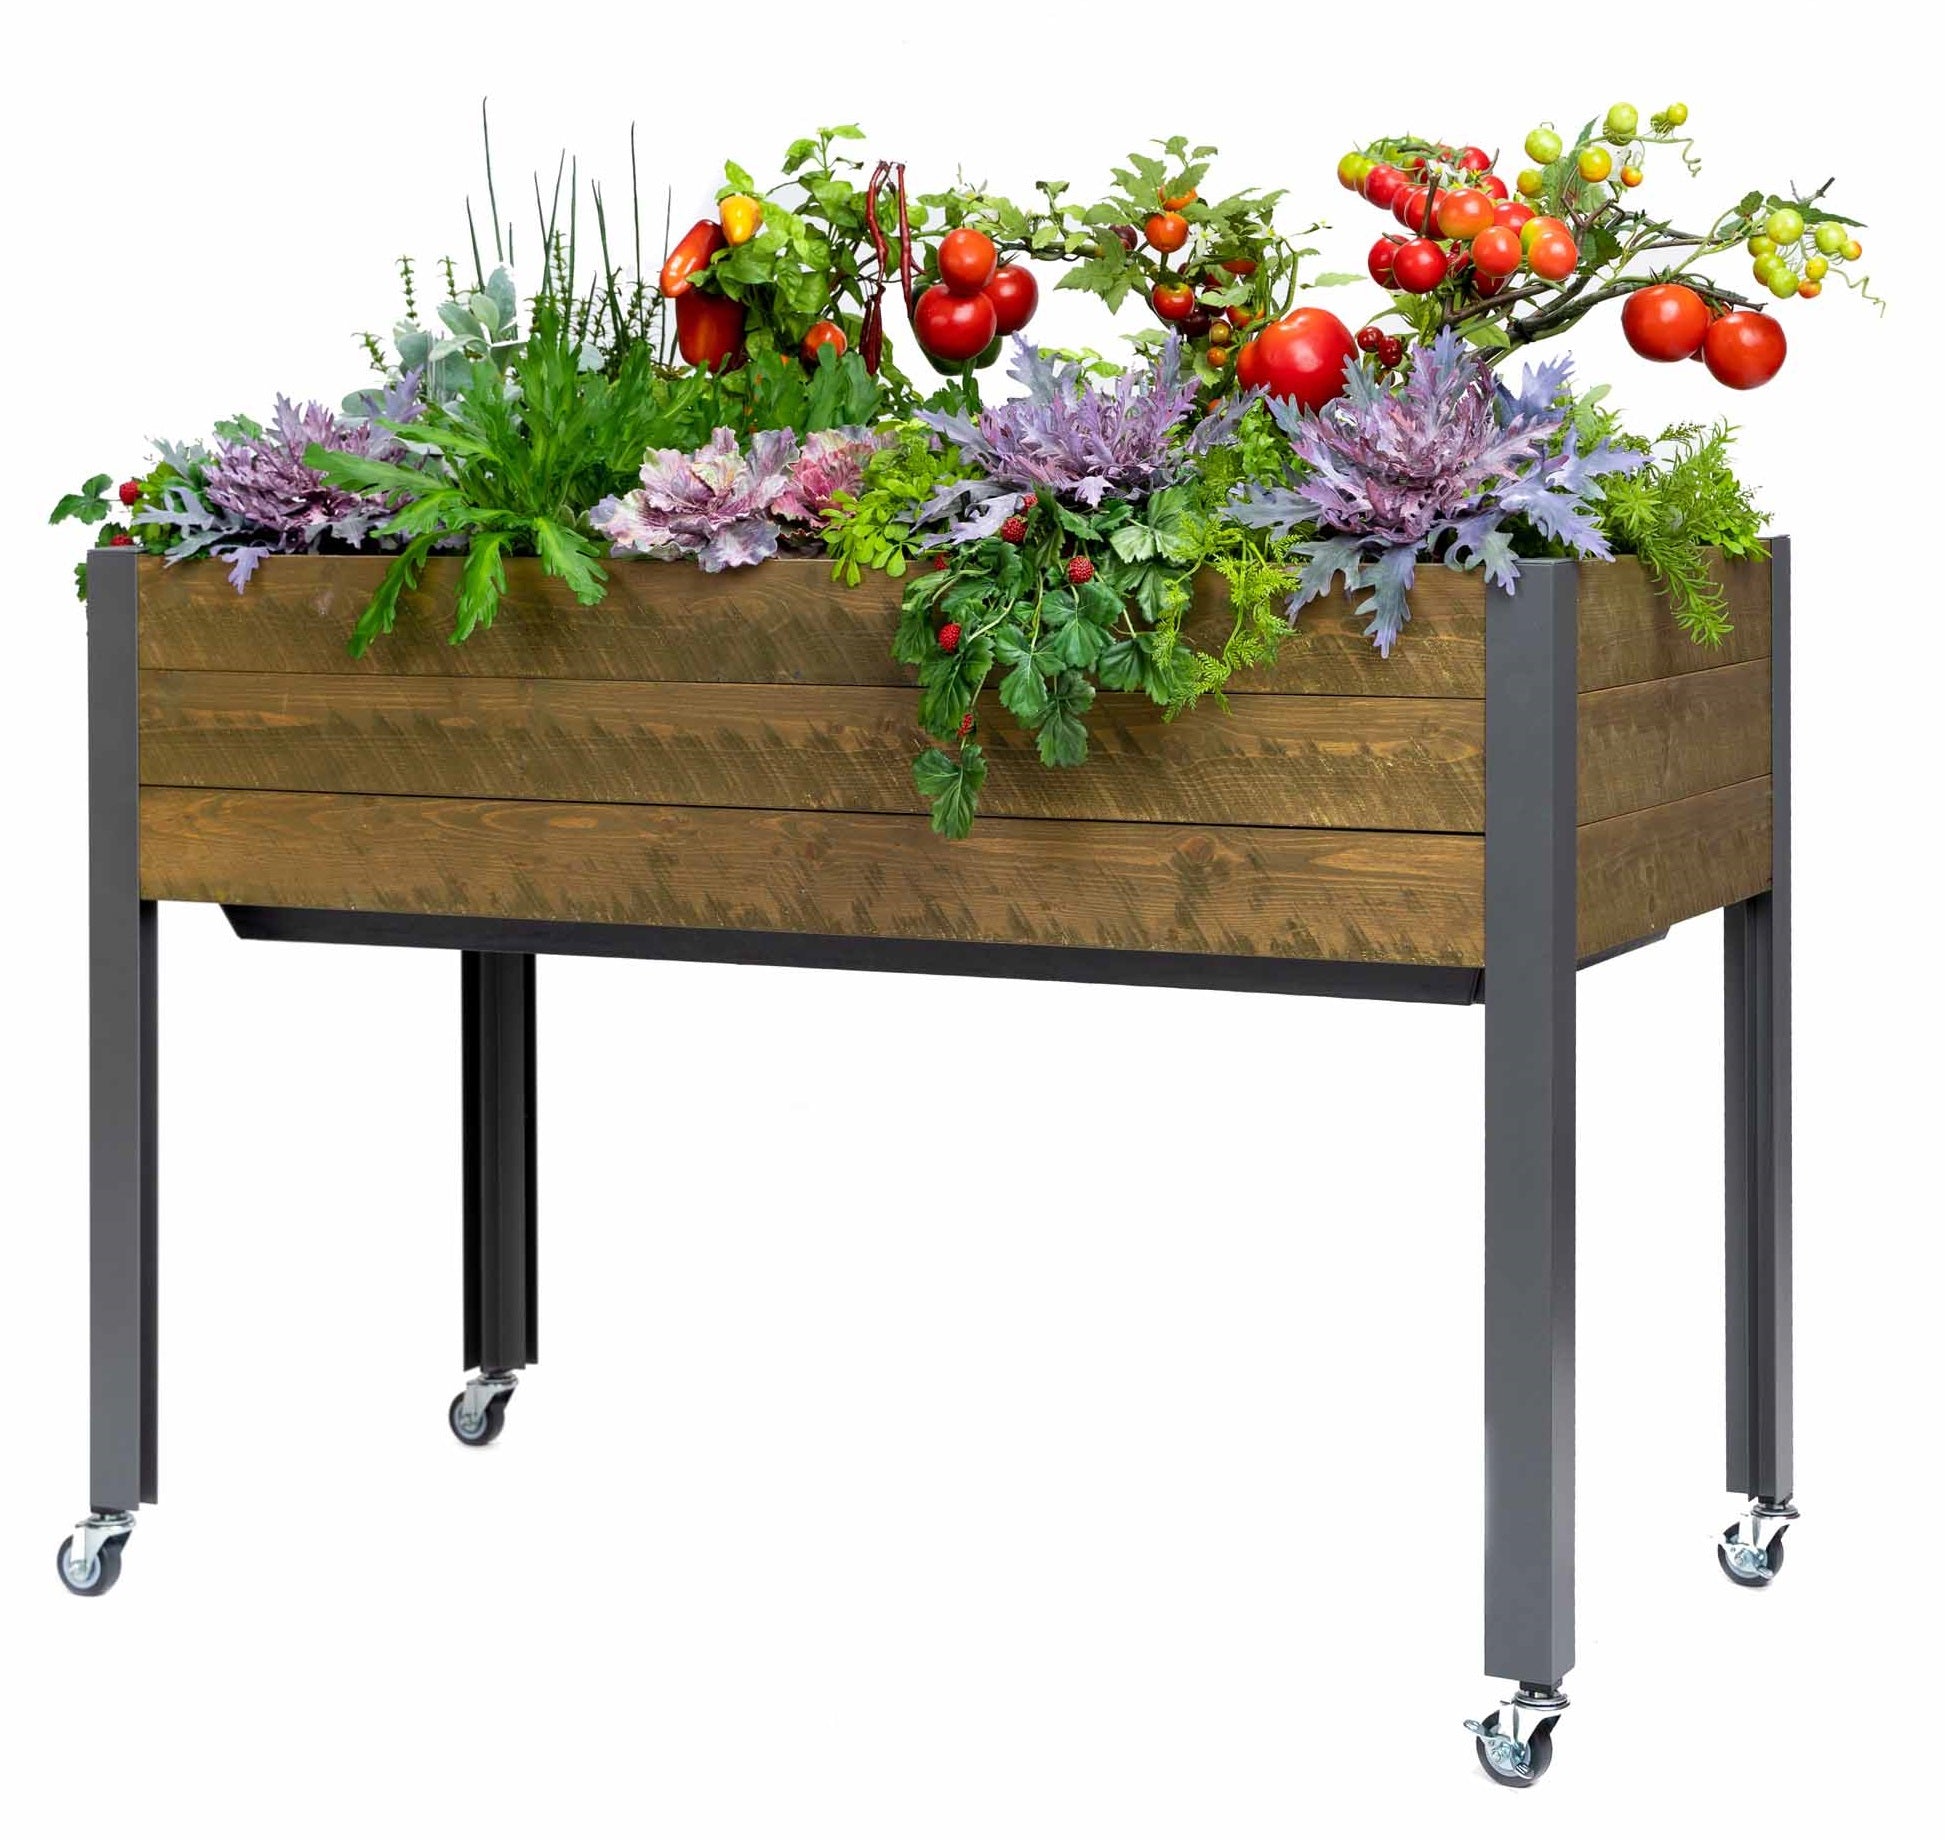
You have your CedarCraft planters, you’ve filled them with soil, and you’re getting ready to plant your seeds in preparation of growing a delicious harvest. But, you notice that it’s not just you who will enjoy the fruits of your labor; backyard critters are ready to dig in to their new planter buffet! Some of our planters are raised up enough that they’ll keep out voles, rabbits, and pets – like our Elevated and Urban planters. You may need to take precautions to repel squirrels, deer, and birds. A few of our other designs, like the Cascading planter and the Raised Garden planter are low enough that neighborhood animals can hop right in to help themselves. Shortly after our Colorado team filled planters with soil, and before planting seeds and sprouts, we discovered that the rascally rabbits were quick to hop in and spread out, calling dibs on their new comfortable dirt beds. We’re particularly fond of our backyard bunnies, but we are also protective of our vegetables that we’d like to feed to our family. We want to find a way that we can share our environment harmoniously. Here are some thoughtful tips on how to safely keep the critters out of your garden: Fencing This is the best way to prevent all types of neighborhood animals from staking claim to your garden. This will keep the rabbits, raccoons, squirrels, deer, and birds at bay, and it’s easy to build. This works especially well for our Raised Garden and Elevated planters. You can make your fence as elaborate or as simple as you’d like. All you need is to nail a bottom frame together, the same size as the planter. Create a type of hoop-house with PVC piping and deer netting over the top. Here's a handy how-to article with specific instructions. Repellants Small rodents like rabbits and squirrels can be deterred by unsavory scents, like those of a predator and strong-smelling herbs. You can sprinkle fox and coyote urine products around the base of the planters. Blood meal mix can work in the same way, too. Planting garlic, hot peppers, and onions to your garden boarders is an option, plus you get the benefit of the delicious foods you’ve planted. Feed Them While it sounds like this option is encouraging nibbling on your garden, creating a critter bed with things for them to eat on the opposite side of your yard can keep them full and distracted enough from trying to get into what’s yours.
Learn more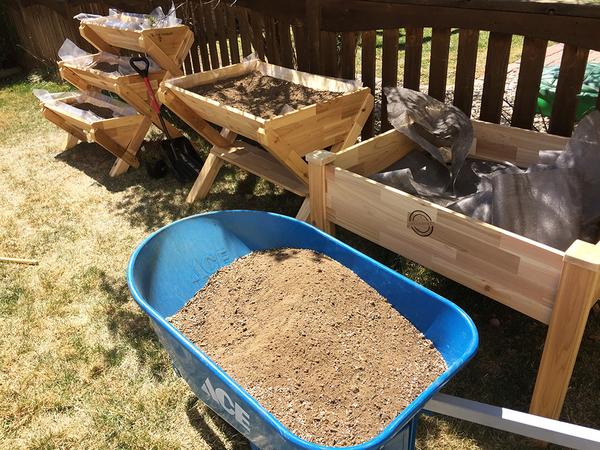
How Much Soil Do You Need?
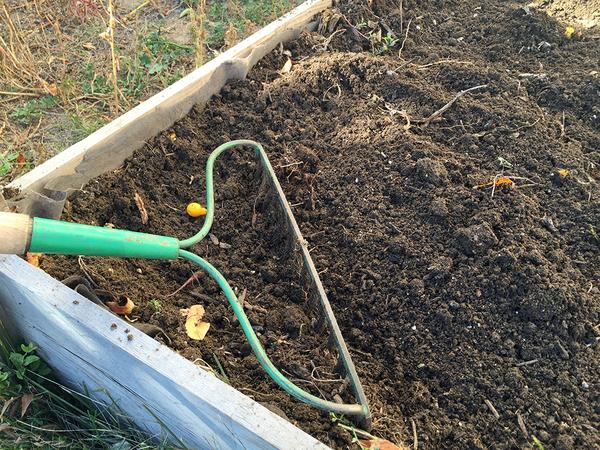
Spring is here and it’s time to start getting your CedarCraft planters ready! You have them assembled and it was a snap. But now it comes down to the dirty work – filling them with soil. You may be wondering, how much soil do I need to fill this? You may have read our previous blog post on Soil 101 for container gardening. That post gave you some insights on why your container soil is so important for your garden planters and that you shouldn’t dig up dirt from your yard to fill your raised bed. This weekend our CedarCraft team assembled our planter collection and filled them all with a container gardening mix. We’re going to give you some step-by-step instructions on what you need to do to fill your planters. Calculate Cubic Volume First you need to break out the calculator and figure out how much soil your planter needs. You can find a plethora of gardening calculators from a simple Google search. Here’s a handy calculator on Home Depot’s website. To determine how much soil you need to fill your planter or raised bed, these are the dimensions you need for your formula: Length (in inches) x Width (in inches) x Depth (in inches) = total amount of cubic feet or cubic yards of soil. (12 cubic feet of soil = 0.444 cubic yards of soil) We’ve made it even easier for you! If you take a look at our collection descriptions, we have cubic feet of soil capacity for each planter listed: CedarCraft Cascading Planter: 5 cubic feet = 0.1 cubic yards = 77 quarts CedarCraft Elevated Planter: 4 cubic feet = 0.1 cubic yards = 102 quarts PatioCraft Elevated Planter: 6 cubic feet = 0.2 cubic yards = 179 quarts CedarCraft Urban Planter: 5 cubic feet = 0.1 cubic yards = 128 quarts CedarCraft Raised Garden Planter: 11.5 cubic feet = 0.4 cubic yards = 295 quarts PatioCraft Raised Garden Planter: 16 cubic feet = 0.6 cubic yards = 478 quarts Fill With The Right Mix Now that you know how much soil you need, you need to know what kind of soil to fill it with. Since our team filled each planter in our whole collection, we visted our local commercial soil source recommended by landscapers and contractors. We needed a lot of soil and it filled our truck bed! If you have one or two planters, you won’t need to go to these lengths. We used a soil mix with 60% topsoil and 40% compost, and then added an additional 10% vermiculite to that. With shovels in hand, we poured the vermiculite into the truck bed on top of the soil and got to work mixing! With smaller projects, you can pour your soil mixes onto a tarp and rotate. You can also create your own Mel’s Mix we mentioned in our Soil 101 post with this recipe: 1/3 peat moss 1/3 compost 1/3 vermiculite Before you add soil to your planters, make sure you have your liners in place. You will need landscaping fabric for your Elevated and Raised Garden planters. Now you know what kind of soil mix to use and how much, all that’s left is adding it to your planters. Happy gardening!
Learn more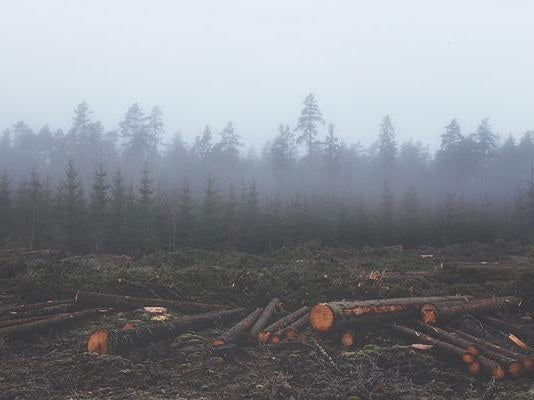
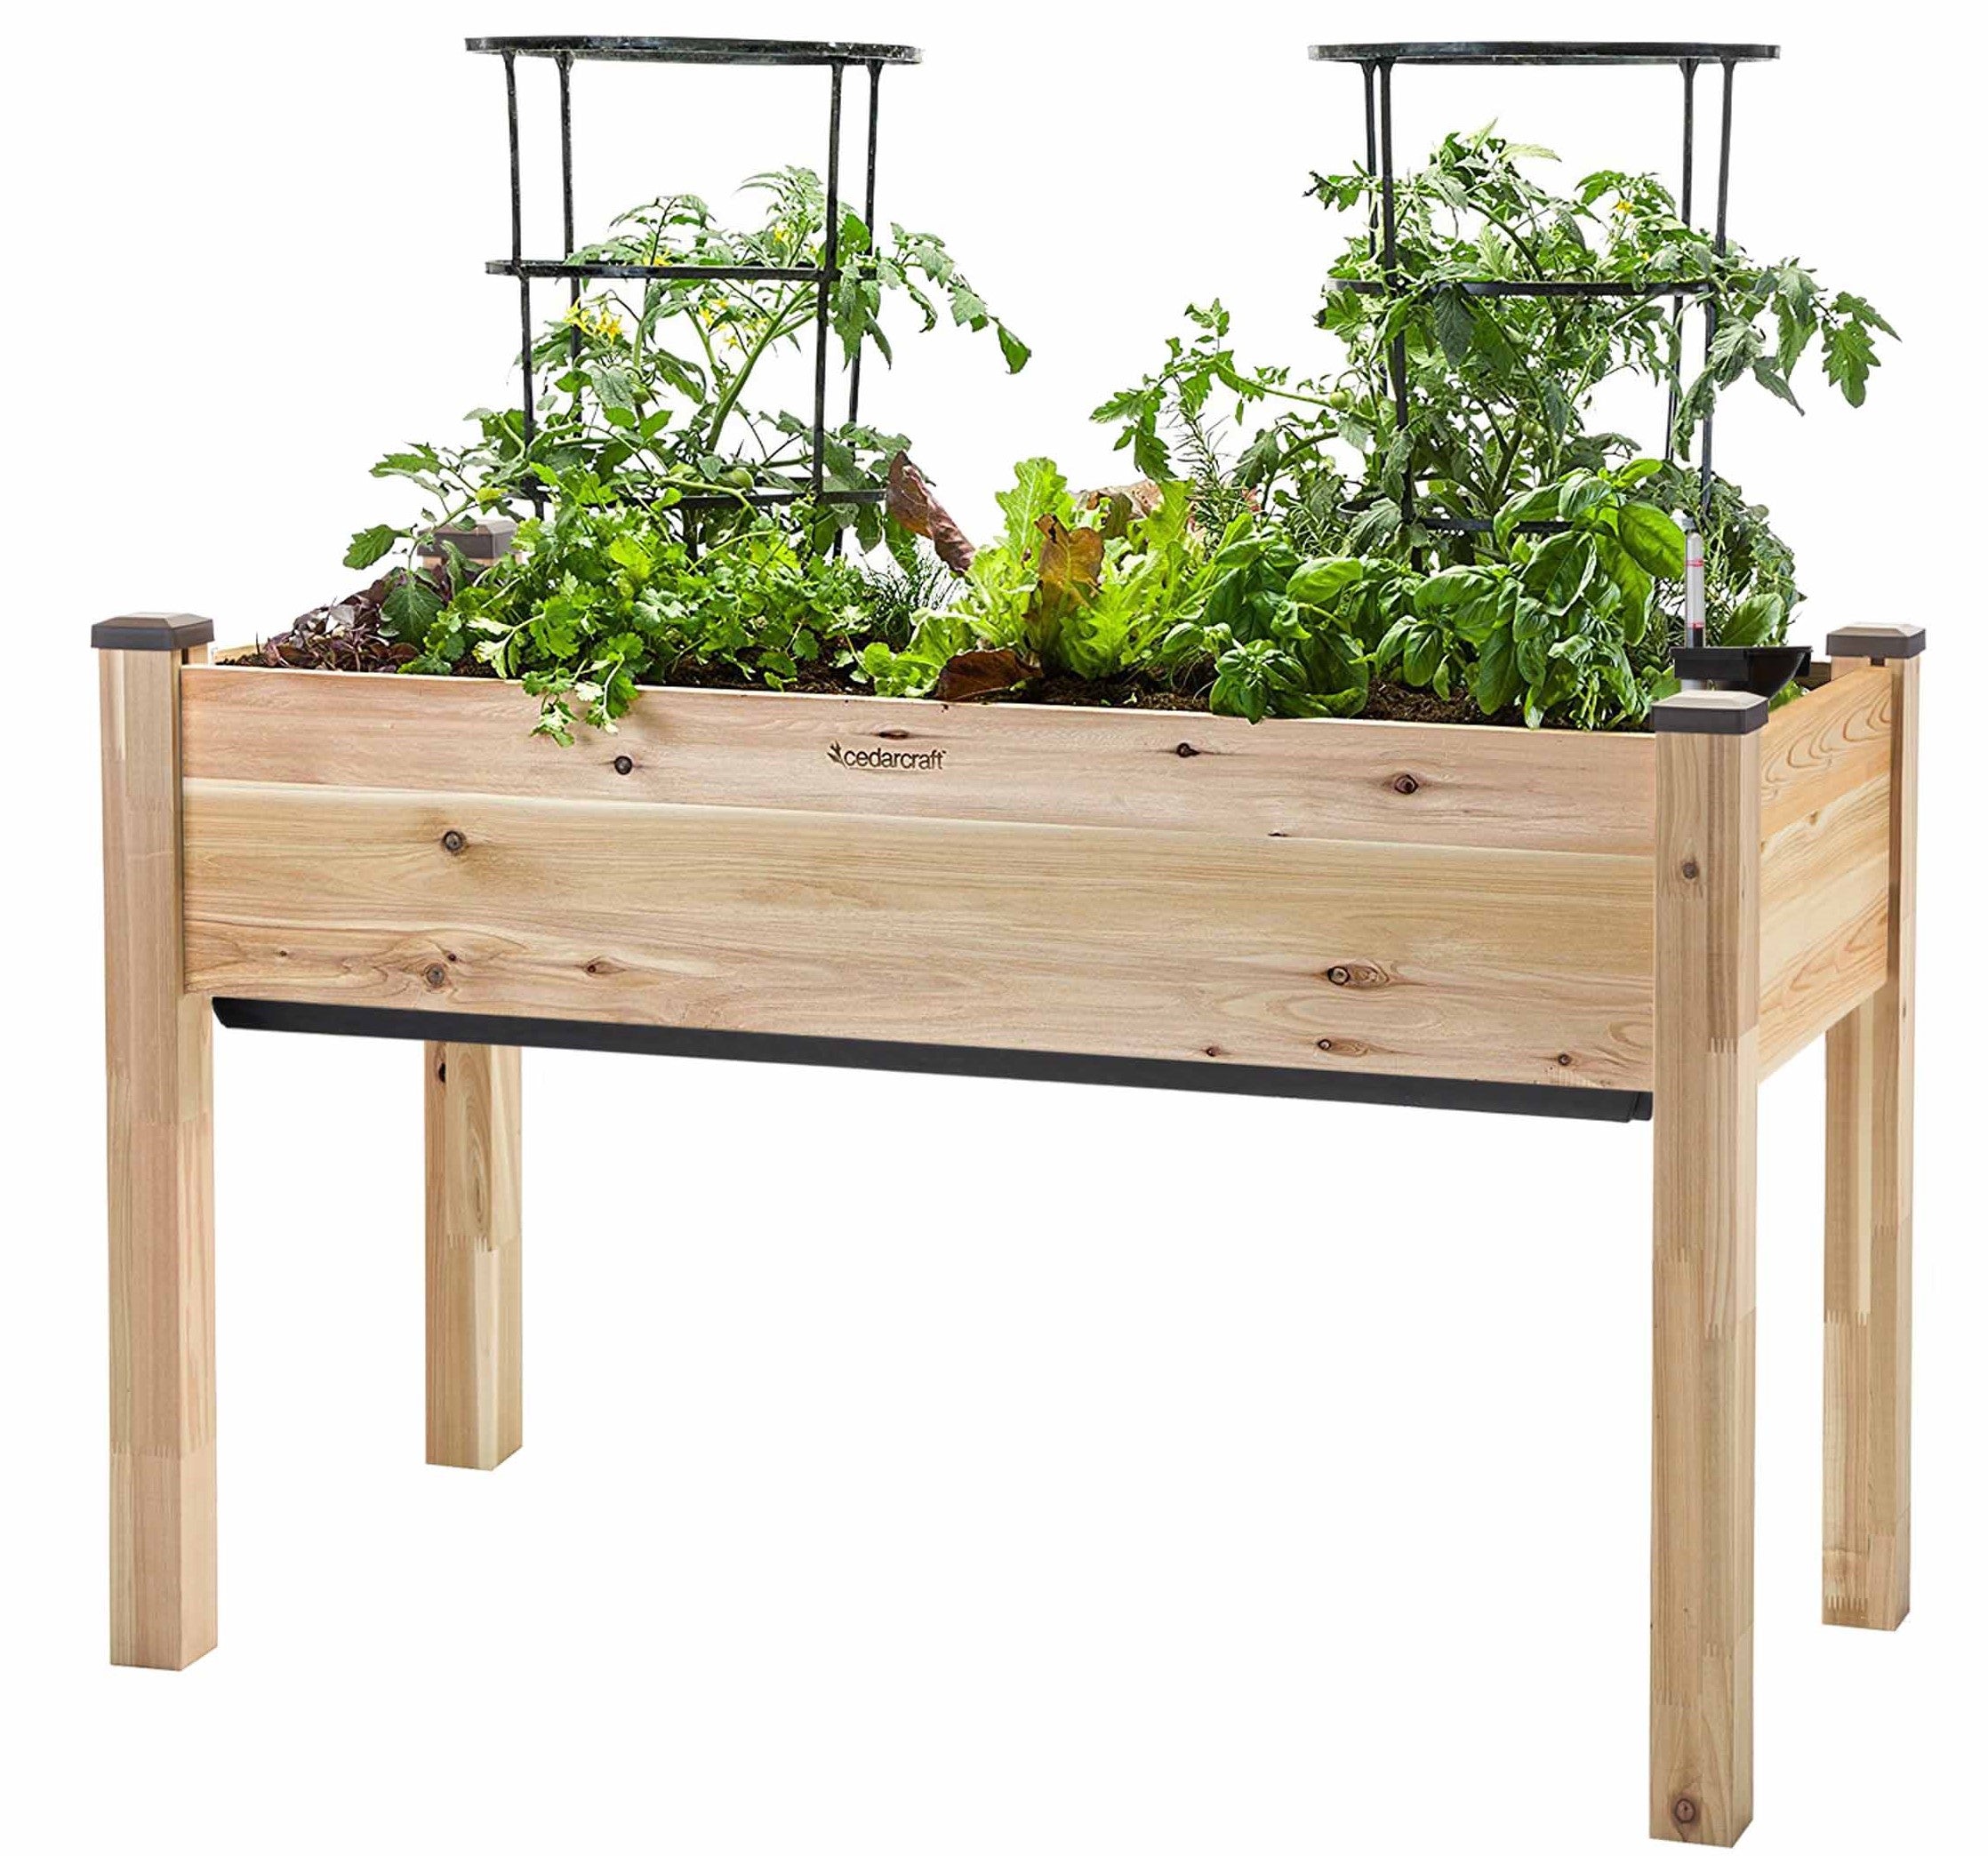
Sustainable and Beautiful Cedar
There are a variety of reasons that people start a garden, but one of the big motivators is the sustainability that comes from growing your own vegetables. It’s both healthier for you and for our environmental impact. CedarCraft launched in 2014 with a mission to provide sustainably-crafted elevated garden planters for limited spaces and for gardeners who struggle to find an attractive, easy-to-assemble planter. Our elevated planters also help gardeners who struggle with bending down and offer an easy solution to protect herbs, flowers and vegetables from unwanted animals. Sustainability is important to us at CedarCraft. When the founder of Gorman Brothers Lumber, Ross Gorman, observed the large amount of cedar that was being lost in the lumber mill process, he took action to rescue that material and put it to good use. Trim end pieces that were being scrapped for mulch and waste are now collected and graded, edge glued and the planed into the smooth panels used to make our planters. CedarCraft is proud to declare that no trees are specifically harvested to produce our products. All material used is Sustainable Forest Initiative (SFI/PEFC) Certified and are made using 100 percent sustainably grown and untreated Western Red Cedar. New techniques used in the forest have many advantages over older ones. Instead of ‘falling' trees that may damage other ones around them, Gorman Brothers Lumber uses a harvester that holds the tree while it is cut and then carefully lays it down. Their work in the forest has improved in many areas and one of the most important is the use of new machines that evenly spread their weight so they have less impact than that of the human foot! This, coupled with a better scientific basis for sustainable forestry, has greatly improved the health of our forests. Our CedarCraft planters can grow natural, healthy food in an earth-friendly manner wherever you wish, including outdoor patios, gardens or backyards!
Learn more